FREE 1 to 3-Day Delivery on Orders $149+ Details
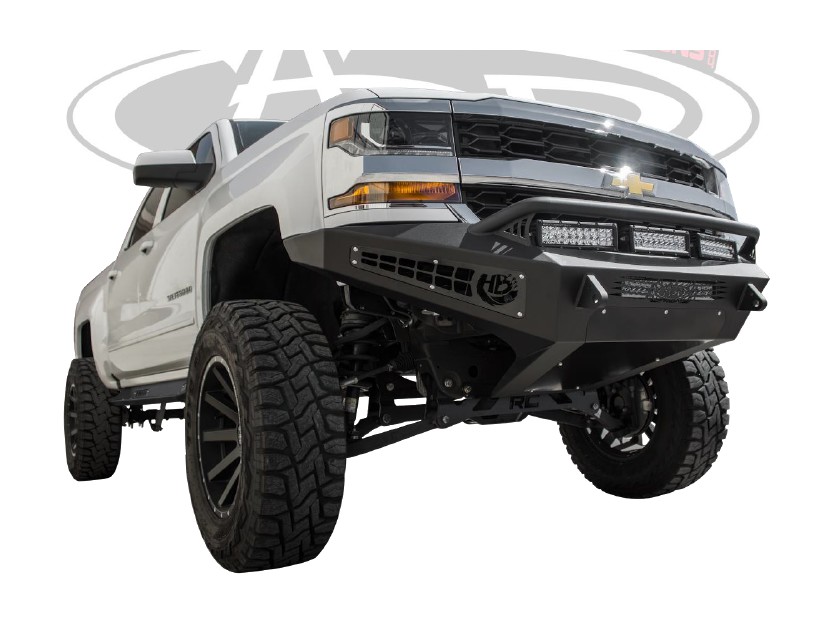
How to Install Addictive Desert Designs HoneyBadger Side Steps (14-17 Silverado 1500 Crew Cab) on your Chevy Silverado
Installation Time
1 hours
Tools Required
- 13/16” Socket
- Ratchet
- Wire Crimpers
- Utility Knife
- Drill with Various Drill Bits
PREPARATION
1. Disconnect the negative terminal on the battery. Park the vehicle on level ground and set the emergency brake.
2. We recommend reading through the installation instructions in whole before performing the work.
3. Estimated Installation Time: 2 Hours
4. You will need the following tools:
a. 13/16” Socket
b. Ratchet
c. Wire Crimpers
d. Utility Knife
e. Drill with Various Drill Bits
Note: this installation requires 2 people for best results
5. Included in Kit:
Reuse Stock Hardware
1 - LED Light Wiring Harness
INSTALLATION
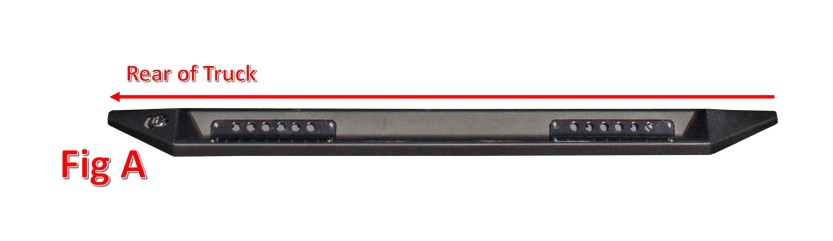
1. Lay your Side Steps out and put them on the correct side of the vehicle. The HoneyBadger logo goes towards the rear of the truck. (Fig A)
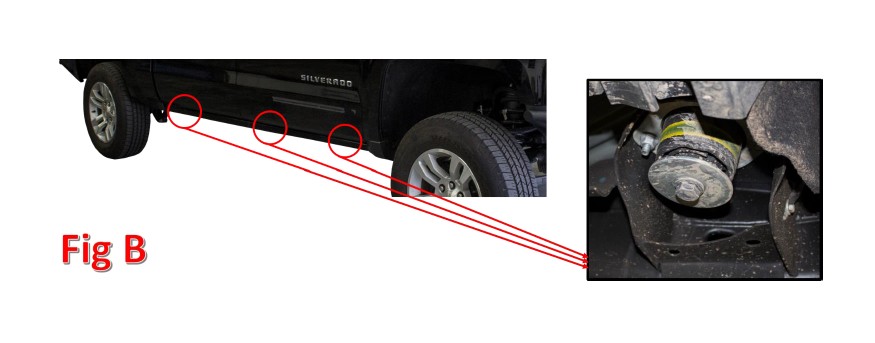
2. On one side of your vehicle, find the cab mount bolts. There are three 13/16” Bolts that can be seen from underneath the vehicle. Refer to Fig B. Remove these three bolts.
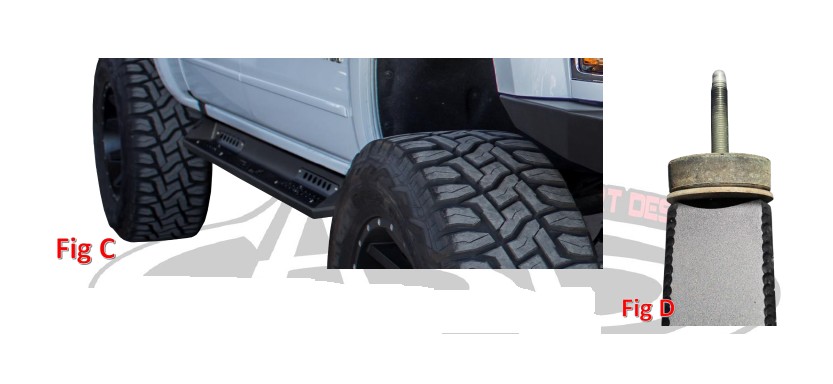
3. Hold your step in place, then secure it to the frame using the bolts you removed in Step 2. (Fig C) If the rubber pucks dropped off the mounts when you removed the bolts, arrange them as shown in Fig D.
4. Align the Side Step so that it is centered left to right and sits straight in relation to the bottom of the doors. Then, tighten the mounting bolts to the manufacturer’s specification.
5. Repeat Steps 2-4 on the other side of the vehicle.
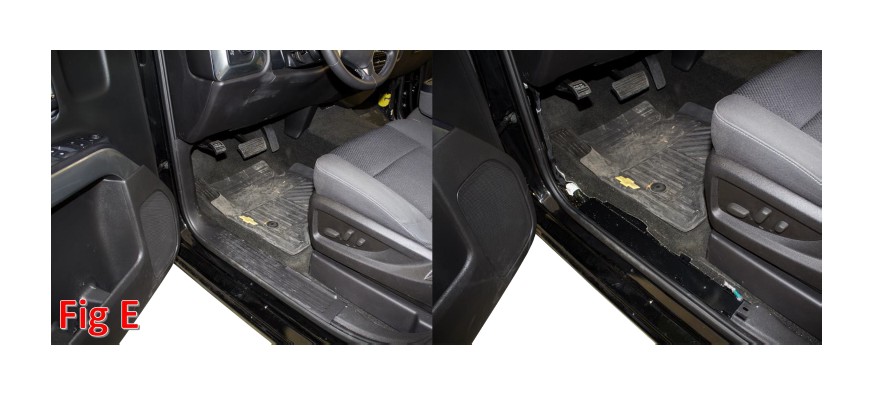
6. Open both front doors and remove the kick panel on both sides of the vehicle. There are no tools required for this step, the kick panels simply pull off by hand. (Fig E)
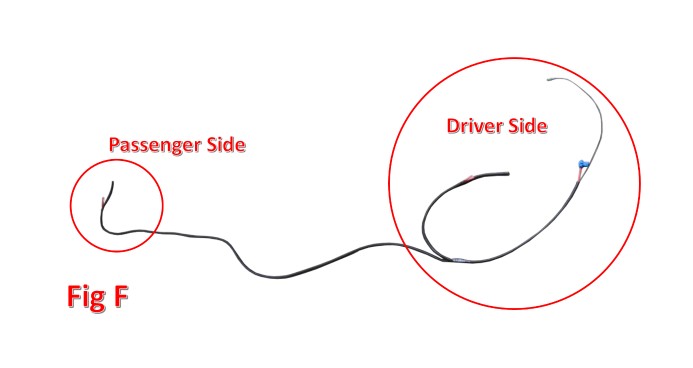
7. Layout your LED Light Harness. With both kick panels removed, pass the single end of that harness under the carpet from the driver side to the passenger side, keeping the double end on the driver side of the vehicle. (Fig F)
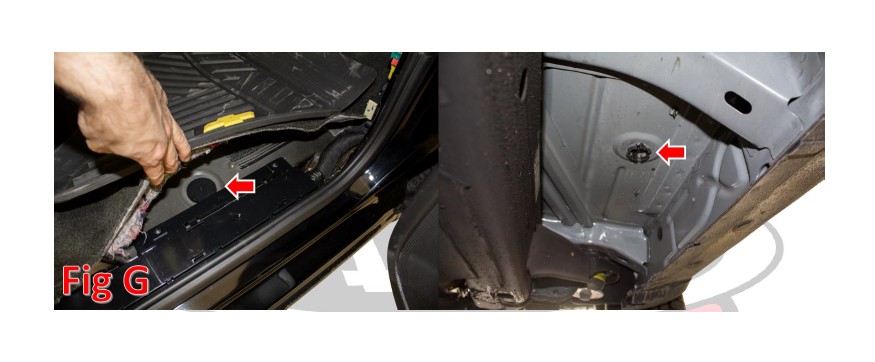
8. On the passenger side of the vehicle, pull up the carpet enough the find the plastic body plug that sits just inside the passenger side front door. Find this plug from underneath the vehicle as well. (Fig G)
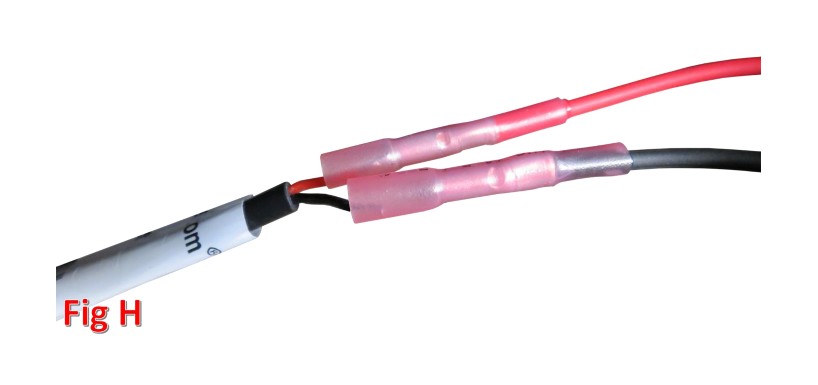
9. Drill a hole through this plug big enough to send the harness through. Then send the harness through the plug and connect the red/black wires of the harness to the red/black wires coming off your side step. (Fig H)
10. On the driver side of the vehicle, pull up the carpet and find the rubber grommet that the parking brake cable runs through. Find it from the bottom of the vehicle as well. (Fig I)
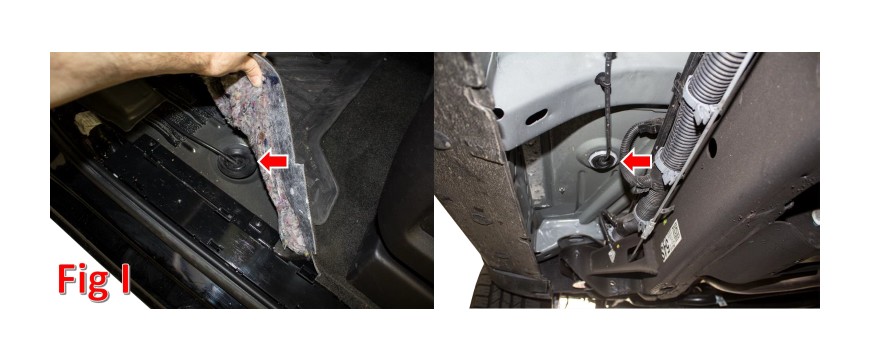
11. Using a utility knife, cut a slit in this rubber grommet. Make sure not to damage the parking brake cable in the process. Then, pass the harness (red and black wires with butt connectors attached) through the newly cut slit and connect the red/black wires of the harness to the red/black wires coming off your side step (just as you did in Step 9).
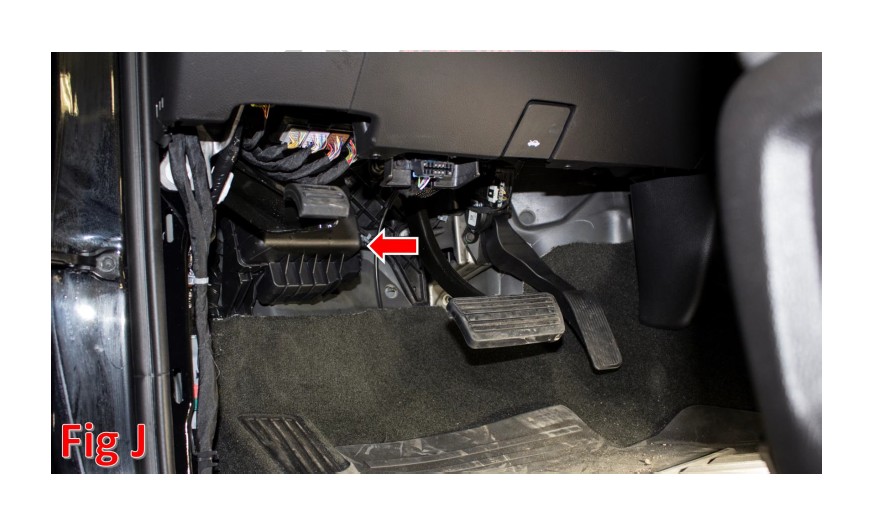
12. Look underneath your steering wheel and find the box referenced in Fig J. Then, remove this box’s cover.
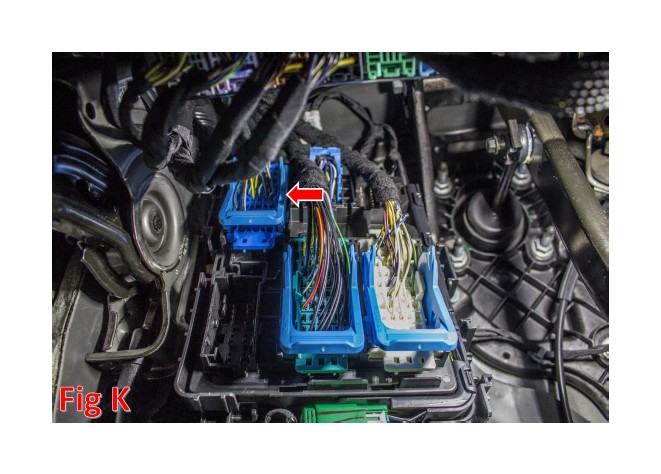
13. Find the blue connector, located in the upper left hand corner of this box. (Fig K)
14. Find the solid grey wire (referenced in Fig L) on this connector.
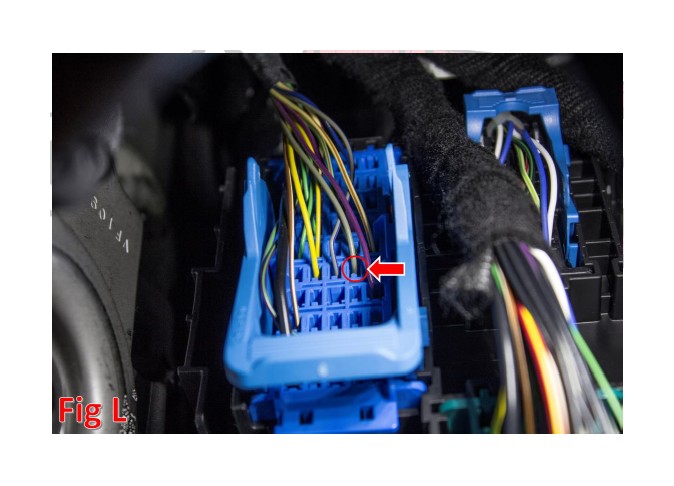
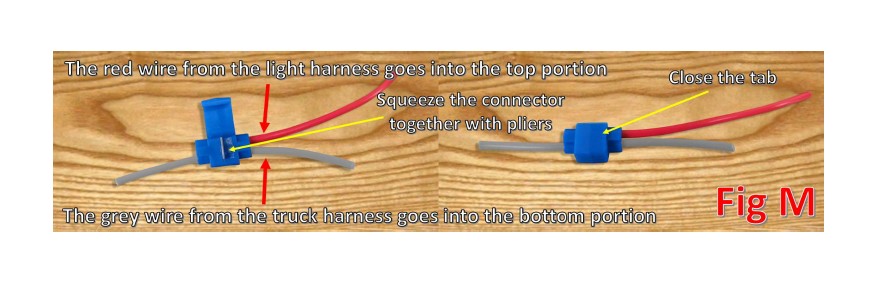
15. Connect the remaining red wire on your LED Light Harness to this solid grey wire using the attached blue splice connector. Fig M illustrates how the splice connector works.
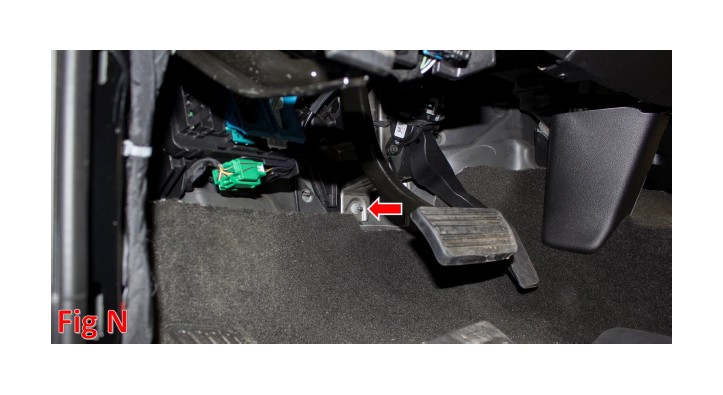
16. Ground the remaining black wire on your LED Light Harness to a nearby bolt using the connected eyelet. We chose the bolt referenced in Fig N.
17. Set your carpet back into place and reinstall both kick panels by simply pressing them on until they click into place.
18. Stand back and enjoy your new ADD HoneyBadger Side Steps.
19. Check and re-tighten if needed, all mounting bolts after 100 miles and periodically thereafter.