FREE 1 to 3-Day Delivery on Orders $149+ Details
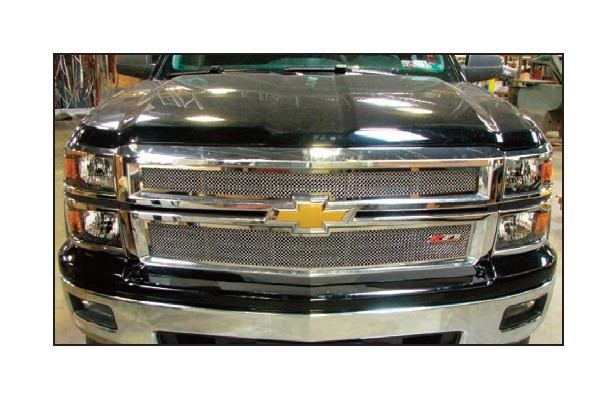
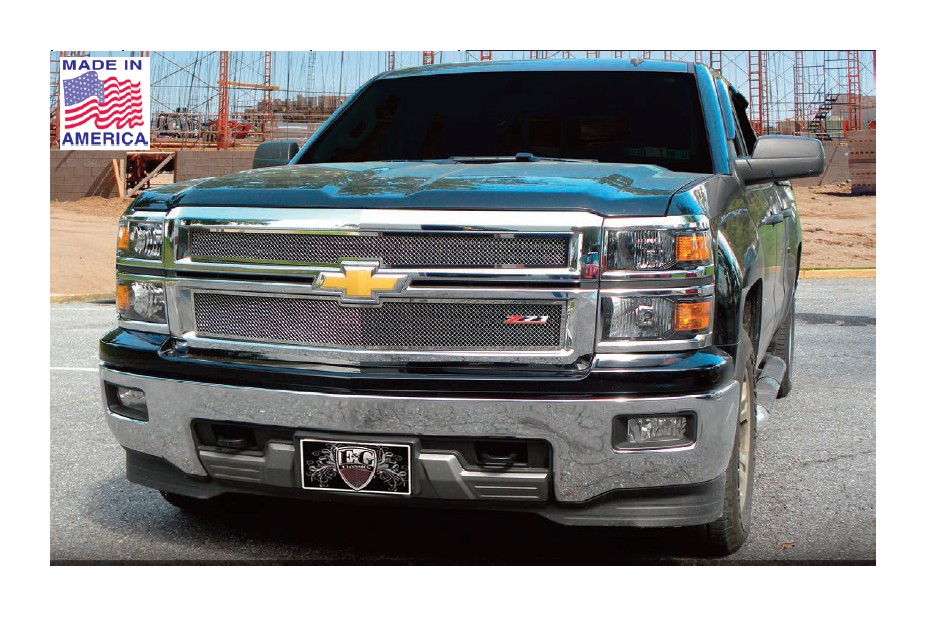
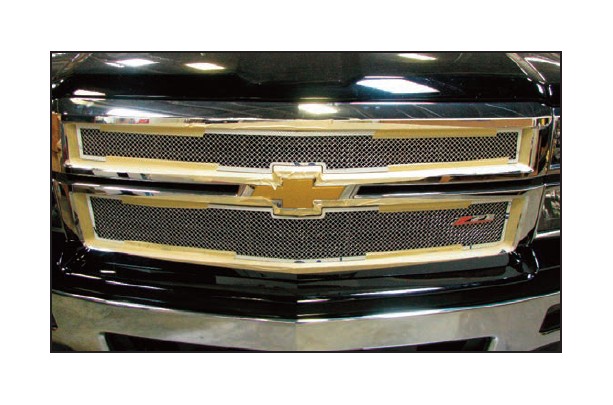
How to Install E & G E-Power Fine Mesh Upper Overlay Grilles - Black (14-15 Silverado 1500 w/ Z71 Package) on your Chevy Silverado
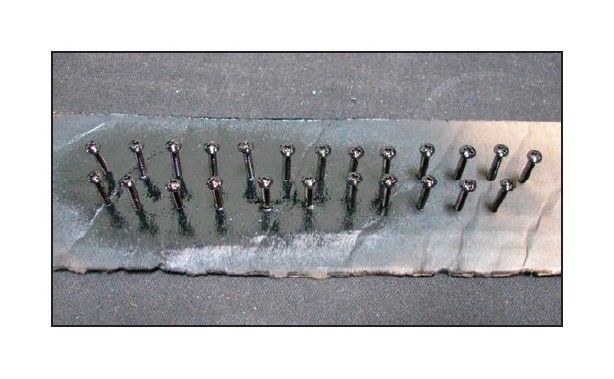
1. Thread the supplied #4 x 3/4” screws into a piece of cardboard and apply flat or semi-gloss black paint and allow to dry.
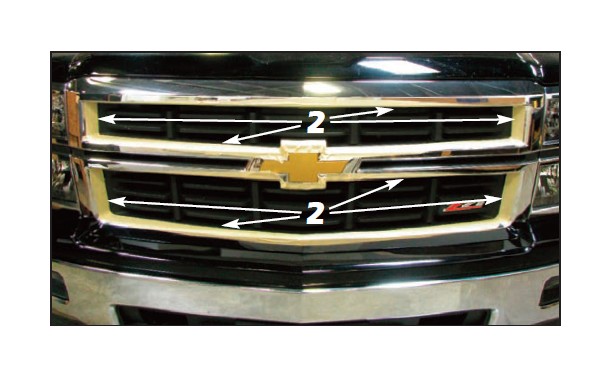
2. Apply masking tape to the chromed portion of the factory grille as shown. This will protect the chrome finish during the E&G mesh grille installation.
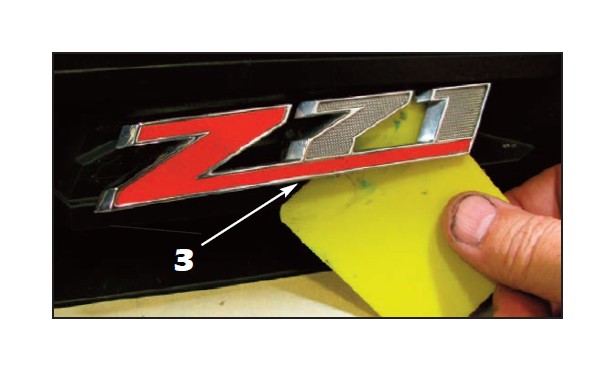
3. Use a plastic squeegee to push through the double faced tape securing the “Z71” emblem to the factory grille and remove the emblem. Do not use a metal tool such as a screwdriver or you will damage the emblem.
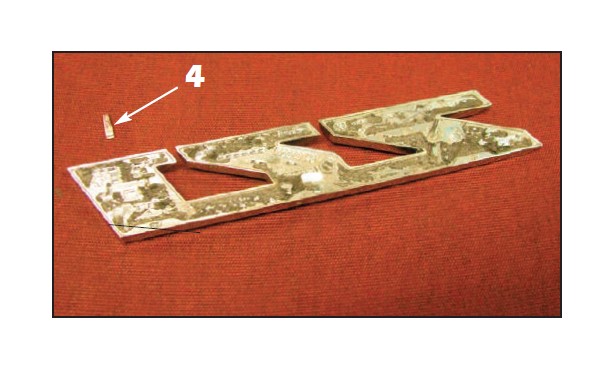
4. Remove the factory double faced tape from the back of the emblem along with the alignment pin behind of the number “1”
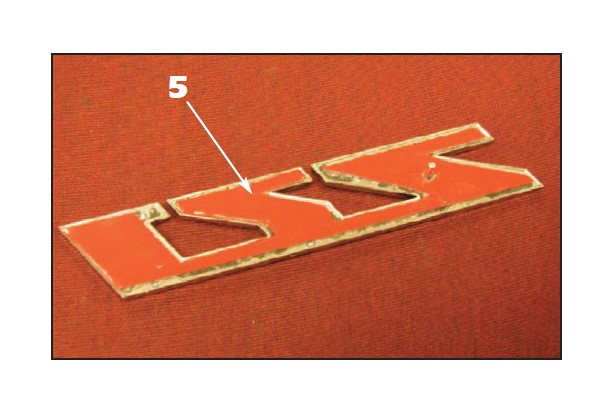
5. Using a razor blade or X-Acto knife, install the supplied double faced tape to the back of the “Z71” emblem as shown.
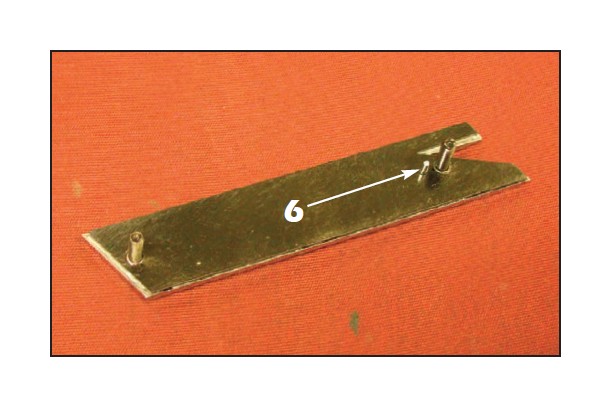
6. Install the supplied emblem mounting plate to the back of the “Z71” emblem as shown. Break off the remaining alignment pin once the emblem is pressed firmly into place to set the tape.
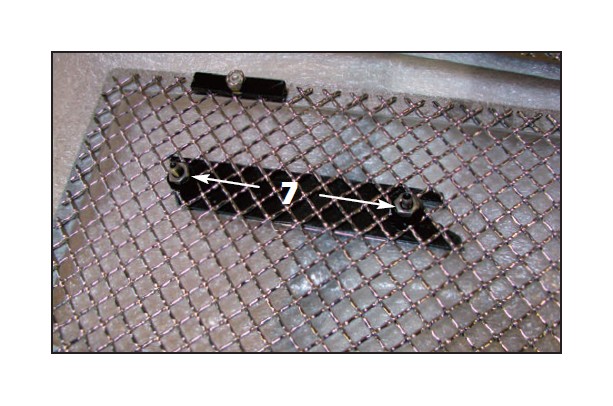
7. This photo shows the emblem installation using the supplied small black plastic washers, #10 S.S. lock washers and #8-32 S.S. hex nuts. Location is 2-1/4” over and 2-1/4” down from the upper left corner. Tighten until the emblem is snug against the mesh.
8. Align the mesh grilles into place and use wide masking tape to hold them in postion for the following mounting hardware in stallation. Make sure the emblem mounting studs do not make contact with the factory grille (mesh grille shown, E-Power mesh grille similar).
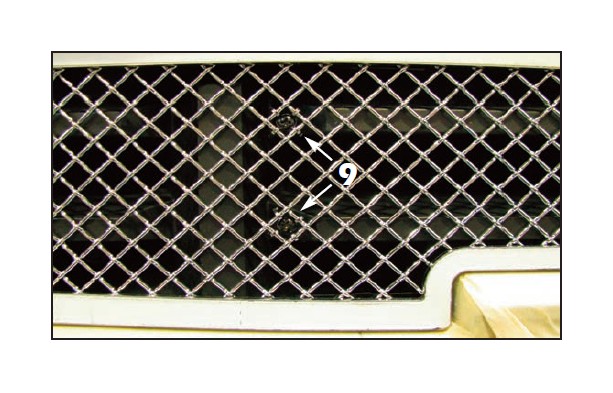
9. Start at the upper grille center. This photo shows the screws and 4- way mesh retainer locations that will secure the mesh sections to the factory grille inserts (either side of the factory emblem). The screws must be installed on the angled part where the factory grille is deep enough in order for the clips to hold the mesh tight against the factory grille insert. You can drill a 1/16” hole or allow the screws to self tap into the plastic.
10. This photo shows the screws and 4-way mesh retainer locations that will secure the mesh sections to the factory grille inserts (centered between the middle and sides of the grille). The screws must be installed on the angled part where the factory grille is deep enough in order for the clips to hold the mesh tight against the factory grille insert. You can drill a 1/16” hole or allow the screws to self tap into the plastic.

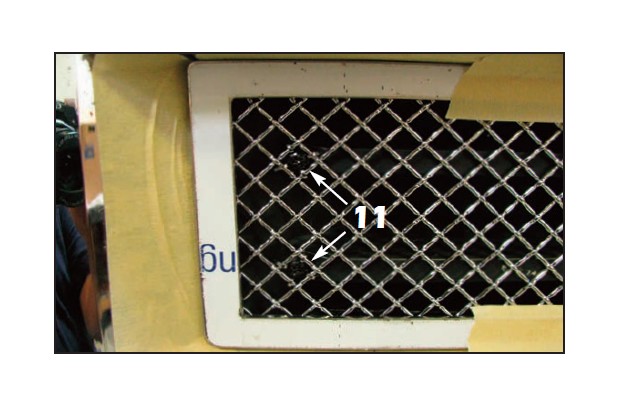
11.This photo shows the screws and 4-way mesh retainer locations that will secure the mesh sections to the factory grille inserts (at the sides of the grille). The screws must be installed on the angled part where the factory grille is deep enough in order for the clips to hold the mesh tight against the factory grille insert. You can drill a 1/16” hole or allow the screws to self tap into the plastic.
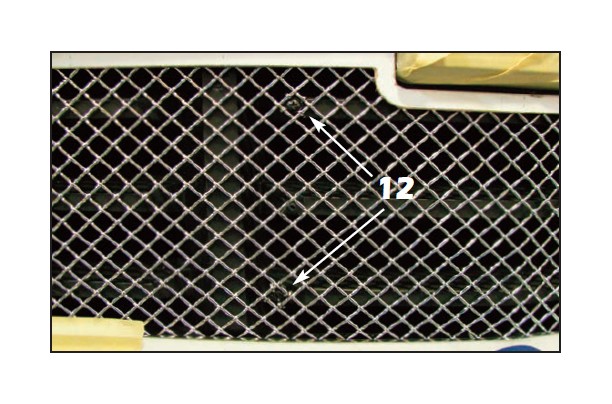
12.Star t at the lower grille center. This photo shows the screws and 4- way mesh retainer locations that will secure the mesh sections to the factor y grille inserts (left and right below of the factory emblem). The screws must be installed on the angled part where the factory grille is deep enough in order for the clips to hold the mesh tight against the factory grille insert. You can drill a 1/16” hole or allow the screws to self tap into the plastic.
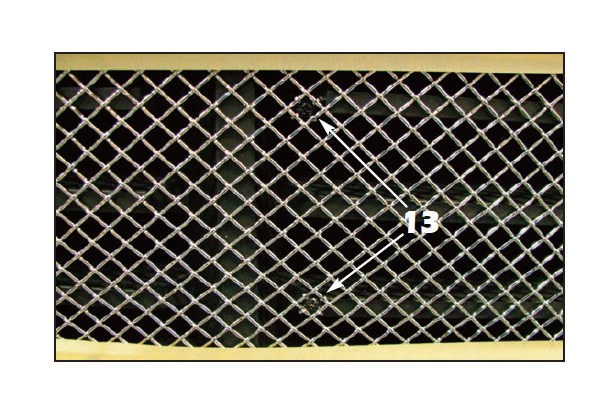
13.This photo shows the screws and 4-way mesh retainer locations that will secure the mesh sections to the factory grille inserts (centered between the middle and sides of the grille). The screws must be installed on the angled part where the factory grille is deep enough in order for the clips to hold the mesh tight against the factory grille insert. You can drill a 1/16” hole or allow the screws to self tap into the plastic.
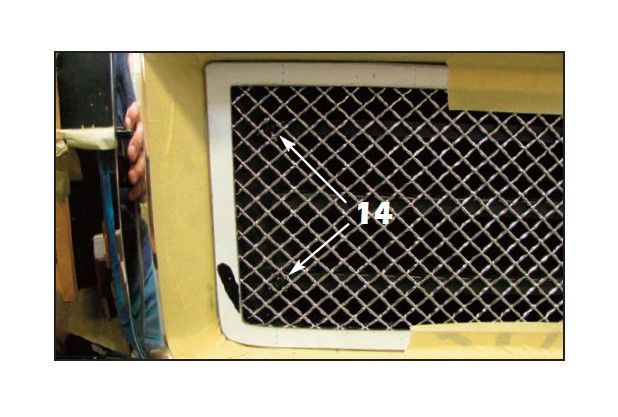
14.This photo shows the screws and 4-way mesh retainer locations that will secure the mesh sections to the factory grille inserts (at the sides of the grille). The screws must be installed on the angled part where the factory grille is deep enough in order for the clips to hold the mesh tight against the factory grille insert. You can drill a 1/16” hole or allow the screws to self tap into the plastic.
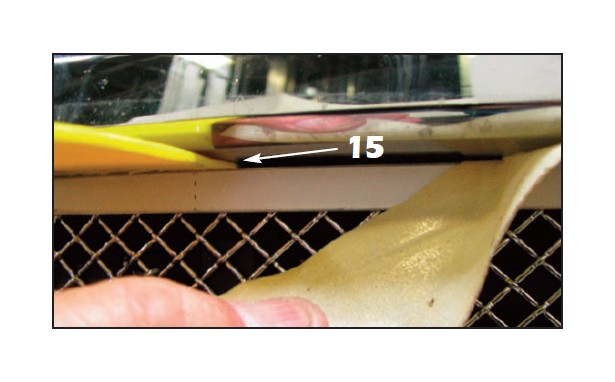
15. To remove the protective masking tape applied in Step 2, you might need to insert a plastic tool such as a squeegee to seperate the factory chrome surrounds from the stainless steel surrounds and pull the tape back over itself to minimize breaking the tape.
16. Peel off the protective covering from the grille surrounds and use a mild solvent and a soft, clean cloth to remove any glue residue. Use alcohol or glass cleaner and a soft, clean cloth to remove any solvent residue to finish the installation (not applicable on E-Power mesh grilles).