 FREE 1 to 3-Day Delivery on Orders $149+ Details
How to Install Iron Cross RS Front Bumper on your Silverado
Installation Instructions
Front Bumper Removal
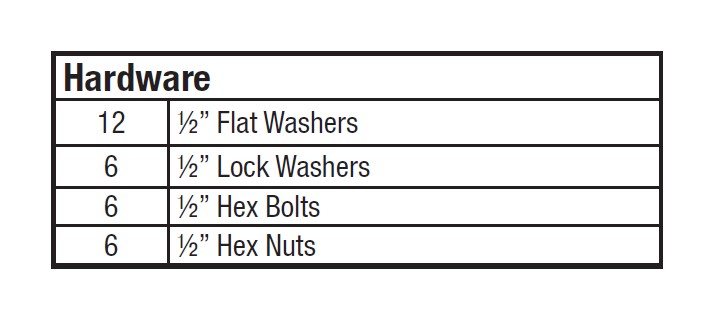
1. Open hood and remove (12) clips holding the radiator cover in place. The clips pull up as shown in Fig.1, then you can pull them out. Remove the cover and save the clips for reinstall.
2. Unhook any factory fog lights or any other wiring your vehicle may have going to the front bumper.
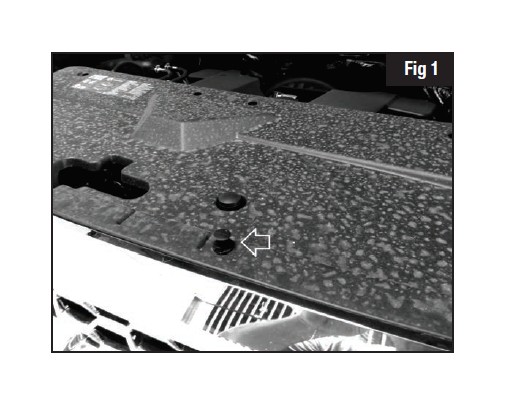
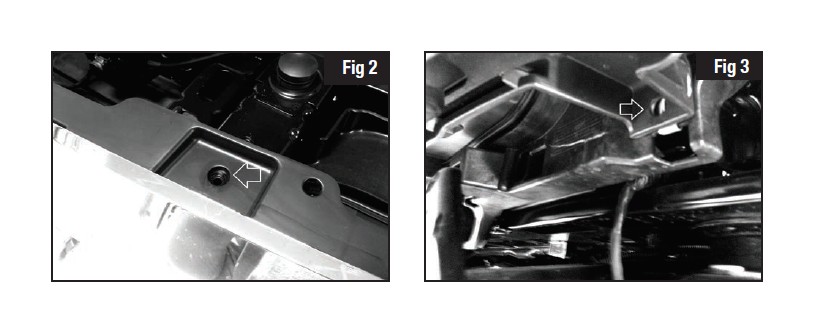
3. Unbolt the (4) bolts holding the top of the grill in place. Fig. 2. Also there are (4) bolts on the bottom side of the grill that need to be removed from underneath the truck, Fig. 3. Save all bolts for reinstall.
4. The grill we now be free from the truck but still held on by the lower grill valence. The valence is held in place by (4) screws in the inner wheel well area. Fig 4.
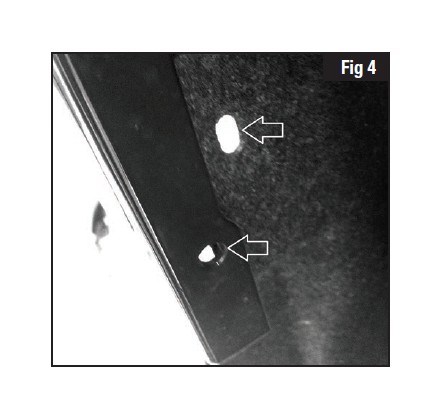
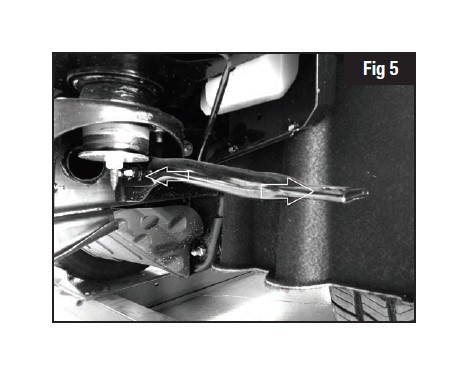
5. Now the only thing holding the grill and valance is two areas, one under the headlight and one under the fender. Gently, but quickly pull the valance out from these two spots. Once the valance is free you can remove the grill and valance as one piece from the Fig 4 vehicle. Fig 5
6. Now under the front bumper in front of the front wheels you will see an outer brace support. Unbolt the support from the bumper and the frame and remove. There are (4) bolts attaching it to the frame, and (2) to the bumper. Fig 5.
7. Remove the (4) bolts holding the factory bumper on. (2) will be on top and (2) will be accessed from underneath the truck. Fig 6.
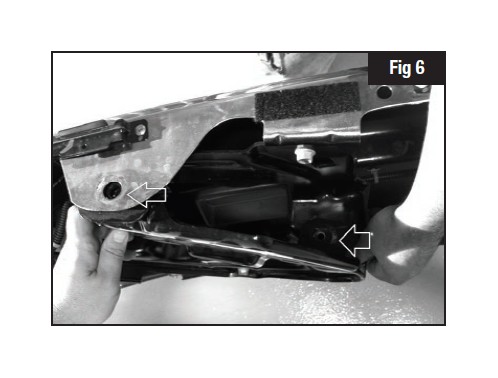
8. You can now remove you factory bumper. 7. Remove the (4) bolts holding the factory bumper on. (2) will be on top and (2) will be accessed from underneath the truck. Fig 6.
9. Remove the (4) torx screws under the headlight for the valance support that held the factory valence in place. Fig 7.

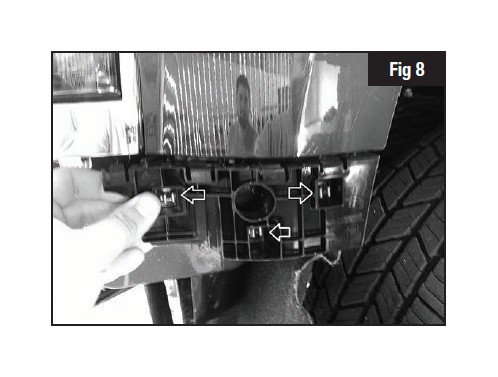
10. Remove the (6) bolts that attach the black plastic valance support under the fender also. Fig. 8.
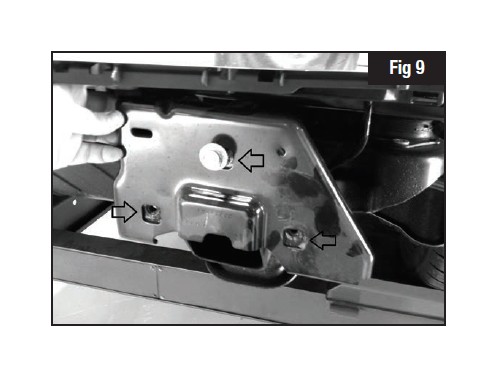
11. Remove the (6) bolts holding on the front bumper mounts. Fig 9.
12. You are now ready to install you new Iron Cross Automotive front bumper!
Front Bumper Installation
1. Reinstall your factory grill and valance repeating steps 5-1.
2. Install your new Iron Cross bumper brackets where you removed you factory ones from. Use the factory bolts to attach the brackets. The brackets should be hand tightened to allow for final adjustment. You do need to have them spaced roughly 28” apart. Any closer and the bumper cant slide in between the brackets. Fig 10.

3. Have a someone help you lift the bumper up and slide it in between the brackets on your truck. Use the (4) supplied ½” bolts to attach. Hand tighten the bolts at the time.
4. Adjust the bumper left to right, sliding the brackets to align until it is even. Once even, tighten the brackets to the truck.
5. Adjust the bumper up and down, making sure to leave at least ½” gap between the bumper and truck to allow for body flex. A good rule of thumb, is the thickness widest part of your thumb.
6. Tighten the bolts to 60 ft/lb and enjoy your new Iron Cross bumper!


