 FREE 1 to 3-Day Delivery on Orders $149+ Details
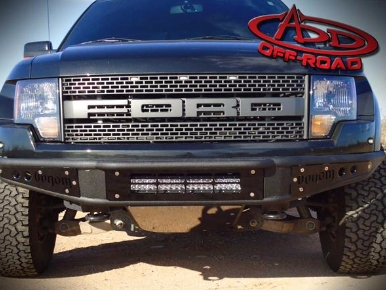
How to Install Addictive Desert Designs Venom Front Bumper on your F-150
PREPARATION STEPS
1. Disconnect the negative terminal on the battery. With the vehicle on level ground and the emergency brake set.
2. You will need the following tools:
a. ½” drill bit
b. ¾” wrench
c. ¾” Socket
d. Ratchet
e. 15MM socket and ratchet
f. Sharpie type marking pen
g. Center punch
3. Hardware Included:
a. 6 – ½” x 1 ½” Bolts
b. 6 – ½” Nuts
c. 12 – ½” Flat washers
**2 – 15mm Skid plate Bolts will be re-used in the installation
INSTALLATION INSTRUCTIONS
1. Remove factory Front Bumper and front skid plate (Keep the 2 – 15mm Skid plate Bolts for re-use) .
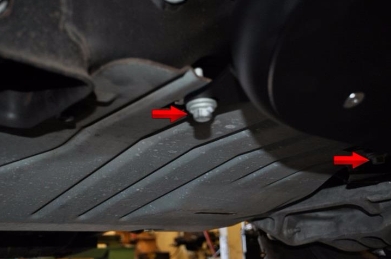
2. Fit the Bumper onto the truck and use the Sharpie to mark the frame horn to drill the ½” holes. The red arrows are the holes to be drilled, the blue arrows show the factory slots. Slots and holes will be opposite for the Drivers side
***If you purchased lights that fit behind the bumper, now is a good time to install those into the bumper****
3. Fit the bumper back onto the truck and attach using the supplied ½” x 1 ½” Bolts (6 ea.), ½” Nuts
6 ea.) and ½” Flat Washers (12 ea.). Leave finger tight until all of the bolts are installed, then tighten to 70 ft./lbs.
***The Upper outside holes will not be used and the holes will be kept open.***
4. Attach the lower section using the 2 – 15mmSkid Plate Bolts taken from the factory skid plate.
5. Step back and enjoy your new A.D.D. bumper.
6. Check, and re-tighten if needed, all mounting bolts after 100 miles and periodically thereafter.

