FREE 1 to 3-Day Delivery on Orders $149+ Details
How to Install ZRoadz 50 in. LED Light Bar w/ Front Roof Mounting Brackets (07-13 Silverado 1500) on your Chevy Silverado
Installation Time
3 hours
Tools Required
- Tapered 1 /2” drill bit or car reamer
- Drill
- Air Hose & Nozzle
- Alcohol Cleaning Solution
- Cleaning Rag
- Socket Set & Ratchet Tool
- Ratchet Extensions
- Various Wrenches
- Dikes or Snips
- Torq Bit Set
- Heat Gun

Shop Parts in this Guide
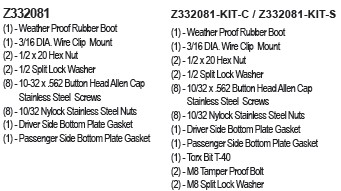
Parts included
(1) - Driver Side Roof Mount Upright
(1) - Passenger Side Roof Mount Upright
(1) - Driver Side Curved Coupler
(1) - Passenger Side Curved Coupler
(1) - Driver Side Straight Coupler
(1) - Passenger Side Straight Coupler
(1) - Hardware Pack
LED LIGHTS included
Z332081 - No LED Lights Included
Z332081-KIT-C - (1) ZROADZ 50” Curved LED Light Bar
Hardware Included
START HERE
PLEASE READ AND UNDERSTAND ALL INSTRUCTIONS BEFORE INSTALLATION. Auto makers offer varied models to each vehicle and occasionally manufacture more than one body style of the same model. To assure your part is correct; our tech department can be contacted at [email protected] to verify fitment and assist with technical questions. All other inquires can be directed to [email protected]. In the event you do not have internet access please call 844-653-8040
BEFORE YOU BEGIN
START HERE: Turn off engine, chalk tires with stop block, open the hood and disconnect the battery.
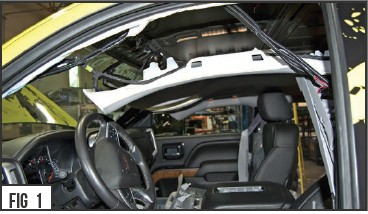
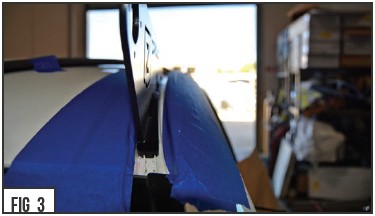
1) Drop OEM headliner down to allow access to the inside of vehicle roof moulding, per industry “R&R“ method..
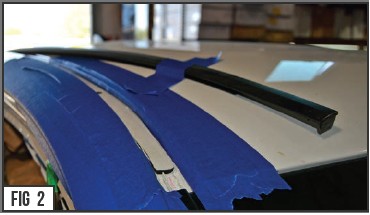
2) From above, remove or push to the side roof seam moulding. (The Black Rubber Strip near both top edges of vehicle cab.)
3) Located closest to the front windshield, remove mounting studsi n roof seam channel on driver and passenger side that attach the moulding to the roof. A heavy duty pair of dikes or snips will make quick work to pinhc stud off. Make flush with roof channel and then touch up bare metal whit paint. Let paint dry.
IMPORTANT NOTE
Clear the channel of any obstructions including any channel moulding mounting posts where the bracket will install. If the channel has body seam sealer that does not span the width of the channel it must bee rmoved for the distance that the bracket will come in contact with the roof channel. Replace any seam sealer with RTV silicone (STEP #29) and apply in a manner that yields a flat surface for the gasket to contact the roof.
4) Obtain the supplied roof mount base gaskets to use as a template to locate the drill hole location. Lay the gasket in the roof channel. DO NOT REMOVE THE GASKETS ADHESIVE LINER.
Make sure to gasket is centered transversely (from right to left) in the channel. The front to back location of the gasket should be 1 /4” from the top edge fo the windshield glass to the end of the front of the gasket.
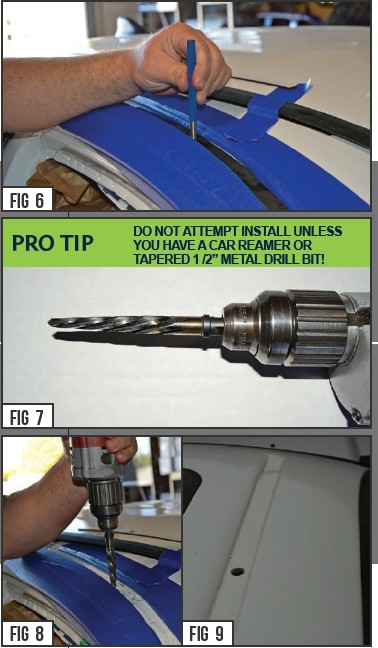
5) Using the gasket hole as a locator, center punch the pilot hole location.
With the interior roof free and clear, drill a 1 /4” hole in the roof gutter to pilot the mounting hole. Use a car reamer (as seen in Figure #7) or tapeerd 1/2” metal drill bit to open the hole to a final diameter of 1/2” .
With the holes drilled through, clean off all drilling debris and flash INSIDEA ND OUTSIDE OF THE DRILL HOLE LOCATIONS. This is a very important to create a flush sealing surface and you do not want to leave any chance o rfust occurring. Perform this step for both sides of the roof.
Drilling vehicle roof
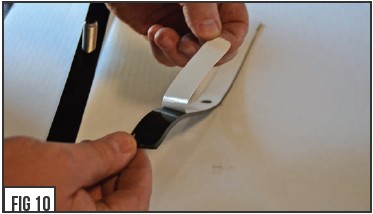
6) Clean the base of the supplied roof brackets with alcoho l. Once dry remove the liner of the base gaskets from step #4 and apply the gasket to the base of each bracket.
7) Before you install the bracket to the roof, check that the threads on the post after coming through the roof are clean.
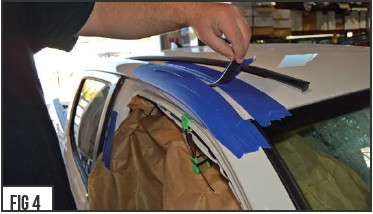
Install roof mount to roof
8) Use a thin layer of clear RTV Silicone around outside of each drilled hole to help with weather proofing and sealing.
9) With the roof and channel area debris free and wiped down clean with alcohol cleaning solution, align the ZROADZ LED Mounting bracket to the roof and insert the through bolt threads down into the drilled hole.
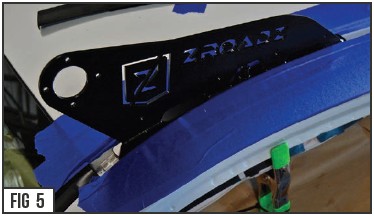
Make sure the outside of the upright is coated black and says ZROADZ while the inside of upright presents the aluminum skin. Inspect yourw ork to make sure you are happy with the position and then repeat for othesr ide.
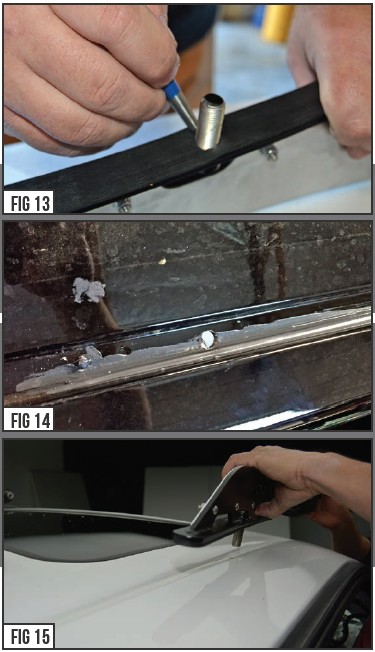
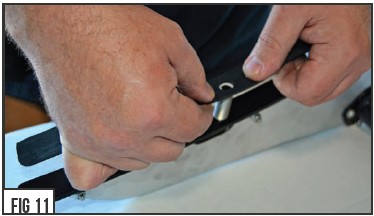
10) With the two brackets installed, check that the threads on the post after coming through the roof are clean. Install the split lock washer and the hex nut and tighten securely
11) Check to make sure the upright is secured and firmly attached to top side of roof.
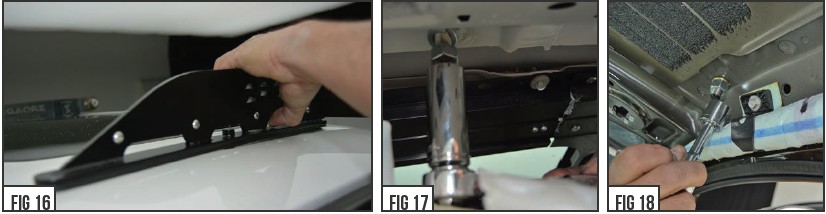
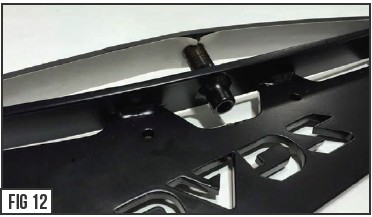
LED Light Install
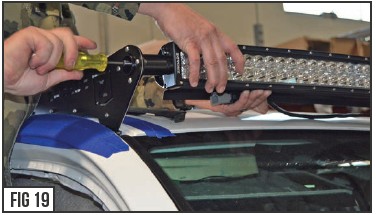
12) Obtain the supplied security torx, lock washer and tool bit from the hardware pack. With a friend’s help, install the 50” light to the brackets with the wire on the drivers side.
Tighten hardware by giving the torx bit some extra leverage.
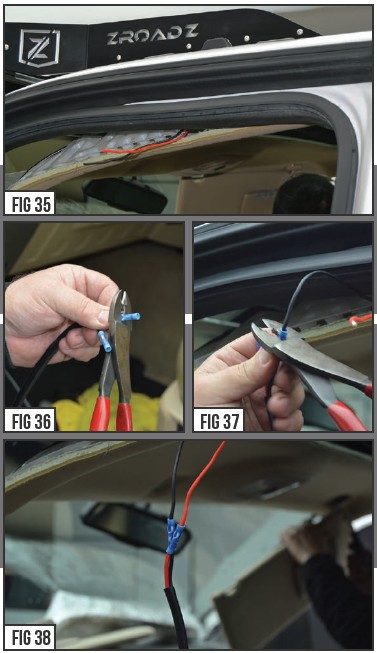
13) Secure the wire to the driver bracket with supplied wire clip and nut. Leave slack in the wire from LED to the wire clip for some movmeent & available adjustment.
14) Cut the LED light wires. Leave enough room for the insulation to be removed and the red and black wires to pass though the roof via the “Through Bolt Down Tube”.
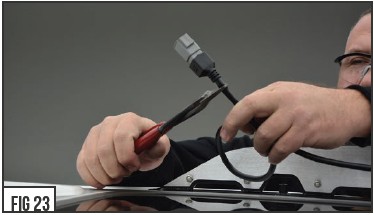
15) Trim back a large amount of the insulation sheath off the LED Wires so that you can slip them through the rubber weathe r proofing boot.
To expose the wires, a sharp razor could easily splice open the insulation sheath.
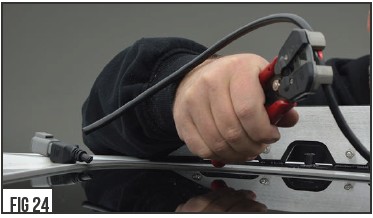
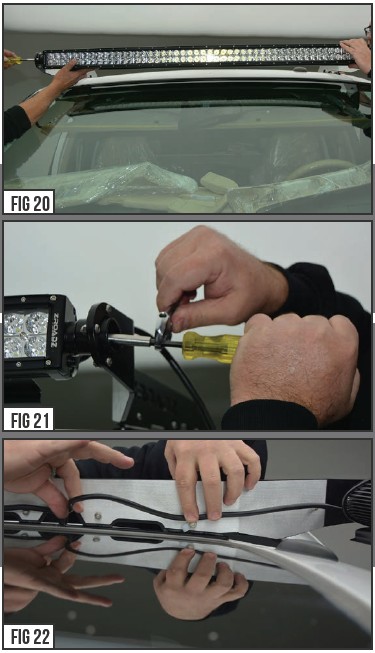
16) Install 1/4” heat shrink insulation over wires as shown in Figure #25. Shrink insulation with heat gun or similar
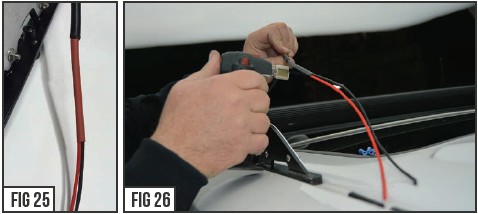
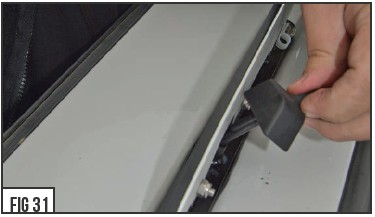
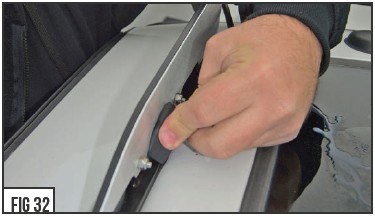
17) Use a 50/50 mix of dish soap and water solution to install supplied boot over wire as shown on page #2 Fig. 6 .
Pass the wire though the tube. Use a liberal amount of solution on the bracket around the area where the boot installs to aid in slipping theb oot over the post.
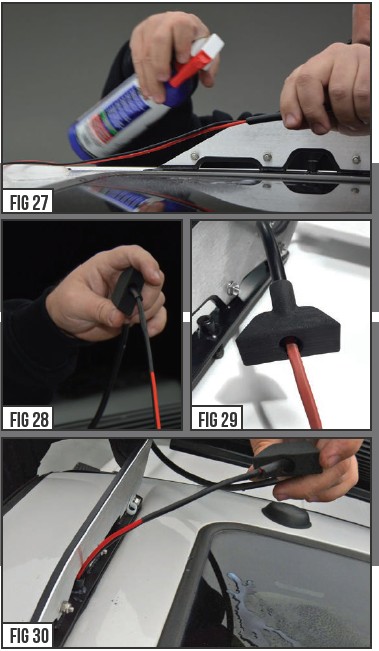
18) Stuff the boot into the bracket opening and over the down tube upright.
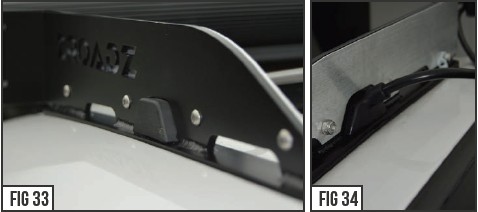
19) With the rubber boot fully seated (as seen in Figures #33 & 34 ) you are now ready to finish wiring up the LED Light bar to a winirg harness.
After wiring is complete, re-install vehicles’ interior in the reverse order it was removed according to industry “R&R“ method.
20) Wire LED Light with a ZROADZ optional wiring harness kit (part# Z390020S-A) or by utilizing a compatible custom wiring harness .ZROADZ recommends LED Lights be wired with ZROADZ harness kit (part# Z390020S-A).
21) To adjust the angle of your Light Bar, rotate the LED(s) to adjust the angles till your desired light pattern is reached.T here will be minimal adjustment due to curved light bar orientation. You may than tighten the hardware and secure everything into place. Be careful not to over tighten the mounting hardware.
It is best to adjust the angle with the vehicle on level groun dwith lights facing a wall, garage door or other solid barrie.r We recommend checking from a distance of 25’. Your installation is now completed.