FREE 1 to 3-Day Delivery on Orders $149+ Details
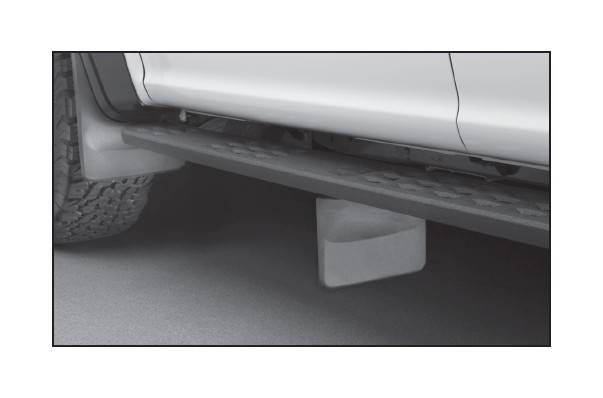
How to Install Weathertech Front No Drill MudFlaps - Black (17-18 Raptor) on your Ford F-150

Shop Parts in this Guide
Thank you for purchasing the WeatherTech® No-Drill MidFlap. Please read this installation guide to thoroughly familiarize yourself with the steps to install the MidFlap on your vehicle. When properly installed, the WeatherTech® No-Drill MidFlap will provide you with years of protection.
1. Start by thoroughly washing your vehicle. Take care to remove all dirt, debris, and stains from each running board in the areas corresponding to where the MidFlaps will be installed.
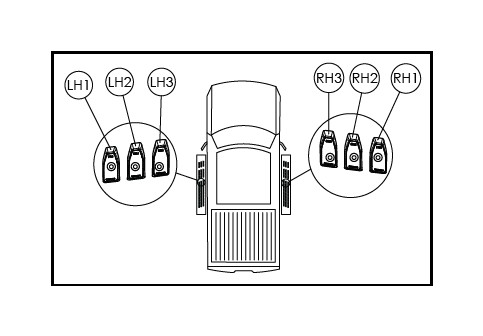
2. Park the vehicle on level ground. Begin with the driver’s side MidFlap installation.
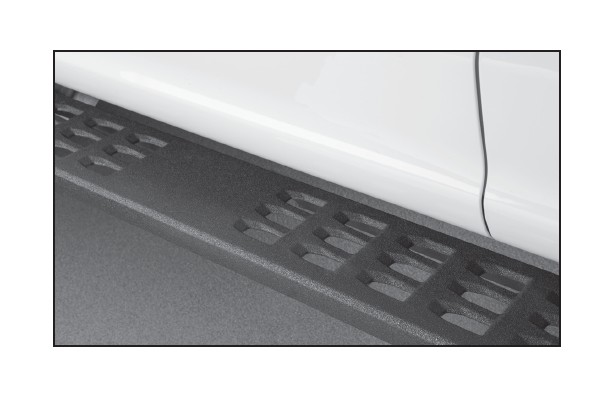
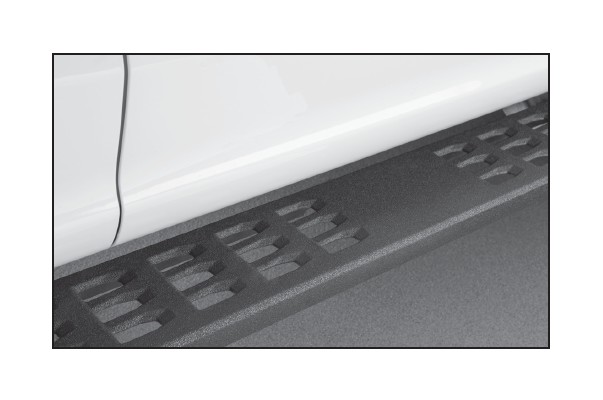
3. Locate a position on the running board where the MidFlap will be attached. (See diagram below)
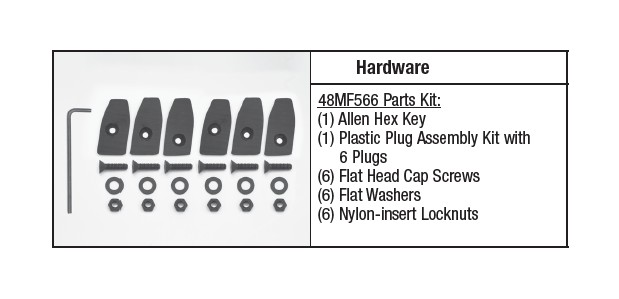
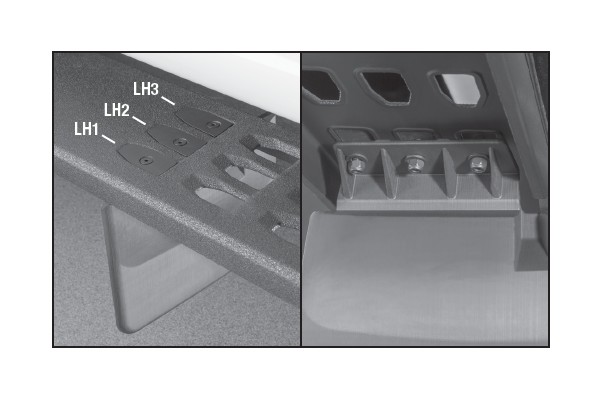
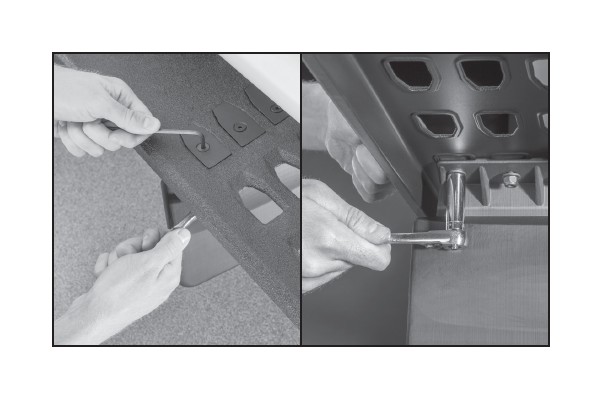
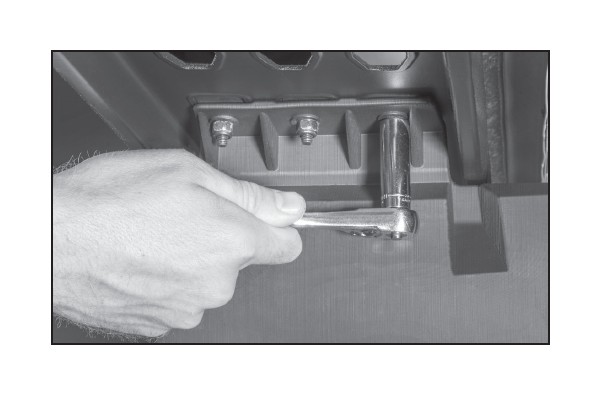
4. Place the MidFlap marked “LH,” up to the underside of the running board while lining up to the holes in the board. Next, take the supplied plastic plug marked “LH2,” and place it in the middle hole of the running board. Then, take (1) supplied flat head cap screw and put it through the plug and MidFlap.
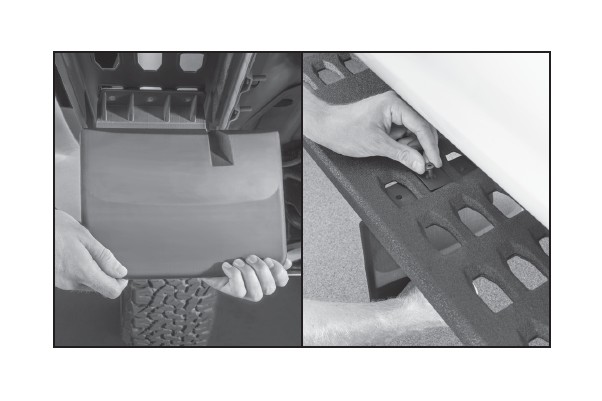
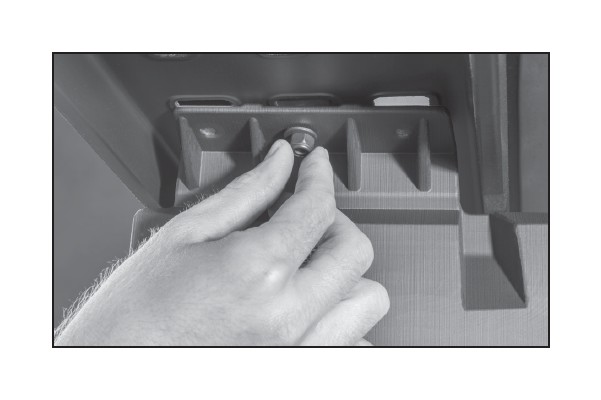
5. Take (1) supplied flat washer and (1) supplied nylon-insert locknut and turn it on the screw thread to hold the MidFlap onto the running board so remaining hardware can be attached.
6. Repeat Steps 4 and 5 with the two remaining supplied plastic plugs and hardware with “LH1” being the outermost plug and “LH3” being the innermost plug on the running board.
7. Once each locknut has been started on each screw thread, place and hold the supplied Allen hex key on top of one of the flat head screws. Then, use a ratchet and 7/16" deep socket on the corresponding locknut and tighten to a snug fit. Repeat for each fastener set.
8. With the MidFlap positioned correctly on the running board, fully tighten the (3) plug and fastener sets.
9. Install the passenger side MidFlap marked “RH,” repeating Steps 3-8.
10. Congratulations! Your new WeatherTech® No-Drill MidFlaps have been installed!