


Installation Time
(approx) 1 Hour
Difficulty Level:
Simple installation for anyone.
Installation Guides
No guide available for this part yet.
 FREE 1 to 3-Day Delivery on Orders $149+ Details
$94.99 pair
CONFIRM THIS FITS YOUR VEHICLE!
Saved - View your saved items
We're sorry. We couldn't save this product at this time.
or use
Oracle ColorSHIFT RGB Demon Eye Headlight Upgrade (19-22 Silverado 1500)
 8
8
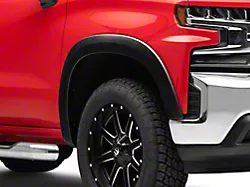
RedRock OEM Style Fender Flares (19-21 Silverado 1500)
 340
340
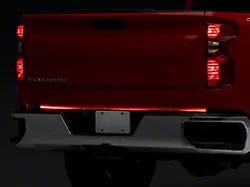
Rough Country Offroad 60-inch Premium Quad-Row Multi-Function LED Tailgate Light Strip (Universal; Some Adaptation May Be Required)
50
Features, Description, Reviews, Q&A, Specs & Installation
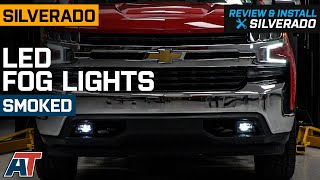
Reliable and Bright Fog Lights. These LED Fog Lights; Smoked are excellent replacements for your truck’s damaged stock units. They are stylish, classy fog lights that come with a switch to provide reliable lighting during inclement weather conditions.
High-Quality Construction. These fog lights have built-in 12-volt white LED bulbs for bright illumination on the road. They are housed in acrylonitrile butadiene styrene (ABS) plastic with polycarbonate smoked lens for style, durability, and lighting performance.
Plug-and-Play Installation. These fog lights are direct replacements for your truck’s factory parts. They come with wiring harnesses to ensure proper and complete installation.
Application. These LED Fog Lights; Smoked fit the 2019-2021 Chevrolet Silverado 1500 models.
CA Residents:  WARNING: Cancer and Reproductive Harm - www.P65Warnings.ca.gov
Installation Info
Installation Time
(approx) 1 Hour
Difficulty Level:
Simple installation for anyone.
Installation Guides
No guide available for this part yet.
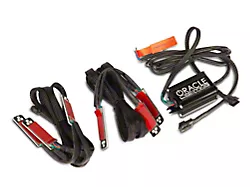
What's in the Box
