FREE 1 to 3-Day Delivery on Orders $149+ Details
How to Install Roush Cold Air Intake on your F-150
Installation Time
1 hours
Tools Required
- Metric 1/4" Drive Socket Set
- Flat-head Screwdriver
- Trim Tool
- Pliers
- Drill
- 17/64" Drill Bit
- Center Punch

Shop Parts in this Guide
SECTION A – REMOVAL
The following section will guide you through the removal of the stock components. Special care should be taken to label fasteners and parts that are taken off during this procedure since many will be reused.
1. Cover both fenders with fender covers to protect the vehicle finish.
2. Disconnect the battery ground cable.
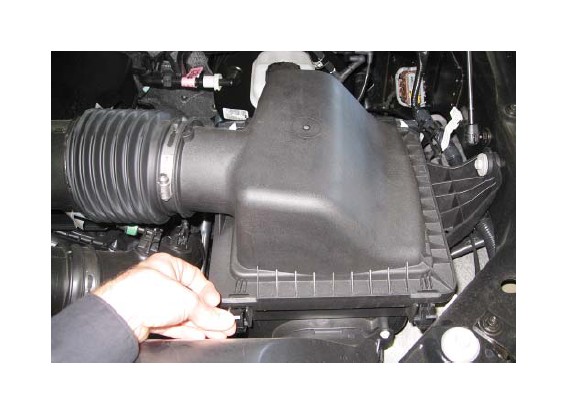
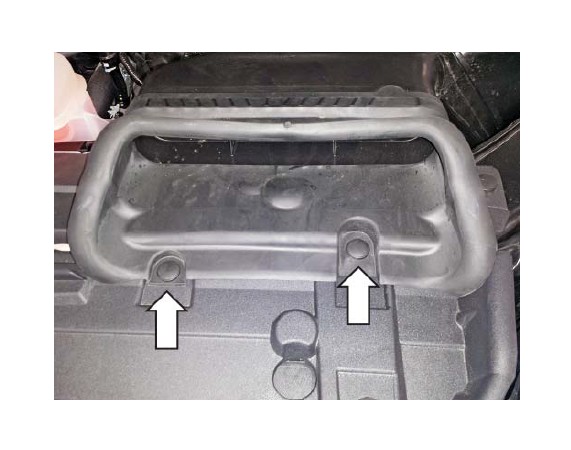
3. Release both clips holding the lid on the air box.
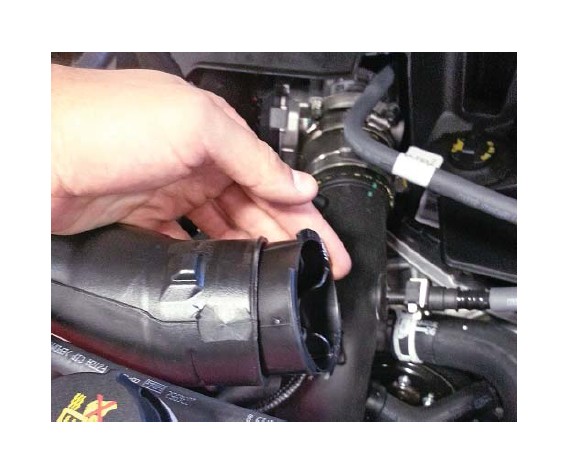
4. Loosen the clamp between the clean air tube and the passenger side turbo inlet.
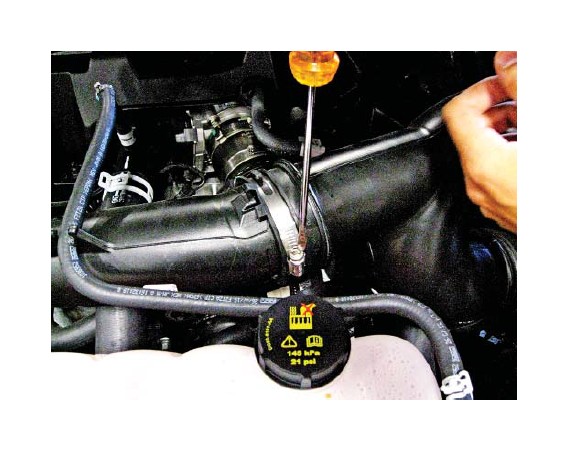
5. Loosen the clamp between the clean air tube and the driver side turbo inlet.
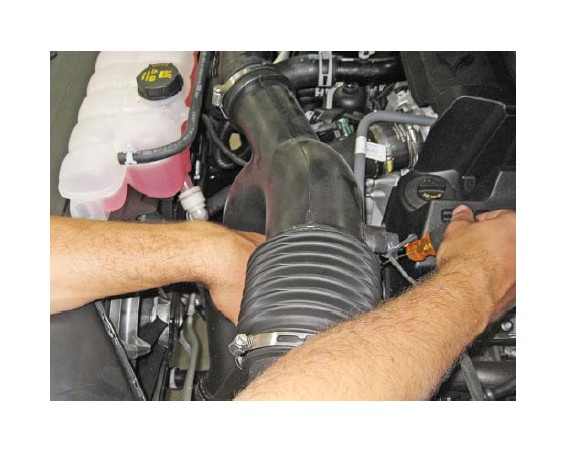
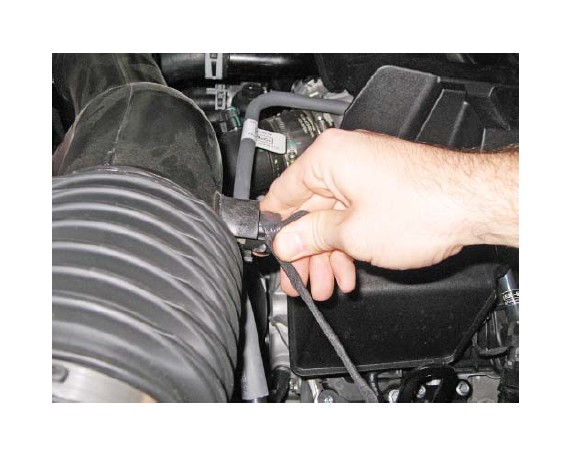
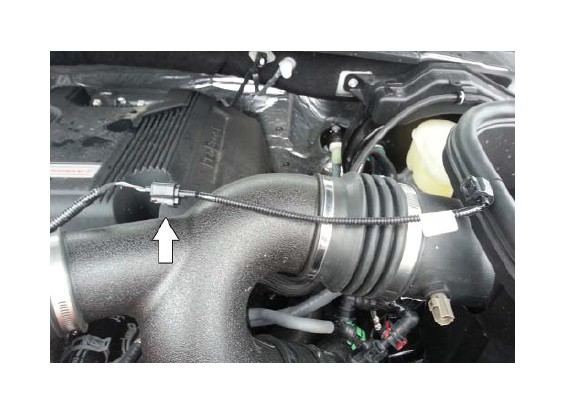
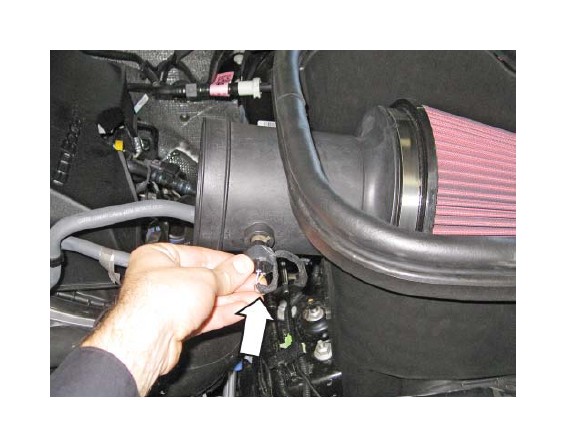
6. Remove the IAT by twisting the sensor.
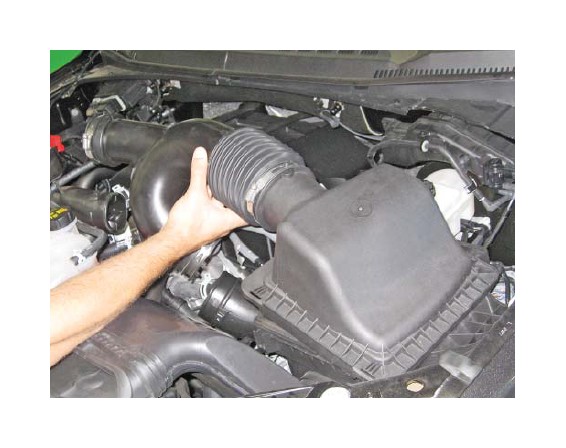
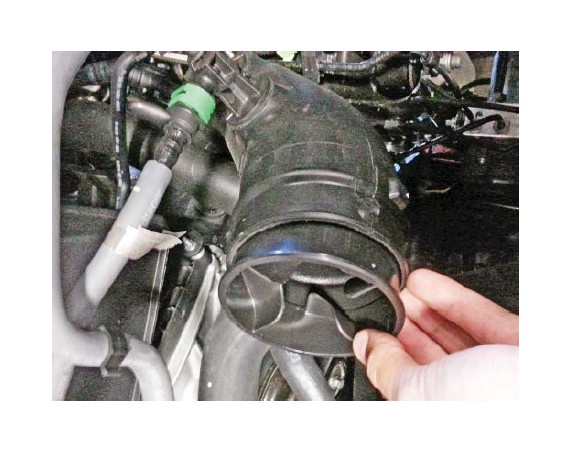
7. Remove the clean air tube and air box lid from the vehicle.
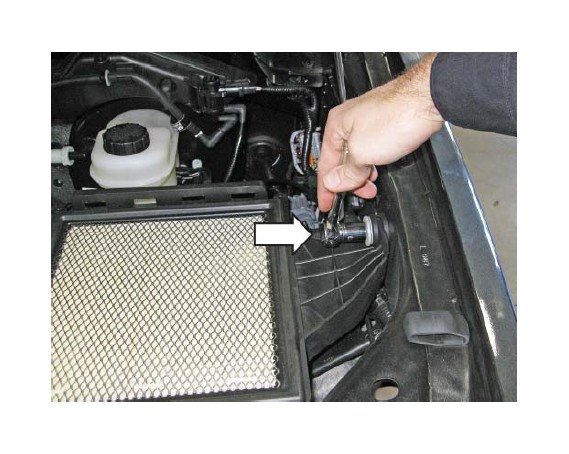
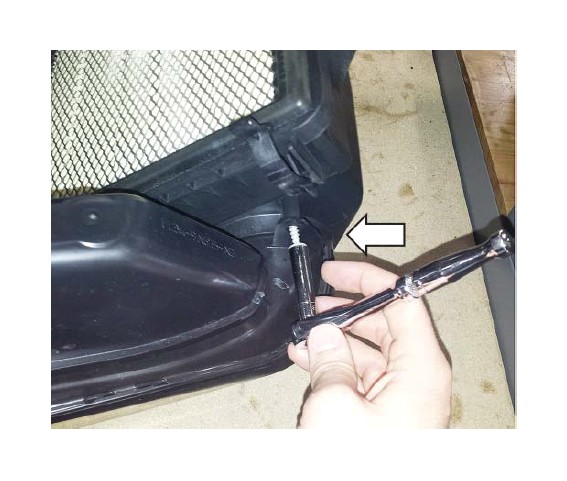
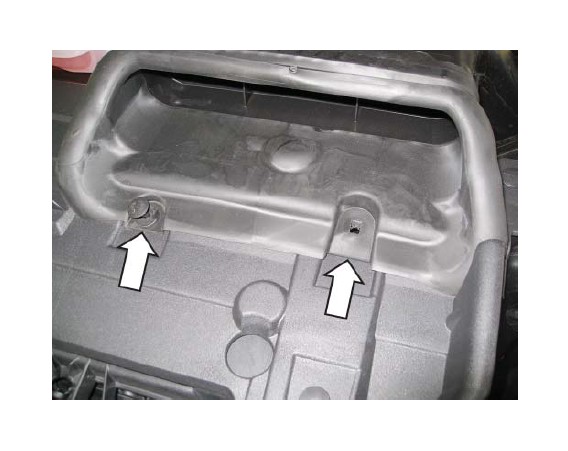
8. Remove the bolt retaining the stock air box to the inner driver side fender. Retain the bolt, sleeve and grommet for later use.
9. Remove the two (2) push clips retaining the dirty air inlet duct to the grill closeout.
10. Remove the lower air box and dirty air duct from the vehicle.

11. Remove the self-tapping screw retaining the dirty air inlet onto the lower air box.
12. Remove the dirty air inlet from the lower air box.
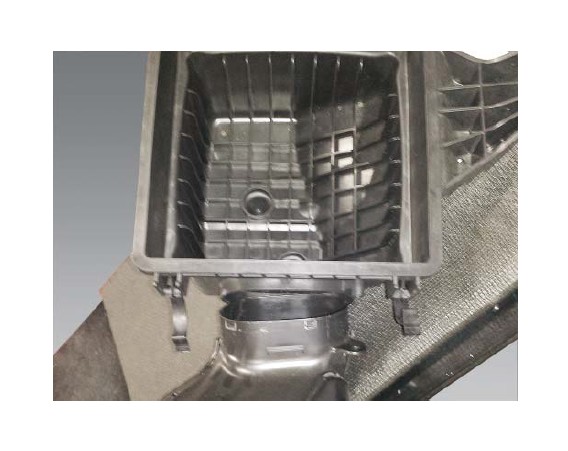
13. If necessary, remove the two (2) rubber grommets from the bottom of the air box and reinstall them into the tray below the air box.
SECTION B — INSTALLATION
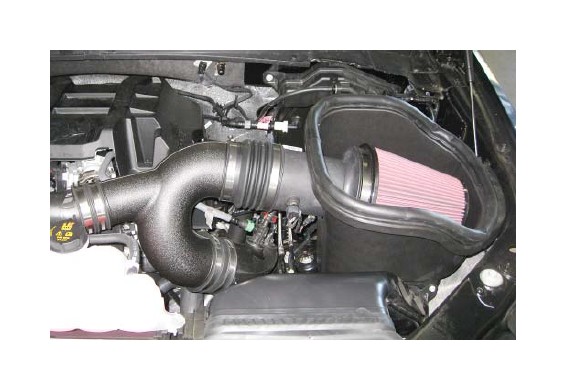
1. Insert the dirty air inlet into the Roush air box (P/N: 1115-9A612). Reuse the self-tapping screw that was removed earlier. Tighten to 3 Nm.
IMPORTANT: Do not remove the shown silencer rings.
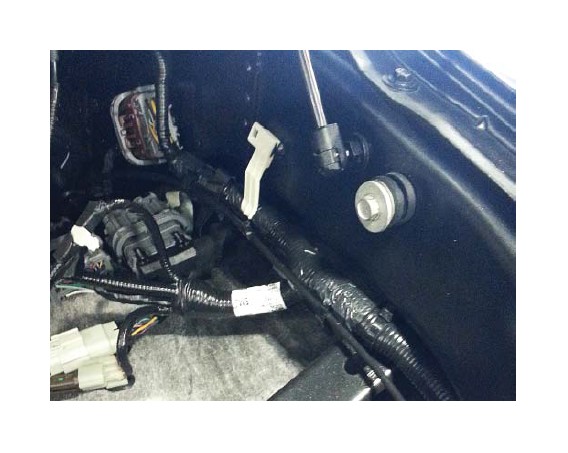
2. Reinstall the bolt, grommet and sleeve into the driver side fender. Tighten the bolt to 17.5 Nm.
2015-2016 F-150 proceed to step 9.
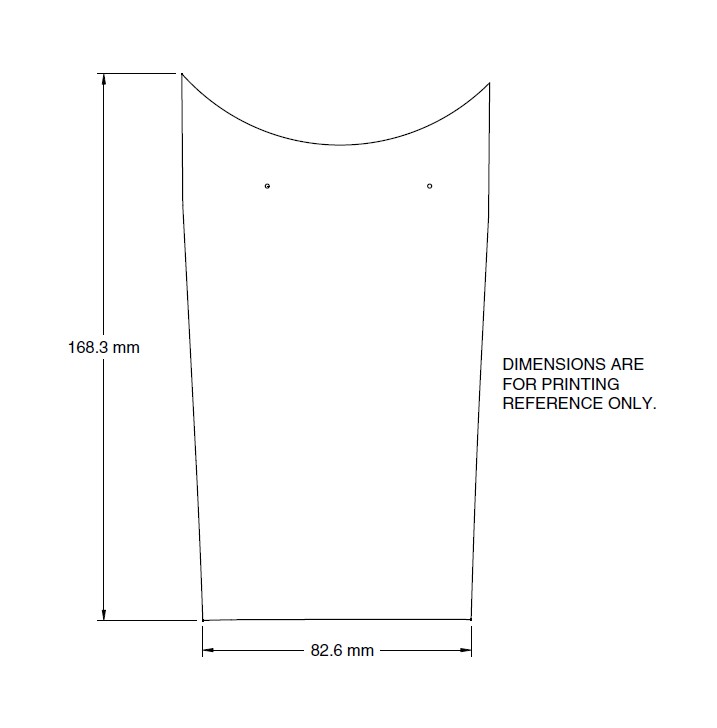
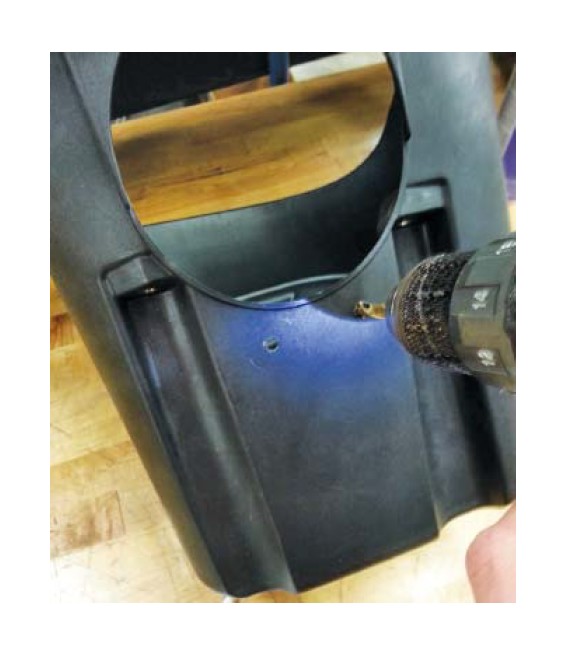
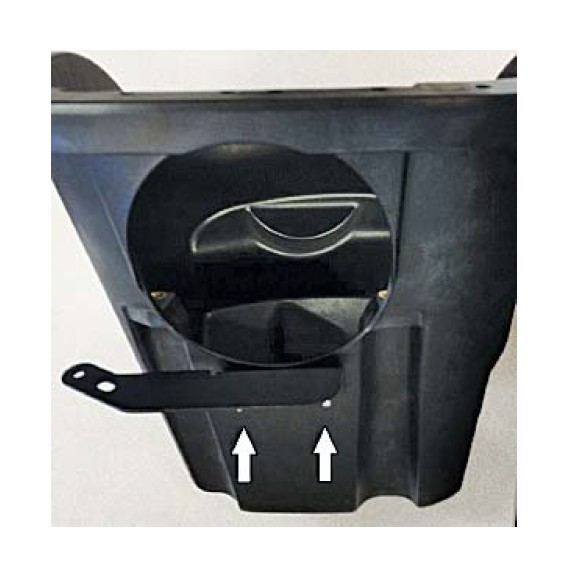
3. Print out the template and make sure the dimensions are correct. Cut out the template.

4. Tape the template to the side of the air box. Use a punch to mark the two (2) drill holes.

5. Drill the holes out using a 17/64" drill bit.
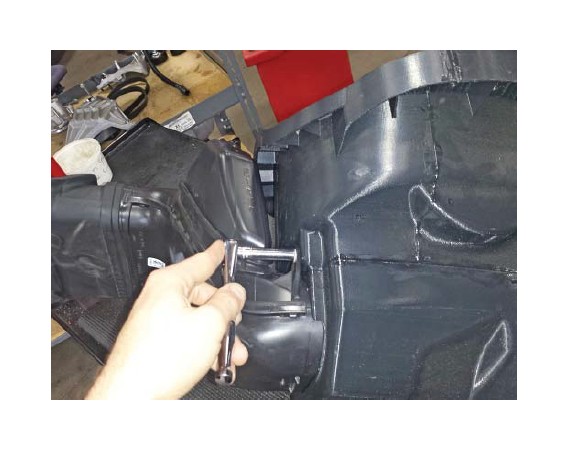
6. Mount the bracket (P/N: 117-9B611) to the outside of the air box using two (2) M6 bolts (P/N: W500013-S307). Torque to 10 Nm.
7. Install the Roush airbox into the truck by locating the two (2) bosses on the bottom of the box while aligned to the grommet.

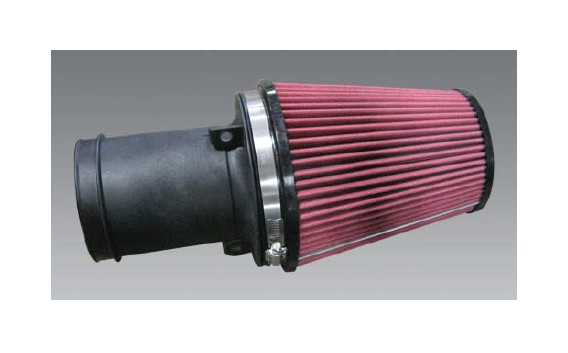
8. Install the air fi lter (P/N: 131550-9601R) onto the fi lter tube (P/N: 111550-12B579) and tighten the clamp to 3 Nm. Make sure the fi lter is installed (as shown) with the metal rib down.
9. Slide the fi lter and tube assembly into the air box. Twist the IAT sensor into the port as shown.
NOTE: 2017 F-150 use the IAT sensor jumper harness (P/N: 117-12A690) to connect the IAT sensor.
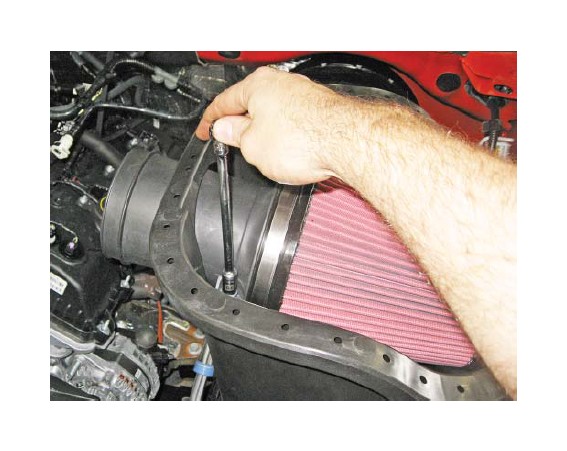
10. Install the two (2) M8 bolts (P/N: W500224-S437) and tighten to 10 Nm.
11. Install couplers and clamps onto the clean air tube (P/N: 1115TT-9B660) as shown. Tighten the clamps retaining the coupler to the tube to 3 Nm. Leave the outside clamps loose (coupler: top P/N: 1115TT-9B663, bottom P/N: 1115TT- 9B661, left P/N: 1115TT-9B662) (clamps: top P/N: R07130028-13, bottom P/N: R07130015-13 and P/N: R07130028-13, left P/N: 308707426).
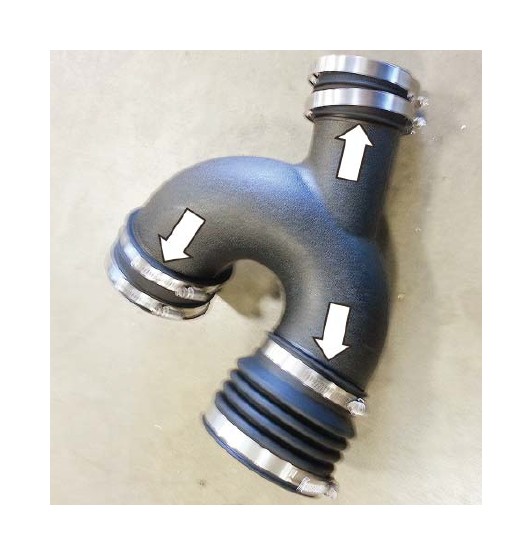
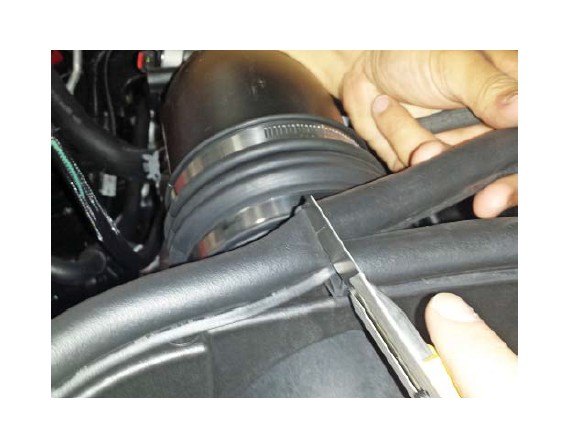
12. Install the clean air tube assembly between the throttle body and the air box. Tighten the clamps to 3 Nm.

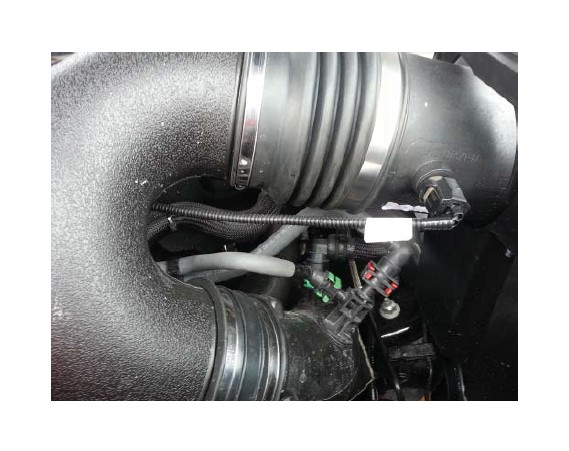
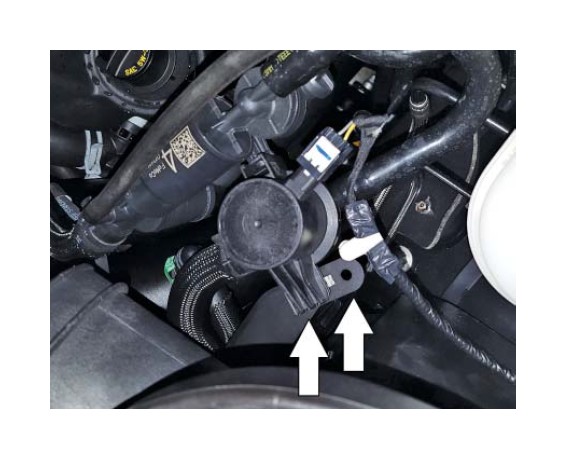
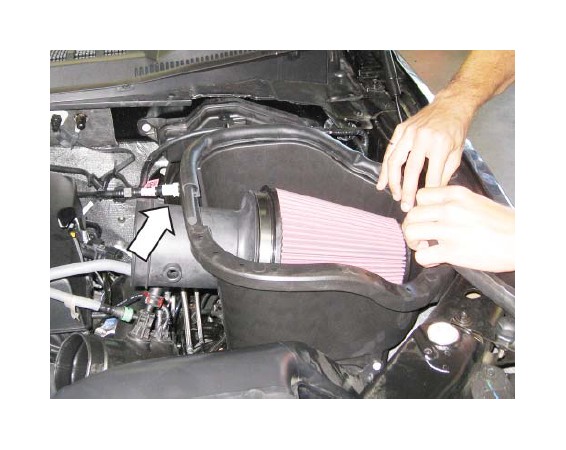
13. Clip the harness and vacuum line into position on the air box bracket.
14. Reinstall the two (2) push pins into the dirty air inlet.
15. Insert the seal fi ller (P/N: 1115-9B624FOAM) halfway into the air box seal (P/N: 1115-9B624) as shown.
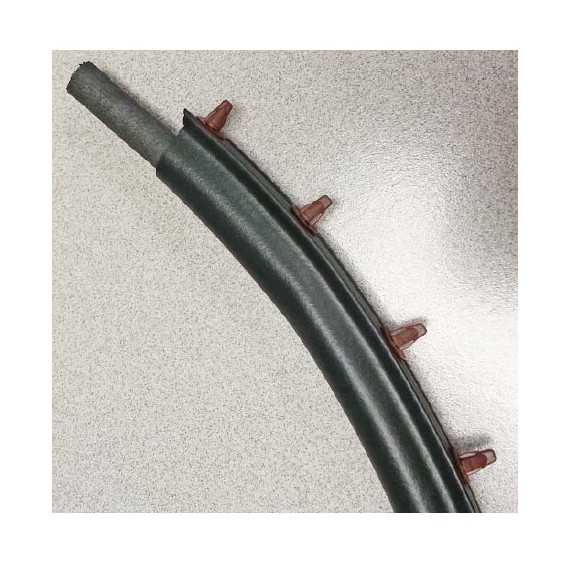
16. Install the air box seal starting in the location shown. You may need to trim your seal to the correct length. (NOTE: Start the seal at the middle of the inlet tube.)
17. The installation is now complete.