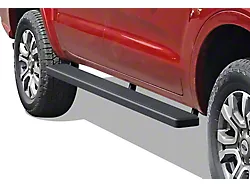
How to Install Raptor Series 7 in. SSR Stainless Steel Running Boards - Polished- Rocker Panel Mount
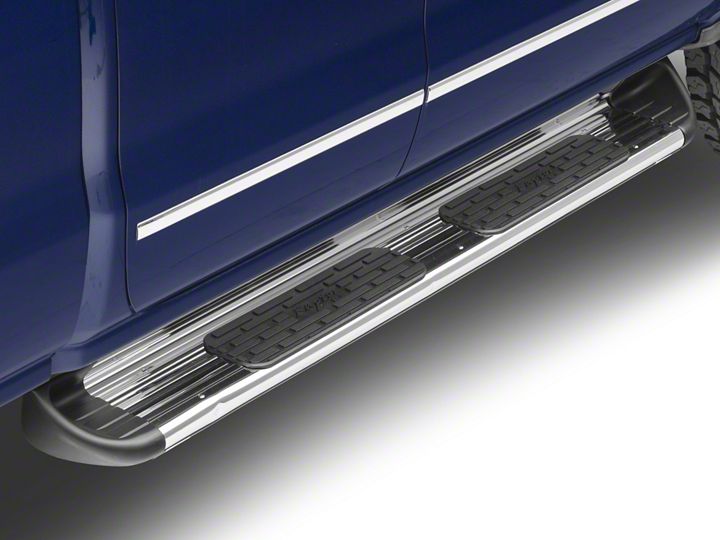
Shop Parts in this Guide
Torque Specifications:
For Rocker Panel Installations
M8 through M12 sized bolts/nuts are set to 15-20 ft lbs.
Note: When installing the brackets and boards, all hardware must be left loose until all the items are attached.
1. Remove all contents from the package and check stainless steel tubes for any damage. Also, verify that all components and hardware listed above are included before you begin installation.
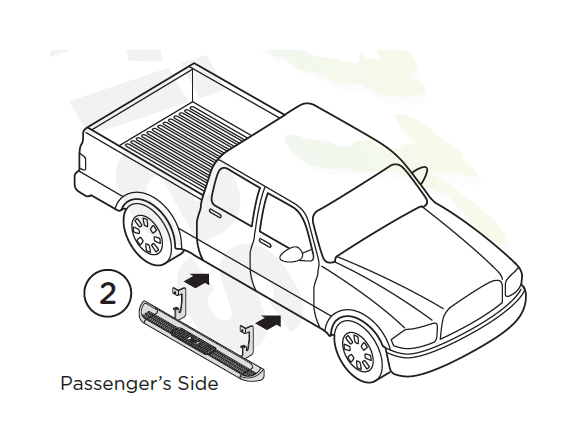
2. Begin installation on passenger's side of vehicle.
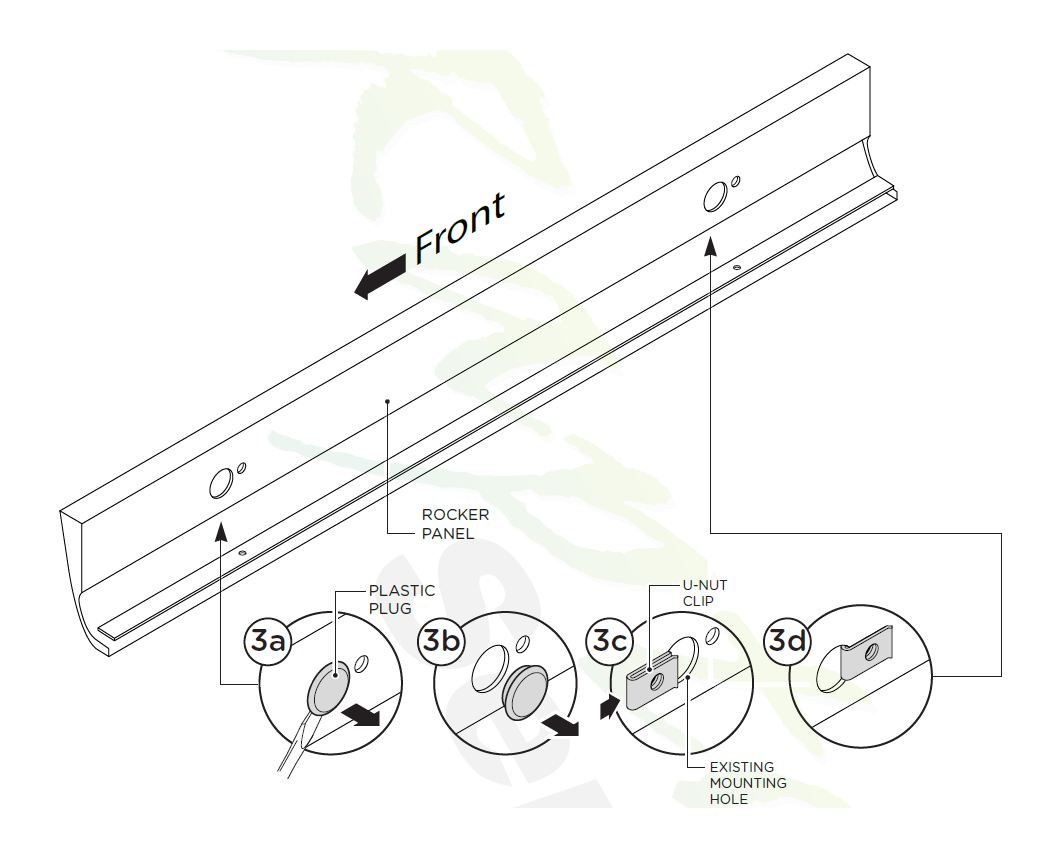
3. If specified holes in the wall of the rocker panel are not threaded, remove plastic plug (6a and 6b) and insert U-Nut Clip so that the threads are facing away from you (6c and 6d). Fasten using one (1) M8 x 30 mm Hex Head Bolt, one (1) M8 Flat Washer and one (1) M8 Lock Washer.
Note: Install these U Nut Clips so that the threads are to the inside of the rocker panel. Be careful not to drop the U Nut Clips inside of the rocker panel.
4. Align the Brackets up with the U Nut Clips or the pre-threaded holes in the Rocker Panel.
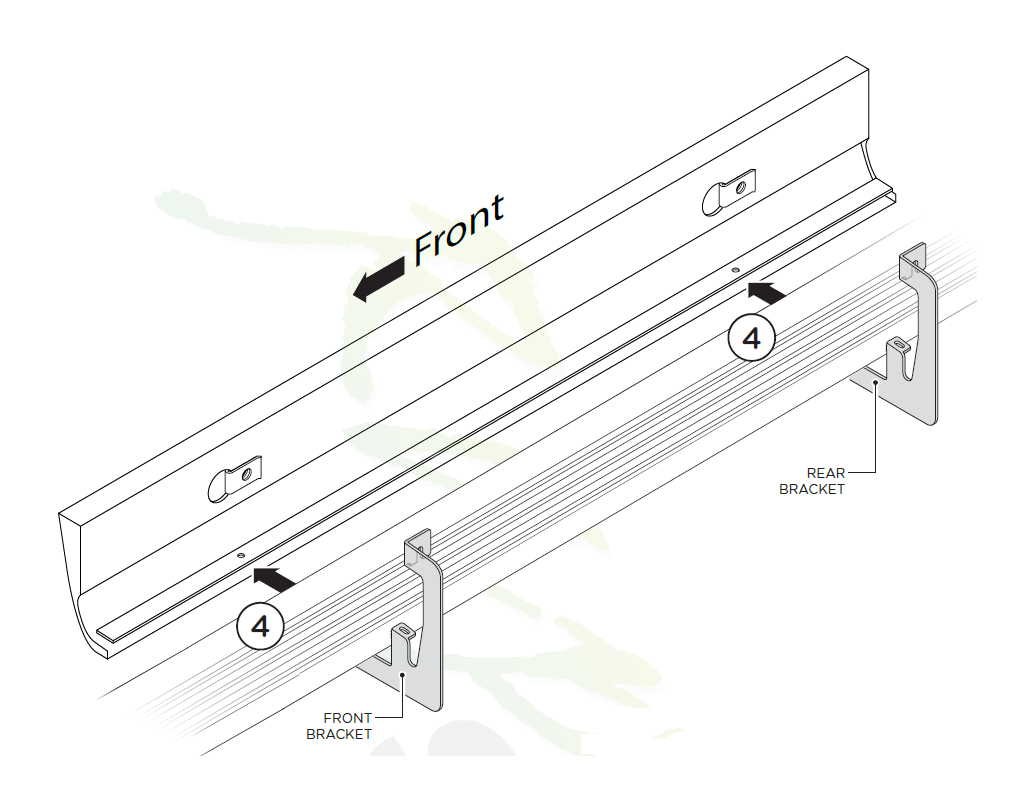
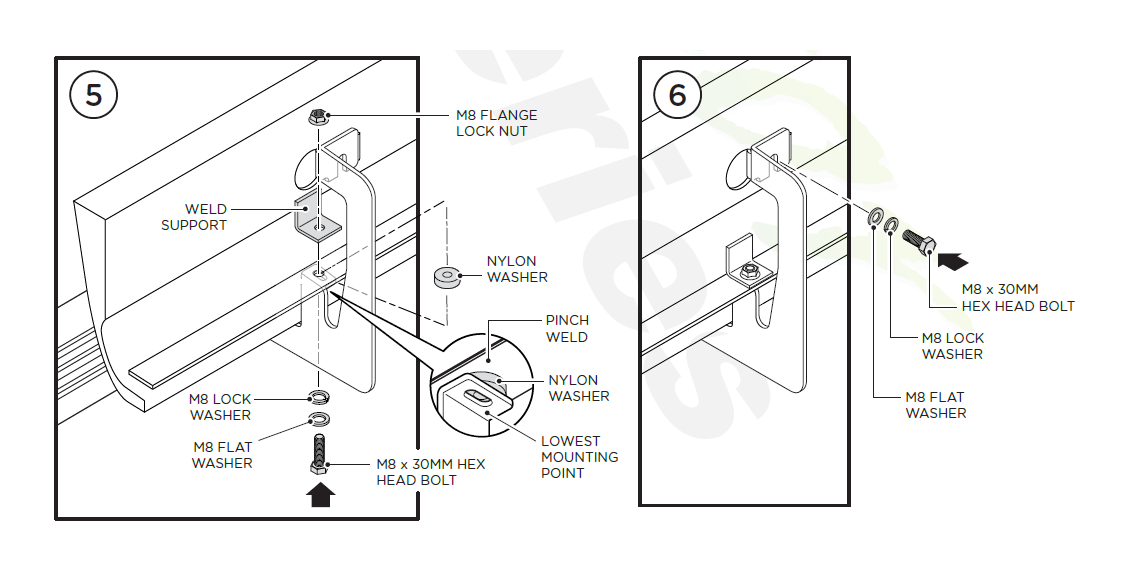
5. Fasten lower portion of the Front Bracket using one (1) M8 x 30MM Hex Head Bolt, one (1) M8 Lock Washer, one (1) M 8 Flat Washer, one (1) Weld Support and one (1) M8 Flange Lock Nut. Repeat for Rear Bracket.
6. Complete the Front Bracket installation by fastening with one (1) M8 x 30MM Hex Head Bolt, one (1) M8 Lock Washer and one (1) M8 Flat Washer. Repeat for Rear Bracket.
Repeat these steps for driver side installation. When all hardware is in place, everything must be tightened. See Page 1 for Torque Specifications.
