FREE 1 to 3-Day Delivery on Orders $149+ Details
How to Install Flowmaster Outlaw Cat-Back Exhaust - Turn Down (09-13 5.3L Silverado 1500) on your Chevy Silverado

Shop Parts in this Guide
Removal:
1) Raise the vehicle up on a hoist or rack to working height. If you do not have access to a hoist or rack, raise the vehicle and support securely with jack stands. Spray a penetrating lubricant onto all of the rubber isolators that support the system.
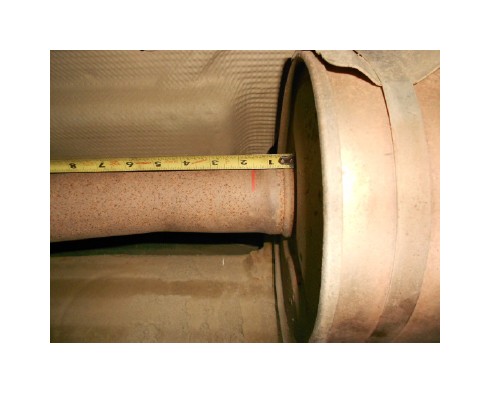
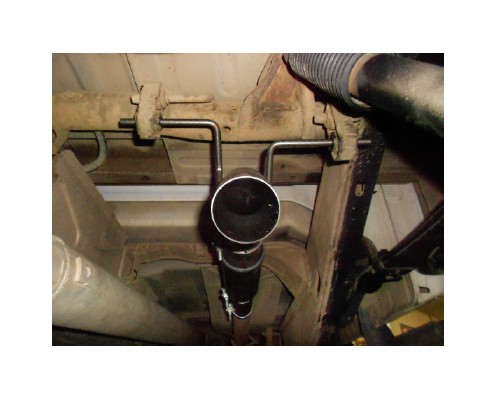
2) Support the muffler and muffler inlet pipe with a stand. At the front of the factory muffler, measure out 1.50” and make a mark on the pipe. Using a hacksaw or sawsall, cut the inlet pipe on this mark. Separate the wire hangers at the back of the muffler and on the tailpipe from the rubber mounts on the vehicle. Remove the muffler and tailpipe from the vehicle. Use a file or die grinder to remove any burrs from the inlet pipe.
Installation:
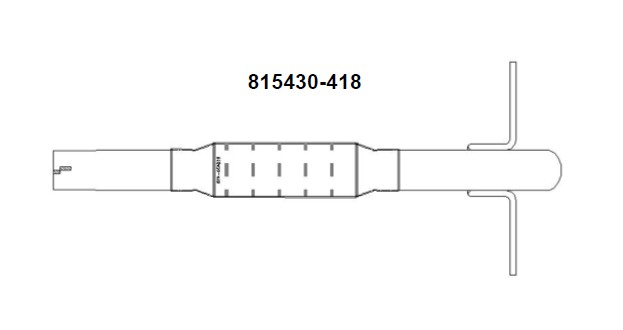
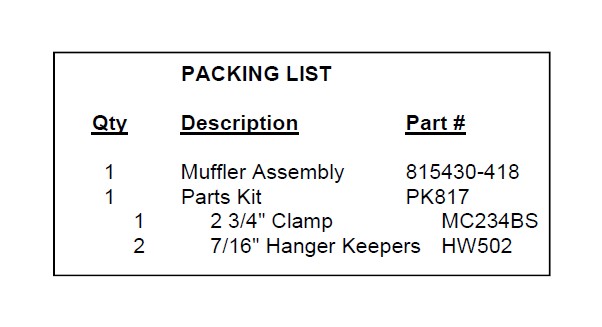
1) Place the supplied 2-3/4” clamp over the slip-fit at the front of the muffler assembly. Connect the two hangers on the assembly to the rubber mounts on the vehicle, then slide the inlet over the factory front pipe until the rubber mounts on the vehicle are straight up and down. Be sure that the muffler is centered between the rear mounts and tighten the front clamp securely. Place the two supplied hanger keepers onto the ends of the hangers and slide up to the rubber mounts to hold the mufflers position. For a more secure installation, we highly recommend welding the front slip-fit connection.