FREE 1 to 3-Day Delivery on Orders $149+ Details
How to Install Covercraft UVS100 Custom Sunscreen - Blue (14-17 Sierra 1500) on your GMC Sierra

Shop Parts in this Guide
IMPORTANT NOTICE
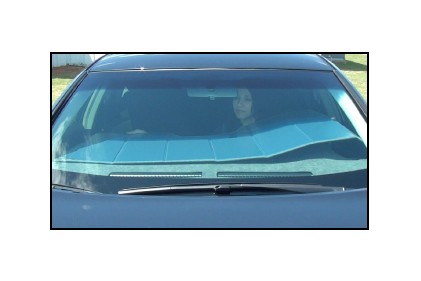
UVS100® Custom Sunscreens do not cover the entire glass area on some vehicles. Windshield pillar post size and angle, rearview mirror shape and size, and additional sensors can prevent some Sunscreens from providing total blackout coverage.
STEP 1
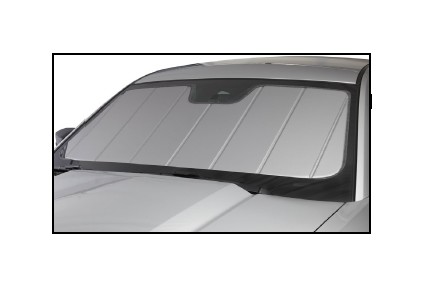
Unfold your UVS100® Custom Sunscreen with the reflective side facing outward and place it as flat as possible onto the dash area. If there are assist handles on the windshield pillars, make sure the Sunscreen fits in front of them. Then slide it forward until it reaches the bottom of the windshield ahead of the defroster vents.
STEP 2
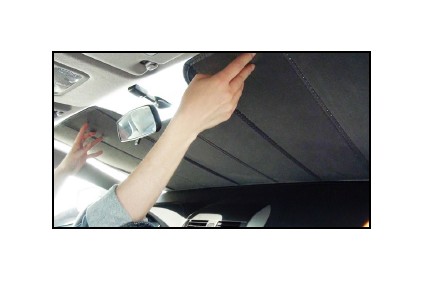
With both hands, lift the top of the UVS100® Custom Sunscreen into the windshield area.
NOTE: Be careful to not bend the corners while installing, as damage to the inner insulator may occur.
STEP 3
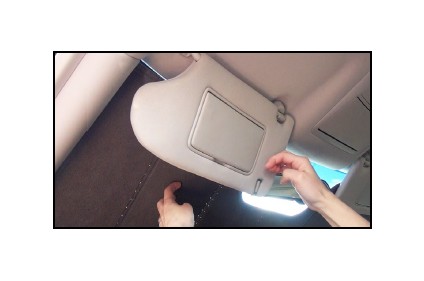
Pull down each sun visor to hold the UVS100® Custom Sunscreen in place. In some cases, the Sunscreen may not reach all the way to the windshield pillars. This additional space is necessary to be able to install the Sunscreen without damaging it.
REMOVAL
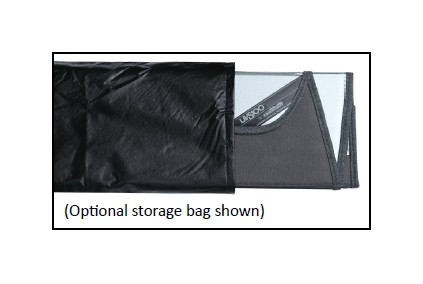
Simply reverse the installation steps, fold the unit and store in the trunk or under a seat.
For more instructions and “How To” videos, visit Covercraft’s YouTube Channel: www.youtube.com/covercraft1965