FREE 1 to 3-Day Delivery on Orders $149+ Details
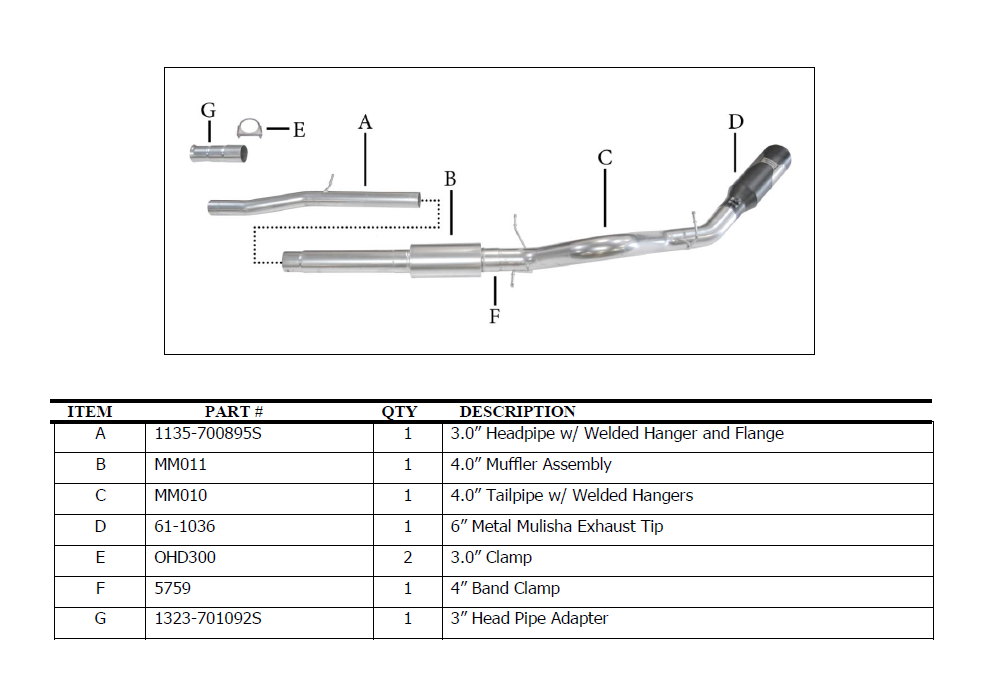
How to Install Gibson 4 in. Metal Mulisha Stainless Cat-Back Exhaust System - Single Side Exit
Note: This exhaust will exceed some state sound laws and requirements. Aggressive driving will get you noticed and can result in a ticket or warning from your local law enforcement agency.
WHEN INSTALLING THIS EXHAUST SYSTEM MAKE SURE TO USE ALL THE PROPER SAFETY PRECAUTIONS. USE JACK STANDS WHEN UNDER TRUCK, SET PARKING BRAKE, BLOCK TIRES AND USE SAFETY GLASSES. DO NOT WORK WITH HOT PIPES!!!
1. Disconnect the negative battery cable before removal of the OEM Exhaust. This will allow the computer to reset and recognize the new exhaust. Lay out the exhaust on the floor so it looks like the drawing and compare parts with manual. Remove the factory exhaust by cutting behind the factory muffler. Once the tail pipe has been removed un-bolt the muffler and head pipe at the flange located behind the catalytic converter. Use wd-40 or another type of penetrating oil to remove the rubber grommets. Do not damage these they will be re used.
2. Note: 2009 models will not have the 2-bolt flange and will require the adapter Item# G. Measure 8.0” from the flange on head pipe item # A and cut. Attach the adapter to the new head pipe using clamp item # E. loosely tighten down and install
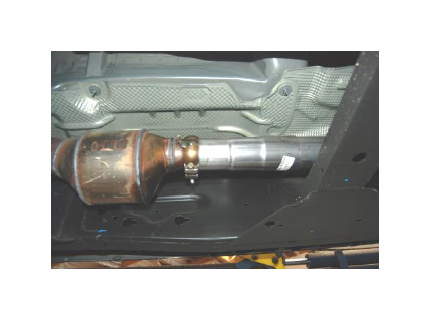
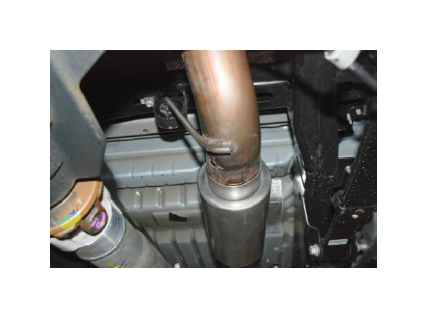
3. Install head pipe Item # A onto the two bolt factory flange. Do not tighten. Insert hanger in to rubber grommet tailpipe.
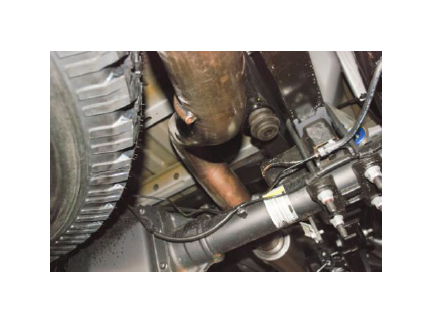
4. Install muffler assembly Item # B onto the head pipe. Use a jack stand to support the muffler while installing the tailpipe. Loosely tighten down the clamp.
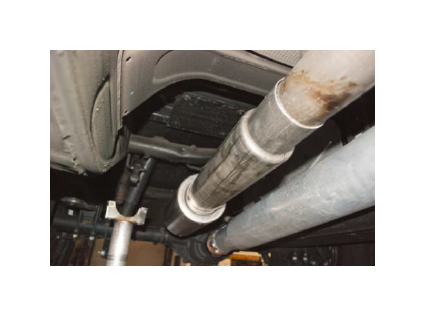
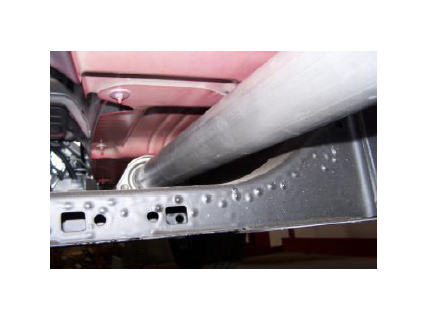
5. Install the over axle pipe Item # C into the muffler outlet. Install hangers into the rubber grommets. You may need to adjust the pipes to allow for proper fitment and clearance. Sometimes these adjustments will be needed at the front head pipes.
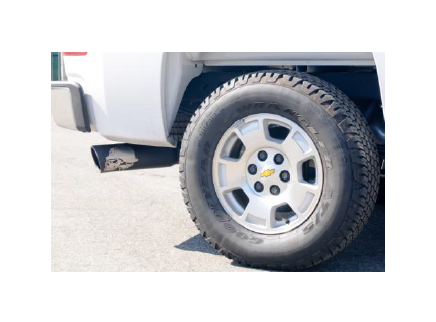
6. With proper clearance from spare tire install the exhaust tip onto the tailpipe. The system was designed to have the tip 1” below the quarter panel of the vehicle. With the tip in your desired position begin to tighten down all clamp connections from the front head pipe back.
7. Be sure to check all clearance after each section has been tightened to be sure there is proper clearance. It may take 4- 500 miles for your vehicle to fully adjust to the changes in exhaust flow.