FREE 1 to 3-Day Delivery on Orders $149+ Details
How to Install CGS Motorsports Stainless Cat-Back Exhaust - Single Side Exit on your Silverado
Thank you for choosing a CGS Catback Exhaust System™ to power your vehicle. These instructions will take you through the installation of your new catback exhaust system.
1) Remove stock exhaust system
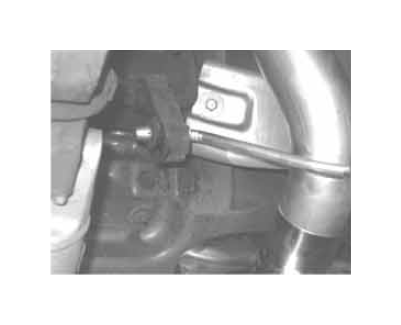
First start by removing the stock pipe by unbolting the flange at the headpipe. Then slide the complete system carefully towards the rear off of the rubber hangers. Remove the system from under the truck. Cutting may be required for removal for certain models.
2) Installing your catback exhaust system
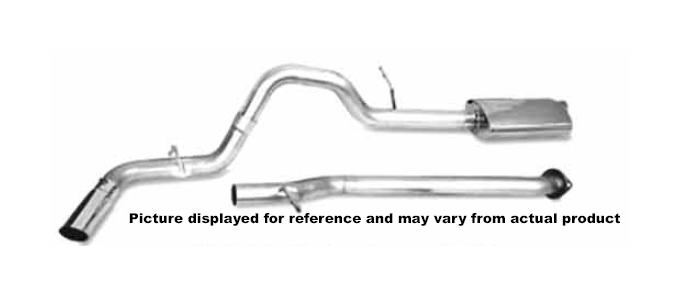
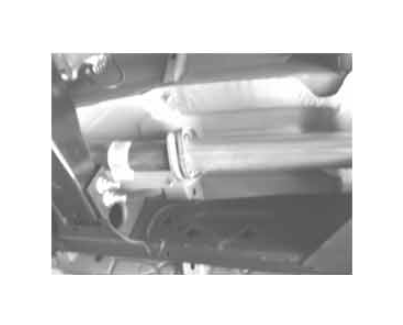
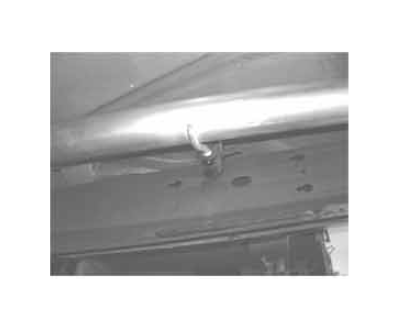
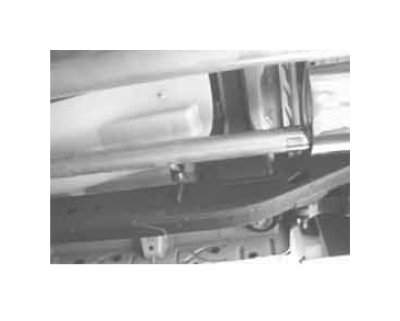
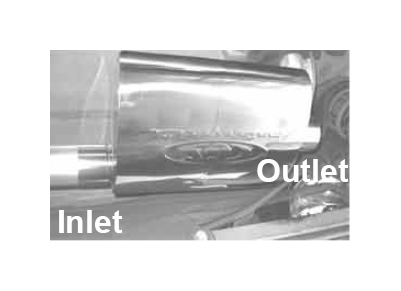
Make sure the stock flange has been removed and all existing rubber grommets are still in place. Install the flange of the headpipe 01 onto the stock flange and leave the bolts untightened. Then install Headpipe 02 by sliding the flaired side over Headpipe 01 and insert the welded hanger from the headpipe into the rubber grommet. Proceed to install muffler onto headpipe 02 with the offset in the inlet and the center in the outlet. Install the overaxle pipe onto the muffler and insert the welded hanger into the rubber grommets. Once the exhaust system is positioned and lined up correctly, install clamps at all connections. Install the stainless steel tip and tighten bolts.
3) Final checklist
Once completed, check to make sure all the clamps and bolts have been securely fastened. That’s it, a simple install with a lot of results. Congratulations! You just installed more horsepower to your truck by allowing it to breathe easier with a CGS Catback Exhaust System™.
Thank you again and enjoy your new CGS Catback Exhaust System™.