FREE 1 to 3-Day Delivery on Orders $149+ Details
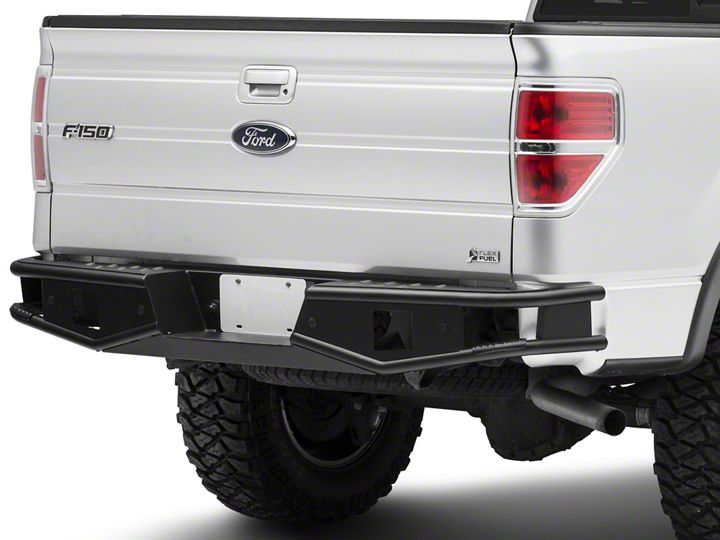
How to Install Barricade Extreme HD Tubular Rear Bumper (06-14 All) on your Ford F-150
Shop Parts in this Guide
Contents
(1) - Bumper
(2) - LED Lights
(2) - Mesh Grilles
(6) - Plastic Bolt Holders
(4) - M6 Lock Nuts
(4) - M6 Flat Washers
(4) - M8 x 1.25 x 35mm Bolts
(2) - M8 Lock Washers
(2) - M8 Nuts
(4) - Rear Backup Camera Covers
(10) - Zip Ties
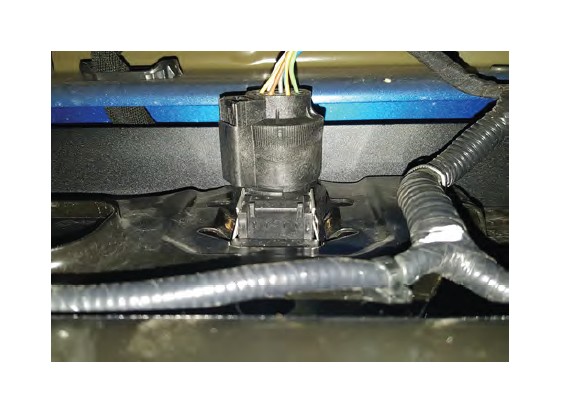
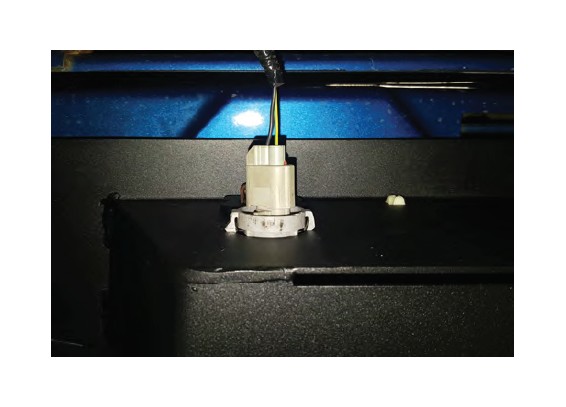
STEP 1 // Unplug the factory license plate lights harnesses and trailer plug connector (if equipped) and pull away from the bumper.
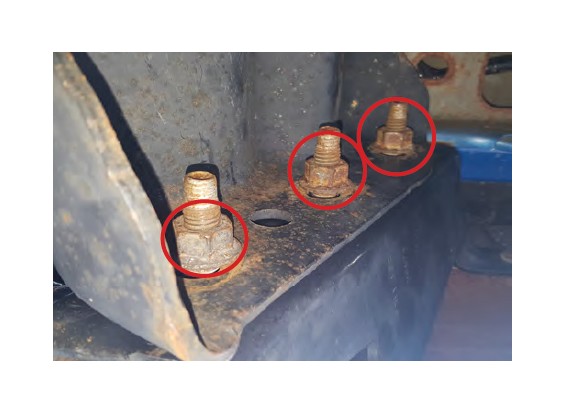
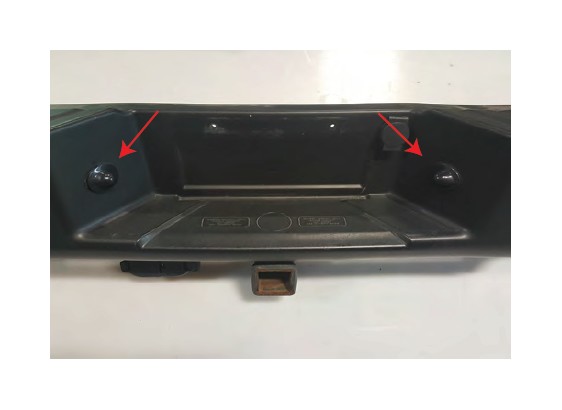
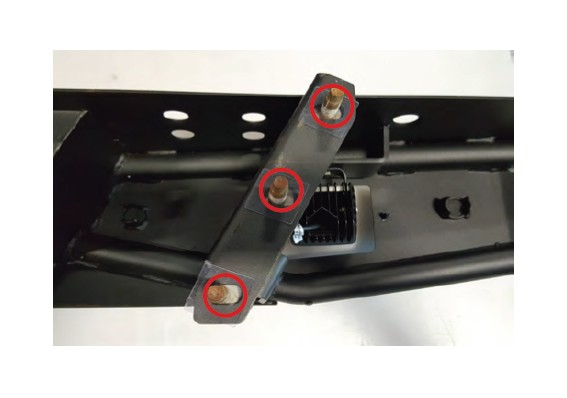
STEP 2 // Remove the (6) 21mm nuts that hold the bumper to the frame rail. Remove bumper from vehicle. **Note Factory hardware will be reused.
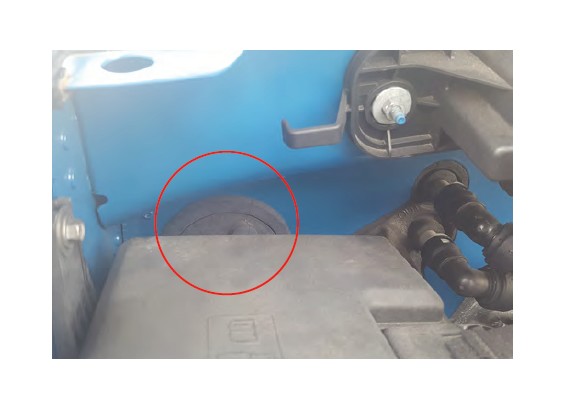
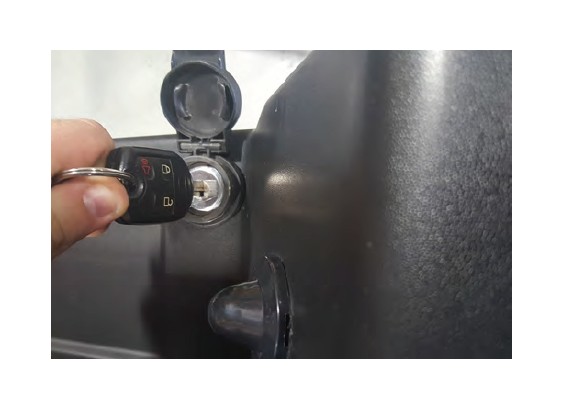
STEP 3 // Using your factory key, turn the spare tire lock clockwise and remove the spare tire lock from the factory bumper. Then transfer it to the Barricade bumper.
STEP 4 // Using a flat head screw driver, push in the plastic tabs around the license plate lights, and remove it from the factory bumper. Install these in the new Barricade bumper by pushing them in place till they snap in.
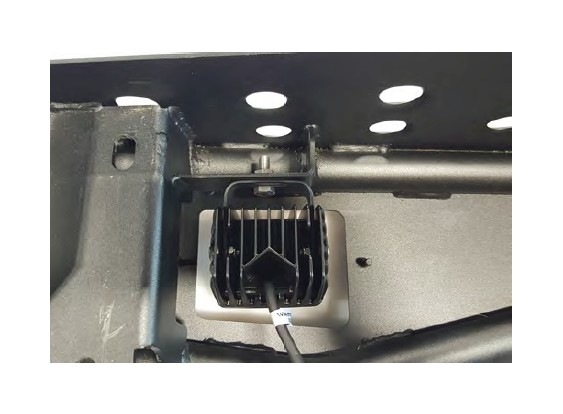
STEP 5 // If purchased with the LED lighting option, install the LED lights using the hardware provided in the light packaging. If choosing not to use the LED lighting. The bumper will include bolt on mesh covers. Secure the cover to the bumper using the provide (2) M6 nuts and flat washer.
STEP 6 // If your vehicle is equipped with a factory trailer hitch receiver, remove the (6) factory M8 bolts from the factory bumper. Install the hitch receiver to the Barricade bumper using the factory triple bolt plates through the back of the mounting tabs and then use the (6) plastic bolt holders to secure.
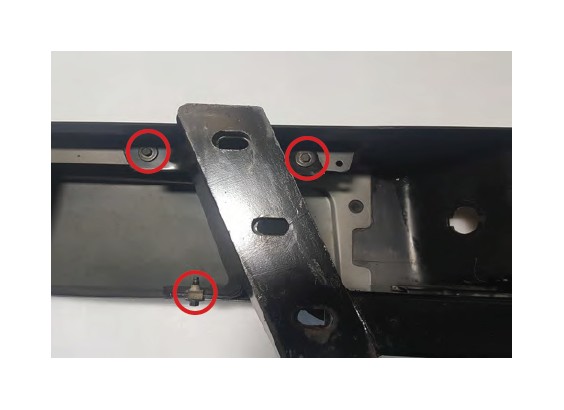
STEP 7 // If your vehicle is not equipped with a trailer hitch receiver, install the factory triple bolt plate through the back of the mounting tab using the (6) plastic bolt holders.
STEP 8 // Attach the new Barricade bumper to the vehicle using the factory (6) 21mm nuts. Be sure to center the bumper, and adjust height of bumper to desired location.

STEP 9 // Plug the factory license plate lights harness and the trailer plug connector back in.
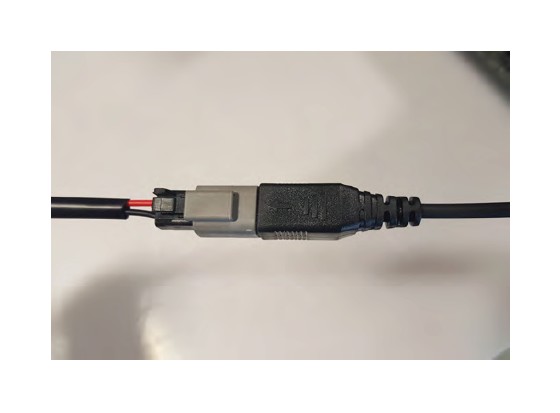
STEP 10 // If purchased with the LED lighting option, connect the (2) LED lights into the supplied harness. Be sure to zip tie the access wiring away from any damage that could occur.
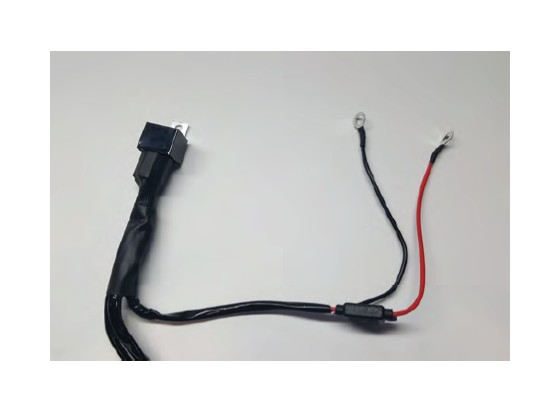
STEP 11 // If purchased with the LED lighting option, Install the Red 12 volt wire to the positive battery terminal. Connect the black ground wire to the negative battery terminal. Mount the fuse in a safe location away from any damage that could occur. Tuck away any extra wiring.
STEP 12 // If purchased with the LED lighting option, Route the on/off switch to the interior of the vehicle using a suitable body grommet. Mount the switch in the desired location. Zip tie any extra loose wiring away from any damage that could occur.