FREE 1 to 3-Day Delivery on Orders $149+ Details
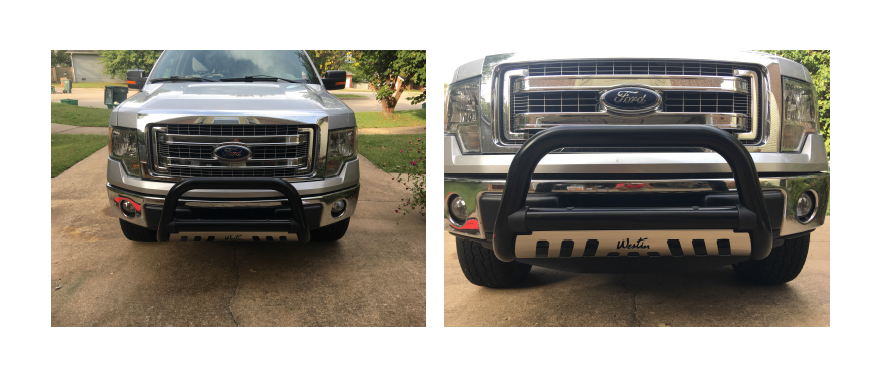
How to Install Westin Ultimate 3 in. Bull Bar - Black on your F-150
Installation Time
1 hours
Tools Required
- 7/16” socket
- 3/8” socket
- 5/8” box wrench
- Ratchet
- Ratchet extension
- Torque wrench - optional
- Safety glasses
1. Park vehicle, turn off engine and engage the parking brake
2. Be sure to wear safety glasses for the entire install as loose debris and dirt on the underside of the vehicle can dislodge and fall into your eyes
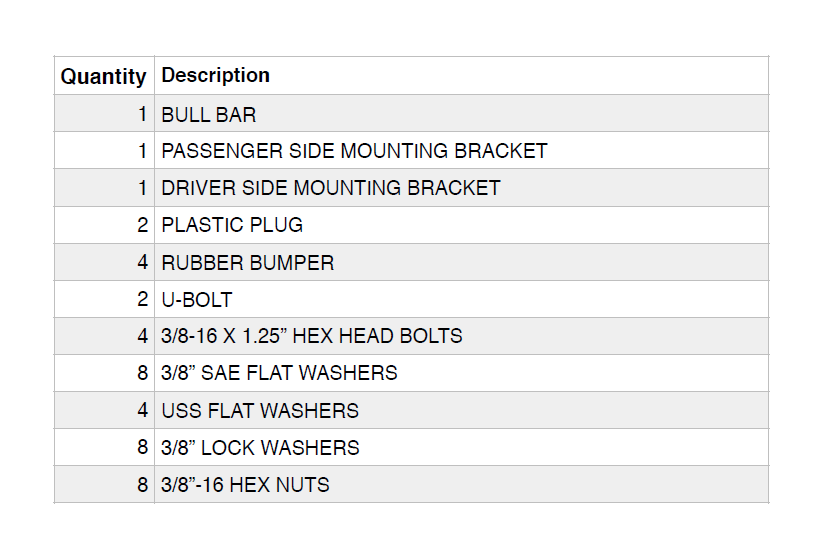
3. Lay out all parts from shipping box and organize what you need.
4. Remove front license plate, if applicable, and bracket - The bracket pops out of the bumper when you flex the four corners of the bracket so it can release
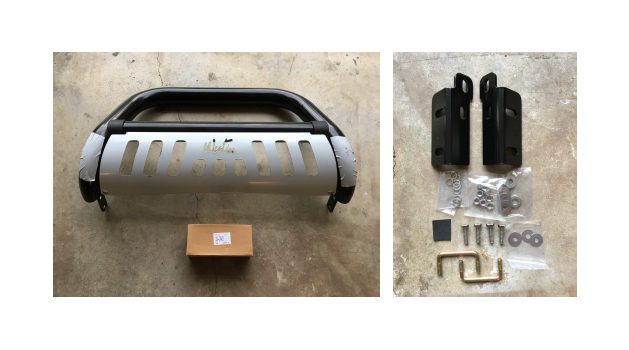
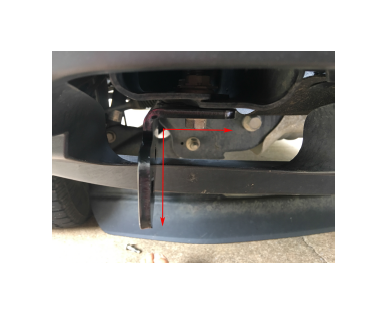
5. Remove the front valance from below the front bumper to gain access to the bolts for the tow hooks
For this step you will use the 7/16” socket and wrench. There is one bolt per side and the valance just drops down.
6. Remove tow hooks
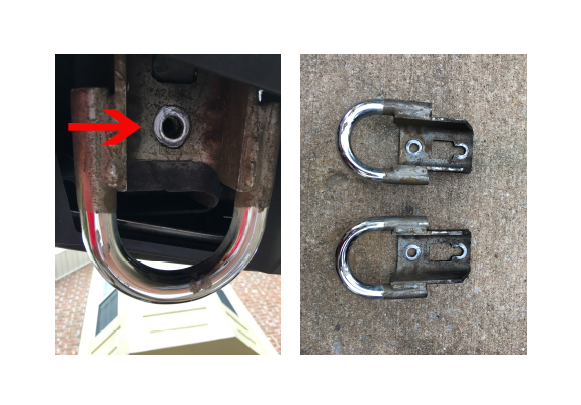
You will need the 5/8” box wrench for this step. There are two bolts per tow hook. The front bolt is easily accessible and the rear bolt is more difficult to reach. You will need the 5/8” box wrench for the rear bolt.
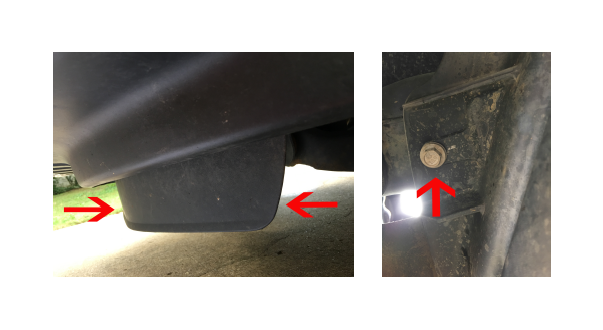
7. With the tow hooks removed, use the same bolts that were used to secure the tow hooks to affix the brackets for the bull bar mounting brackets.
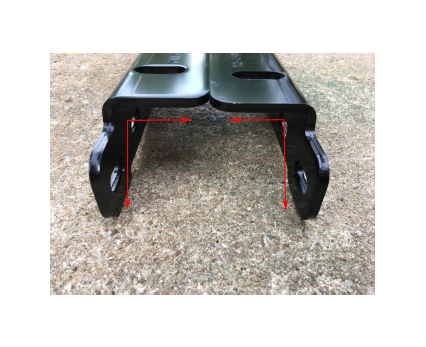
You will need to lay out the brackets in this orientation to mount them correctly.
8. Slide each bracket in the tow hook slot and bolt in place with the bolts provided.
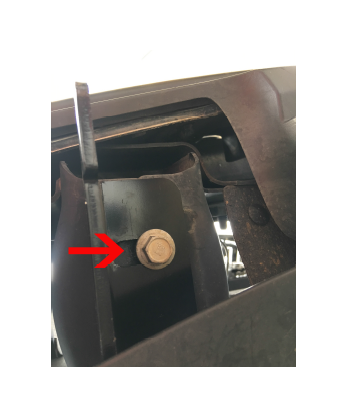
You will use the 5/8” box wrench to tighten the original tow hook bolts for this step. Be sure not to over tighten the bolts.
When bolting the brackets on, be sure and leave them slightly loose, so you can move them in accordance with the position of the bull bar to make sure it’s centered with the vehicle.
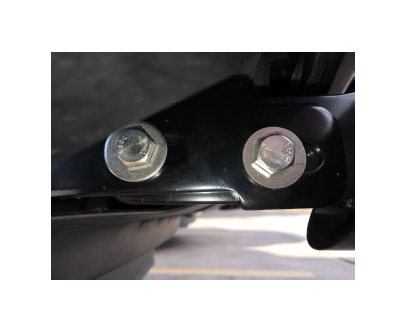
This is what the bracket should look like once it has been bolted in position.
9. Align the bull bar with the mounting brackets and insert the back bolt on both sides first. You will need to use the supplied 3/8-16 X 1.25” bolts, 3/8” USS flat washers, 3/8” lock washers and 3/8-16 hex nuts. You will use this combination for each bolting point.
10. Pivot the bull bar upward and insert the front two bolts with appropriate hardware.
11. Tighten all bolts to make sure they are fastened correctly, but not over tightened.
This is what the bracket will look like once the hardware is secured.
12. Replace the front valance under the front bumper using the 7/16” socket and wrench.
13. Enjoy your new bull bar!