FREE 1 to 3-Day Delivery on Orders $149+ Details
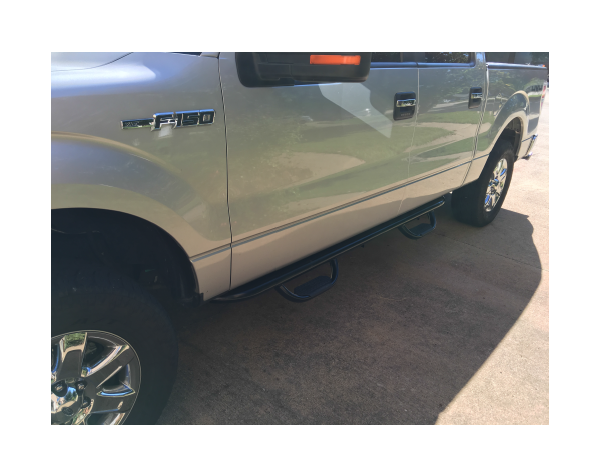
How to Install Westin GenX Oval Tube Drop Step - Black on your F-150
Installation Time
1 hours
Tools Required
- 13mm socket
- 13mm wrench
- Ratchet
- Ratchet extension
- Torque wrench - optional
- Allen key - included
- Safety glasses
Parts list included
INSTALLATION INSTRUCTIONS FOR T526064-B - Westin GenX Oval Tube Drop Step
1. Park vehicle, turn off engine and engage the parking brake
2. Be sure to wear safety glasses for the entire install as loose debris and dirt on the underside of the vehicle can dislodge and fall into your eyes
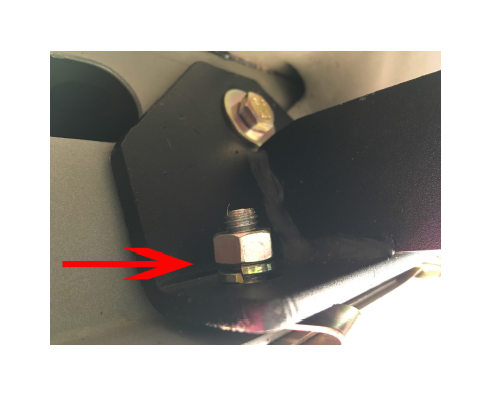
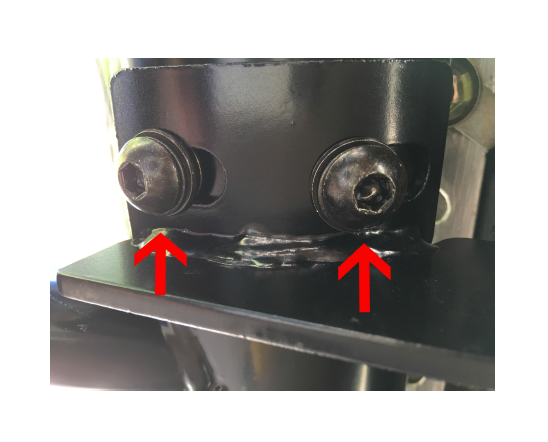
3. Using a 13mm socket and wrench, loosen the bolts on the underside of the factory mounting brackets on both the drivers and passenger side of the vehicle

4. Start with the lower two bolts and then lift the running board off the brackets - The running boards are very light, so you probably won’t need help removing them
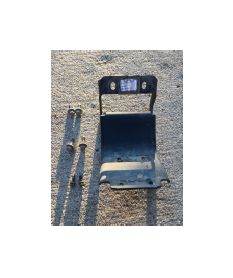
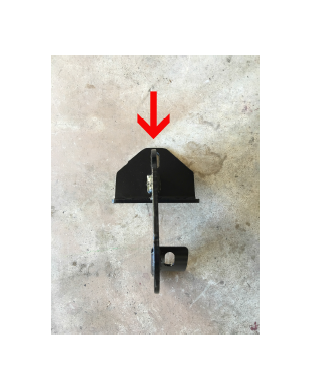
5. Finish removing the factory brackets
This is what you should have left from the removal of the factory brackets
6. Remove factory running boards from vehicle
7. Lay out and organize parts from shipment
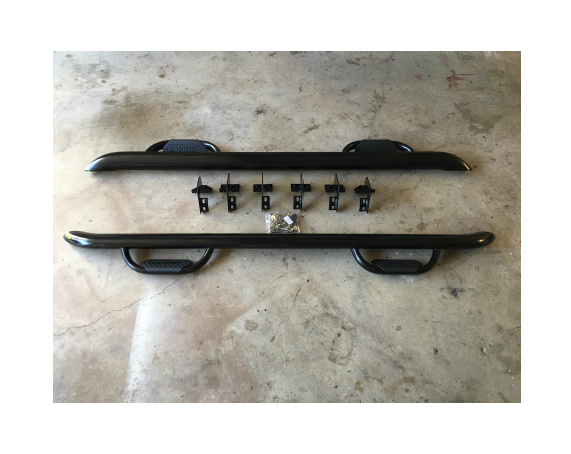
8. Identify which running board brackets are for the driver and which ones are for the passenger - The brackets are stamped with either a D, DC/PC or P. The D is for driver, the DC/PC is for driver center/passenger center and the P is for passenger - Also take note of the packaging of the running boards as they are labeled driver and passenger

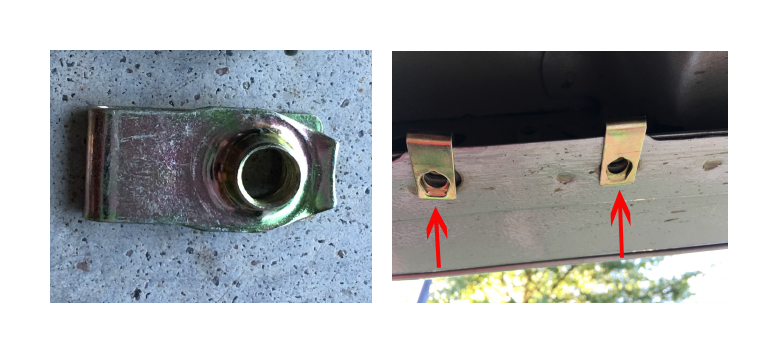
9. Replace the factory nut clips with the supplied M8 nut clips on the underside of the driver rocker panel - This step is optional as the factory nut clips work with the supplied M8 hex head bolts
10. Install the supplied mounting brackets to the driver side of the vehicle behind the rocker panel
Notice the top of the bracket that attaches to the inside of the rocker panel, on the front and the one on the back both have a rectangular head
11. Use the supplied M8 hex head bolts, M8 flat washers, M8 lock washers and two M8 hex head nuts per bracket - You only need the M8 hex head nuts for the lower two bolts that bolt vertically
This is what it looks like once the bracket is installed on the inside of the rocker panel - Be sure and snug up the nuts to engage the lock washer, but do not over tighten
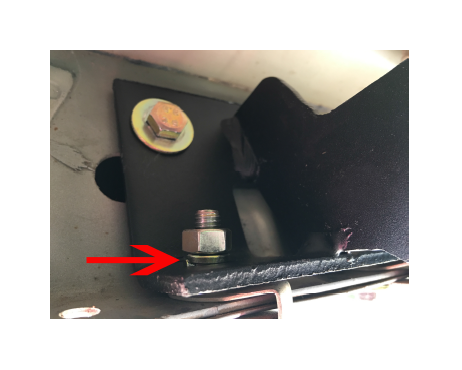
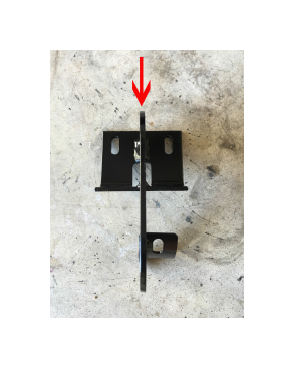
12. Install the center bracket on the driver side of the inside of the rocker panel using the same materials used in step #11
Notice that the center brackets, for both passenger and driver sides, have a triangular head
This is what it looks like once the bracket is installed on the inside of the rocker panel - Be sure and snug up the nuts to engage the lock washer, but do not over tighten
13. Repeat all steps you completed on the driver side for the passenger side.
14. Identify the driver side running board and lay it on the mounting brackets on the driver side - The running boards are labeled in the packaging marking the driver and passenger sides
15. Gently set the running boards on the brackets mounted on the vehicle - The running boards are heavy and you may need someone to help you with this step

This is what it should look like
16. Align the pre-threaded holes in the running board with the brackets on the vehicle

This is what it should look like
17. Use the supplied M10 button head bolts, M10 flat washers and M10 toothed lock washers to bolt either the front or the rear bracket to the underside of the running board - Use only one bolt, on one end, and that way you are able to pivot the opposite end to align the holes in the running board and mounts easily - You will need the allen key for this step
This is what it should look like
18. After you secure the M10 button head bolts, M10 flat washers and M10 toothed lock washers in the appropriate locations, snug them down but be careful not to over tighten
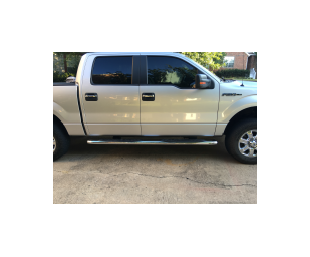
19. Continue on both sides of the vehicle following the same steps on the driver side for the passenger side. Once all M10 button head bolts, M10 flat washers and M10 toothed lock washers have been installed, make one final check that all all hardware is securely tightened and not overtightened before stepping on the running boards
20. Go show off your new running boards to your friends!