 FREE 1 to 3-Day Delivery on Orders $149+ Details
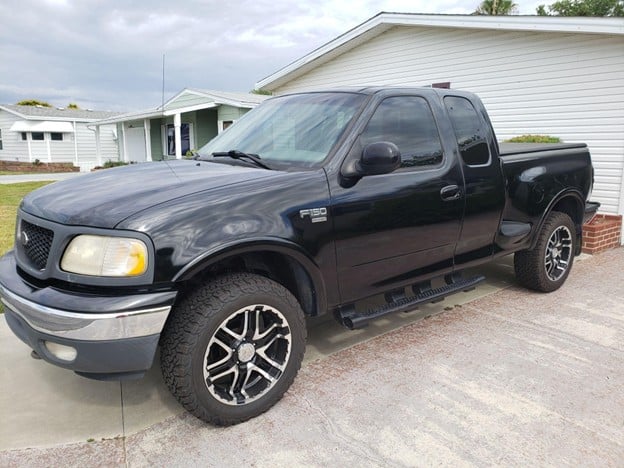
How to Upgrade Your Ford F-150 with Weatherstripping
AT Staff
/ Jun 27 2025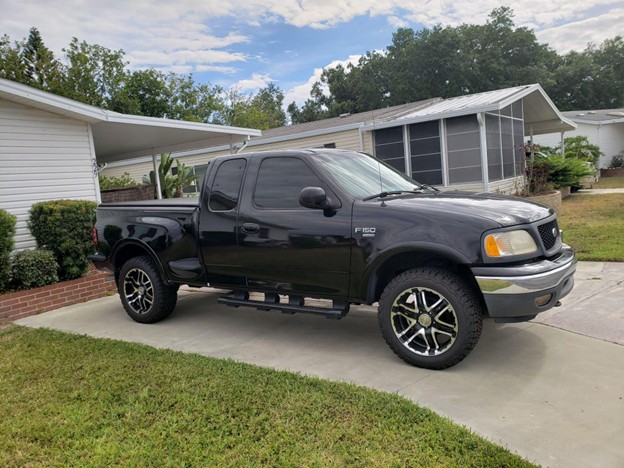
The last thing you need is water dripping into the cabin of your F-150. Whether you have a brand-new truck or one of the older models, if there's one thing Ford could've done better it's the weather shipping. Unfortunately, it just doesn't seem to last forever, and even if it does, where you drive your truck might have an impact on its lifespan. Plus, many people have found that the road noise is awful for some models if you don't alter or swap out the weatherstripping. The good news is that we’re here to make all that nasty water, dust, noise, and debris go away. Read on to learn more about how to upgrade your Ford F-150 weatherstripping.
When Is it Time for an Upgrade?
The most obvious signs that it's time for a weatherstrip upgrade are damaged rubber pieces and more moisture getting in the cabin. Still, you don't have to let it get this bad in the first place. You may even notice more subtle signs that your F-150 needs new weatherstripping if you hear more road noise, notice that your cabin doesn't stay warm or cool, or if the door/window doesn't shut as smoothly as it used to.
How to Upgrade Your Ford F-150 with Weatherstripping in 4 Easy Steps
Upgrading your weatherstrips doesn't have to be hard and sometimes it might be as simple as replacing your old dangling rubber weatherstrips. Other times, however, you may need to add some weatherstrips to areas that don't have them or areas that need a little bit of reinforcement. We take you through some basic steps you can follow when working with weatherstripping tools, products, and materials below.
1. Have the Right Equipment for the Job
First things first, you need to have the right equipment for the job. We recommend having a weatherstrip installation tool because it will make the process a lot easier. Weatherstrip installation tool kits are available that come with everything you need to install weatherstrips right in your driveway. It's also important to have the material you'll be using to upgrade your weatherstrips. We recommend starting with something like 3M weatherstrip adhesives for the best results because they're easy to work with.
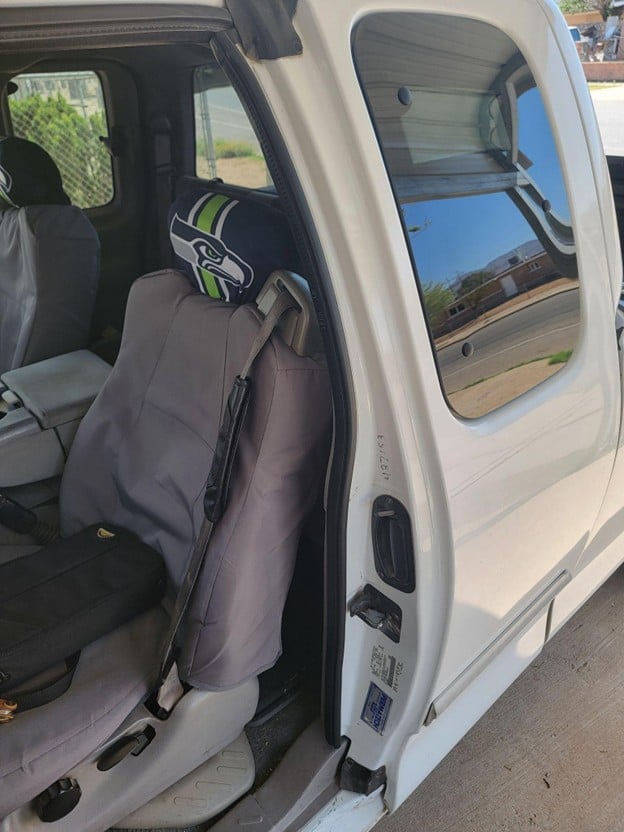
2. Remove the Old Weatherstrips
If you're replacing old weatherstrips you need to start by removing them. Removing the old weatherstripping isn't too difficult but you'll need to remove your truck’s scuff plate if you’re removing the door-to-body weatherstrip, and let's face it, if you want to upgrade your Ford F-150’s weatherstripping it's a good idea to swap them all out. After all, who wants to have fresh new rubber and then some dirty old dangling rubber somewhere else on the truck? To remove the scuff plate you'll need a trim tool for most Ford F-150 models and trims. It's important to note that the steps may vary a bit based on your trim level and model year so it's a good idea to check the owner's manual. The purpose of the tool is to remove the scuff plates from the clips that hold it in place. Then, you can peel the old weatherstripping off the metal seam. In most F-150s, the strips aren't held in by any screws or clips so you can just pop them off.
3. Clean the Surface
The second you pull your old weatherstrips out you'll know exactly what the problem was. If there's dirt and grime everywhere, make sure you clean it with a clean rag. You can also use a specific adhesive remover if you have one for even better results. When cleaning the surface make sure you take your time. Unfortunately, any leftover grime or dirt can ruin the seal and lead to an increase in road noise, leaks, and other problems you don't want to deal with. Essentially, skipping this step can turn an upgrade into a downgrade.
4. Install Your New Weatherstrips
Out with the old and in with the new – after you clean the surface you can install your new weatherstrips. We recommend laying the weatherstrip along the seam first to get an idea of where it will go and how it will fit. If you're using a specific mold for your truck make sure it fits first before you even consider playing adhesive down. Once you're absolutely sure that everything fits you can get to work with the adhesive. That said, make sure you do so in short sections for the best results. If possible, roll the weatherstrip out to get it as flat and flush as possible. Don't worry, if you don't have a tool the handle of a screwdriver or anything else round and solid should do the trick. Once the weatherstrips are secured let them sit for a few hours before you start driving or slamming doors on them because they may need to settle.
Tips for Upgrading Your Ford F-150 Weatherstrips
An upgrade means a little something different to everyone but we have some general tips and guidelines you can follow when upgrading your truck’s weatherstrips. For example, it's not just about the doors and windows because you may need to check the tailgate seals, cab corners, and other areas of your truck as well. Unfortunately, once one weatherstrip starts to go the others are likely to follow. Some other things to consider when upgrading your Ford F-150 weatherstrips include:
- Try and replace or upgrade your weatherstrips in warm areas because the adhesive will work better.
- Don't stretch the rubber to try and make it fit. If the piece is too small, it's too small and tugging at it will weaken the seal and damage the material.
- Try and find specific weatherstripping for your specific trim level and model year.
- Measure twice and cut once to avoid any issues with the sizes.
As long as you follow these tips you shouldn't have any issues because it's a relatively easy DIY job.
Experience the Benefits of Upgrading Ford F-150 Weatherstripping
It doesn't matter if you just want to quiet your cabin down or if you need to redo all the weatherstripping on your Ford F-150, you've come to the right place. Shop online and connect with our sales techs for more assistance, especially if you have a specific DIY job in mind. Then, order online and experience the benefits of upgrading your Ford F-150’s weatherstrips in no time with hassle-free shipping options.