FREE 1 to 3-Day Delivery on Orders $149+ Details
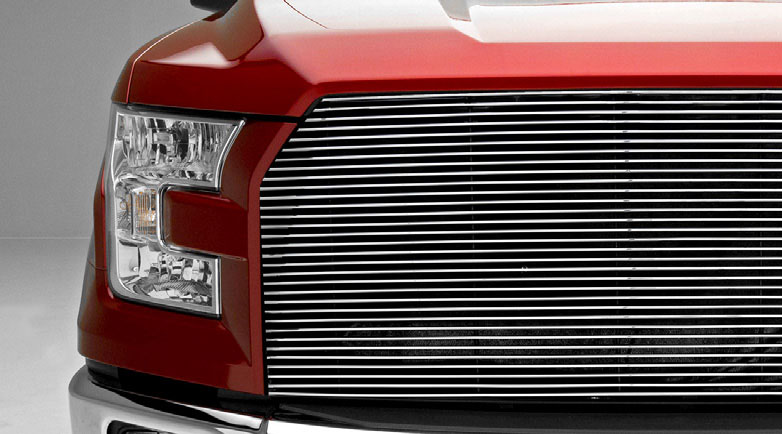
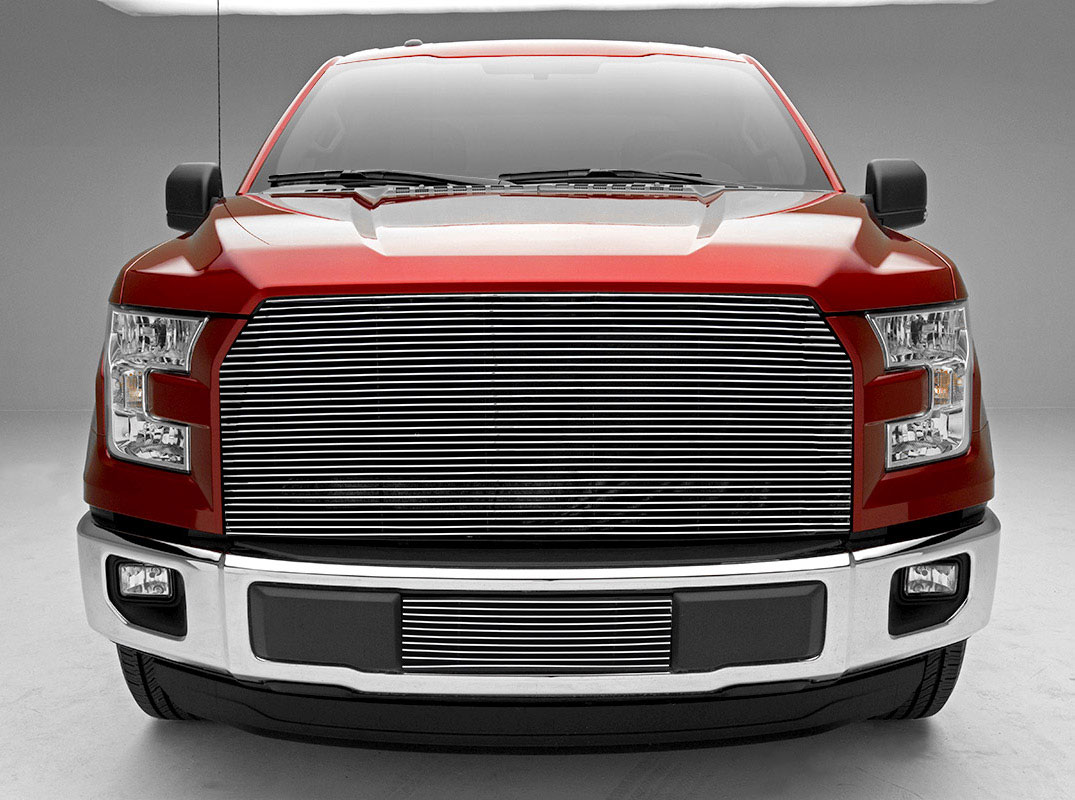
T-REX Billet Series Replacement Upper Grille - Black (15-16 All)
Installation Time
1 hours
Tools Required
- Screwdriver set (Flat Head)
- 10mm, 8mm, 7mm Sockets
- Ratchet Tool
- 1/2” Plastic Spatula
- Pocket Knife

Shop Parts in this Guide
GRILLE REMOVAL & Grille Installation Guide
START HERE PLEASE READ AND UNDERSTAND ALL INSTRUCTIONS BEFORE INSTALLATION. Auto makers offer varied models to each vehicle and occasionally manufacture more than one body style of the same model. To assure your part is correct; our tech department can be contacted at [email protected] to verify fitment and assist with technical questions. All other inquires can be directed to [email protected]. In the event you do not have internet access please call 1-800-287-5900.
STEP 1 1) Turn off engine and chalk tires with stop block. Open Hood.
STEP 2 2) Identify & locate (10) plastic clips on top of plastic shroud and also (1) additional on each side located at the top of the headlight body panel cover. Carefully pry off to remove and then set aside for reinstallation later.
STEP 3 3) Remove plastic shroud and then set aside for reinstallation later. * APPLICATION MODELS VARY. WE RECOMMEND TO VERIFY FITMENT BEFORE BEGINNING INSTALLATION PROCESS. * IMAGES FEATURED IN THE INSTRUCTION DOCUMENTS MAY NOT ALWAYS EXACTLY MATCH YOUR GRILL. FRONT BUMPER REMOVAL SEE FIGURE 1 & 2 PRO TIP: Before you begin, use “3M Painters Tape” to apply a protective guard around the work areas. Attend to the fender and bumper valance. This will help protect the paint and finish of your vehicle.
Fig1
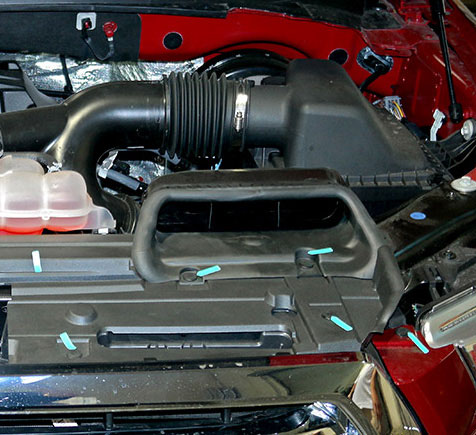
Fig2
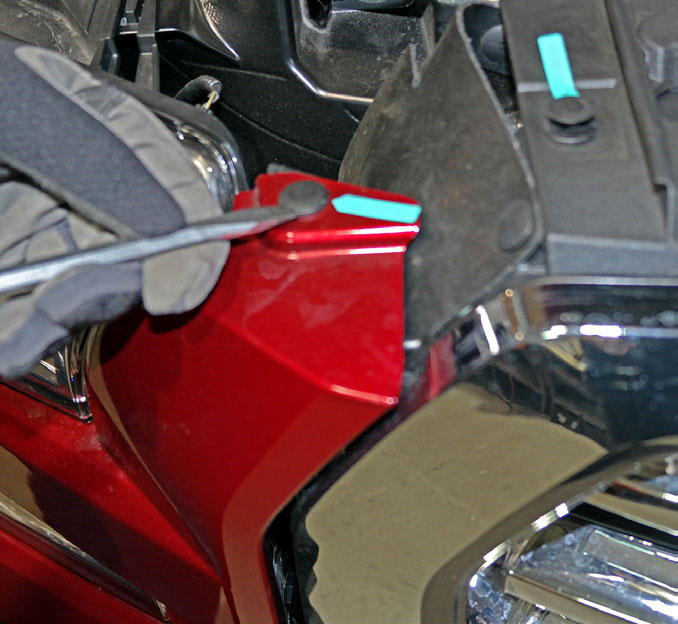
Fig3
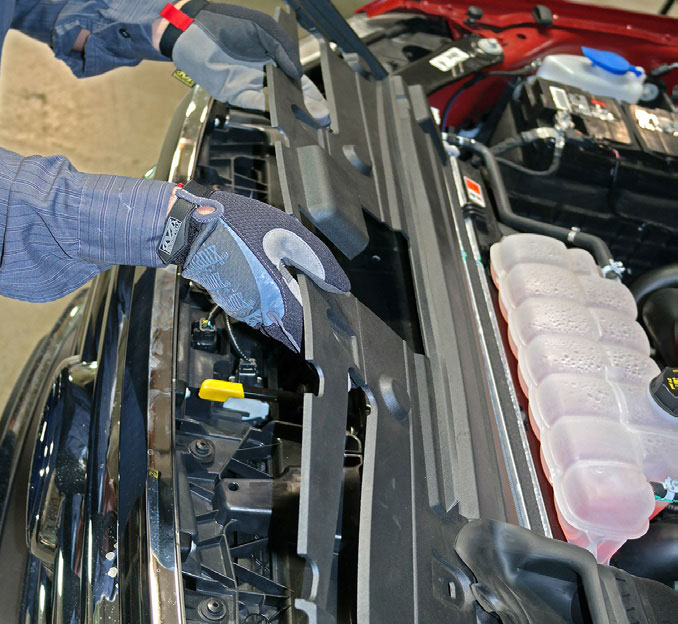
Fig4
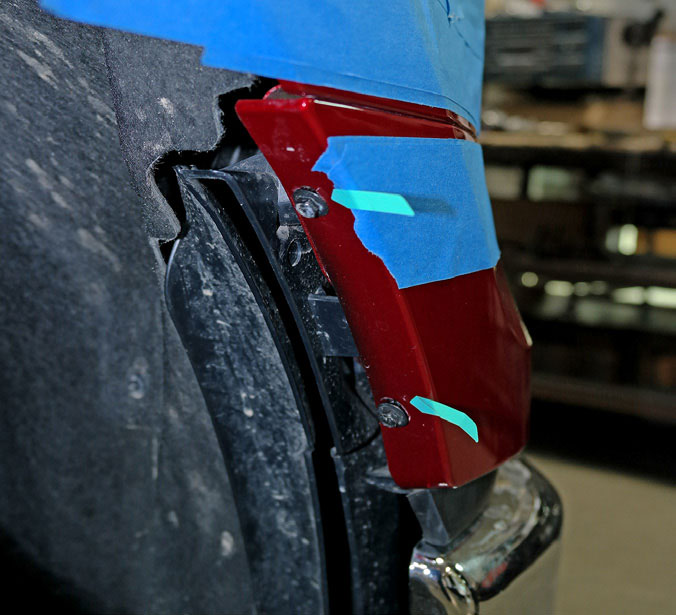
Fig5
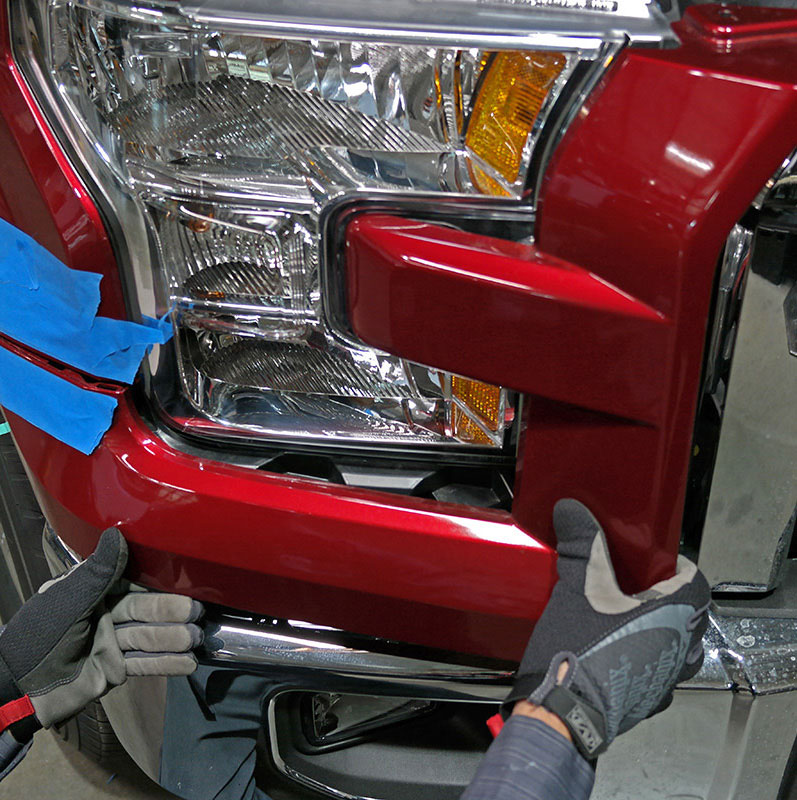
Fig6
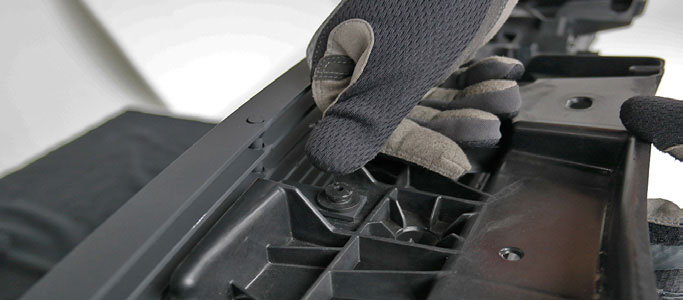
STEP 4 On the inside of the inner wheel well lip, remove (2) 7mm bolts. The headlight plastic body panel should now be loose. You will need to coax panel out and off catch tabs to remove completely. The plastic wedge spatula should help.
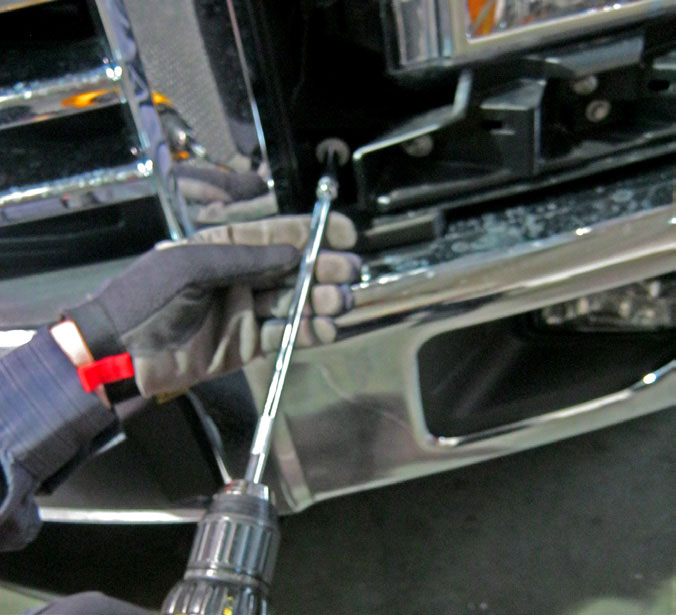
STEP 5 Use 8mm socket to remove the (2) bolts on each side of the factory grille near the bottom corner, just outside and behind.
Fig7
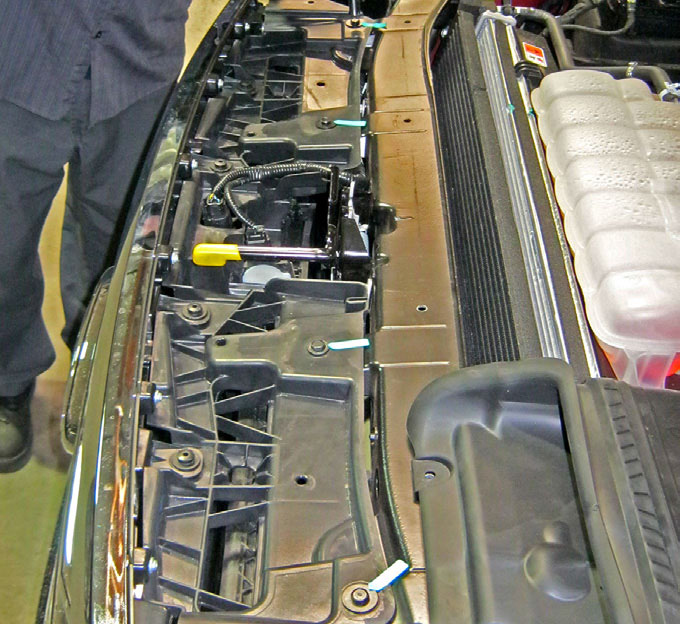
Fig8
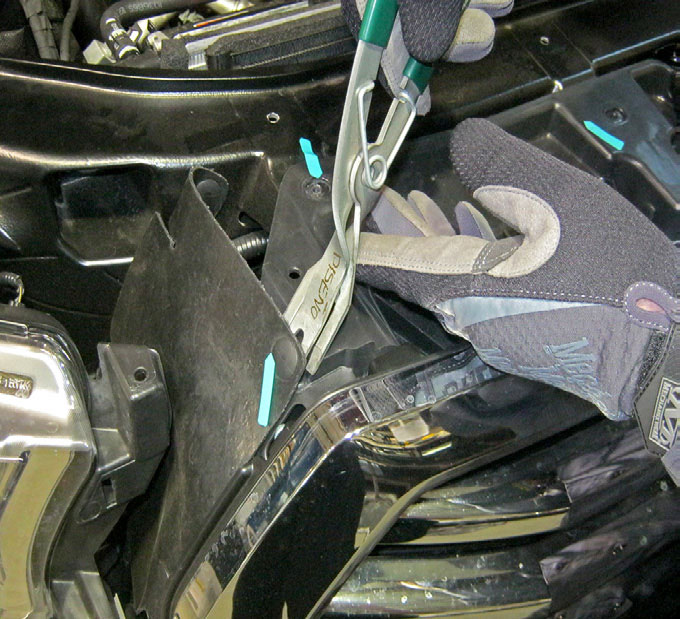
Fig9
Step 6-See figures 7&8
6) On top of the core support, remove (4) 8mm bolts. 7) Remove (4) plastic clips on upper corner near head lamp
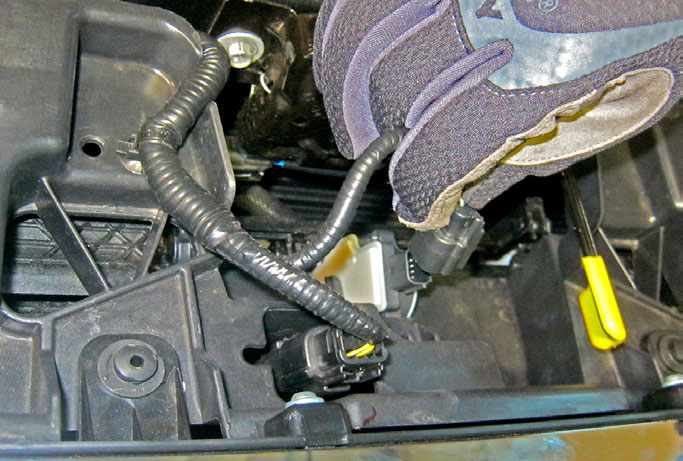
Step 7- See figure 9
8) Located next to the hood latch, disconnect (2) sensors located at the top center of grille. Free the sensor cable by pulling the plastic cable support clip. 9) The OEM Factory Grille should now be free and ready to remove. Carefully place the grille on a soft cushioned surface and prepare to remove the shutter component which is currently fastened to the backside of the factory grille.
Steps 10-12 See figures 10-12
10) Remove the (7) 10mm plastic bolts that line the outside edge and the (1) 8mm bolt that is secures the center structure. 11) Remove the (4) plastic clips located on the top lip. 12) Set factory grille aside and prepare to install your new T-REX Grille
Grille Removal Process Complete
Grille Install Start
Fig12
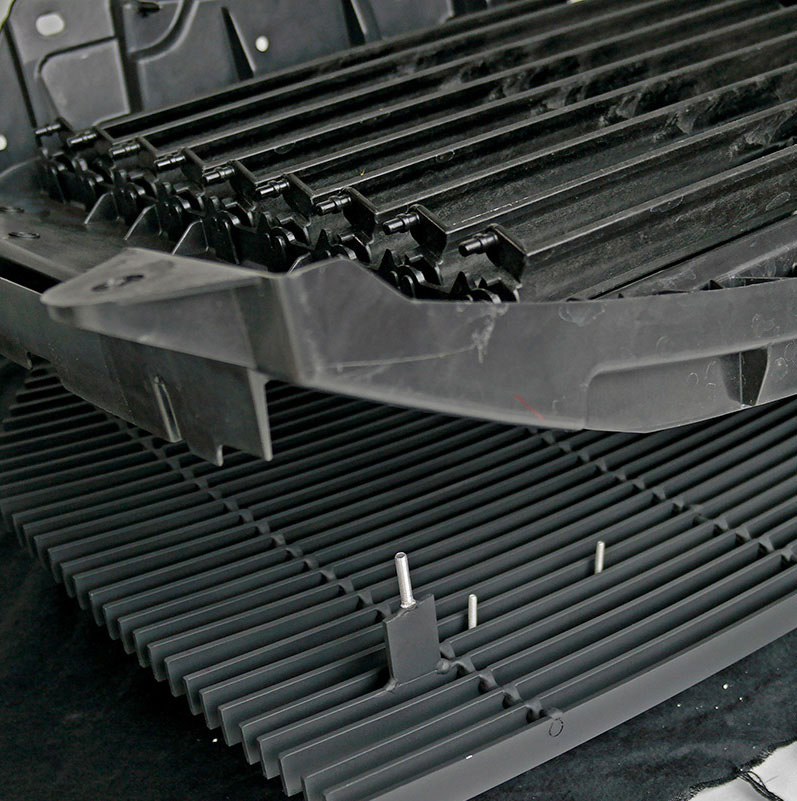
Fig13
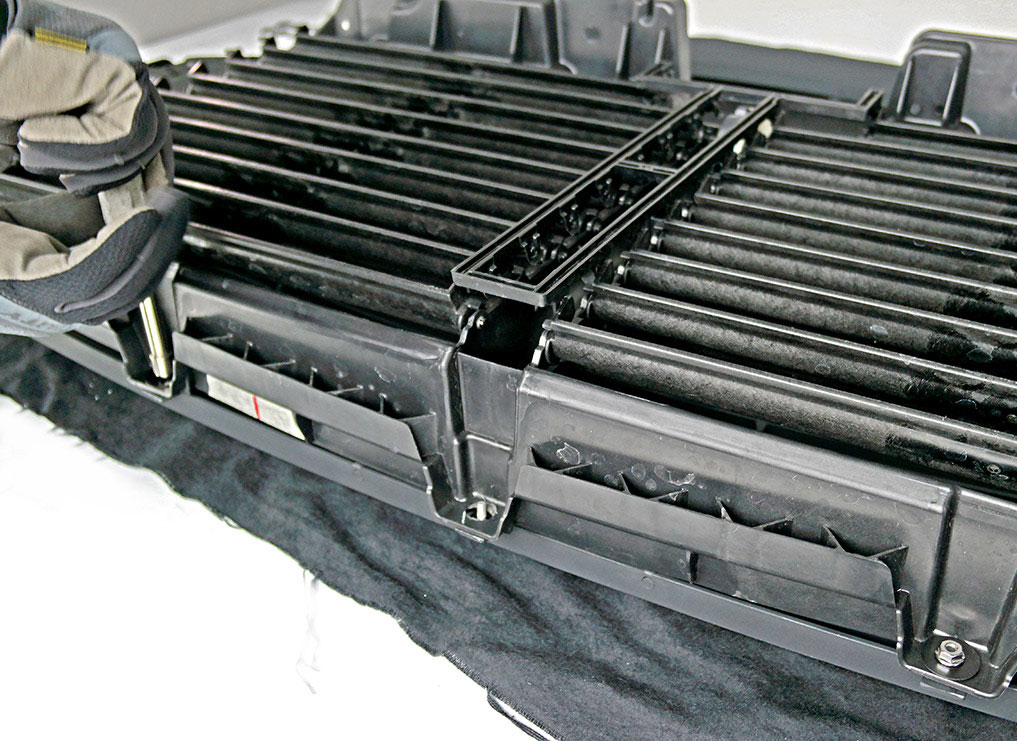
Fig14
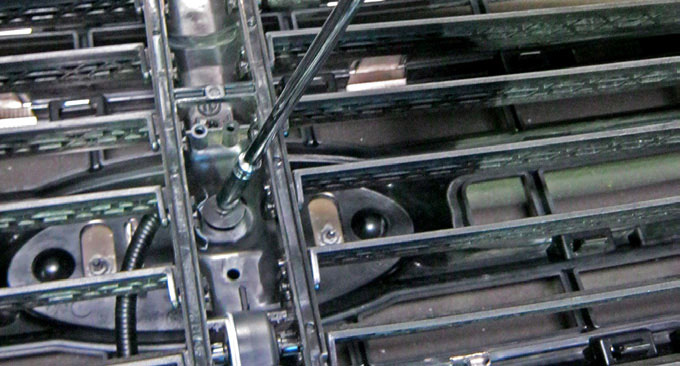
Fig15
Step 1- BILLET - MAIN GRILLE - INSTALLATION- See fig 12-13
With the new T-REX Grille unit placed face down on a flat cushioned surface, 1) Fit the shutter component over each fixed bolt thread. There is 8 total. Place the provided 3/16” fender washer and nylon lock nut hardware over and onto the mounting points. Tighten down with your 7mm socket.
Step 2- See fig 14-15
2) Make sure to reinstall the (1) 8mm bolt that is secures the center structure. 3) Flip up and stand the entire grille unit up to access top. Re-insert plastic clips which will than secure shutter component to new T-REX Grille.
Fig15
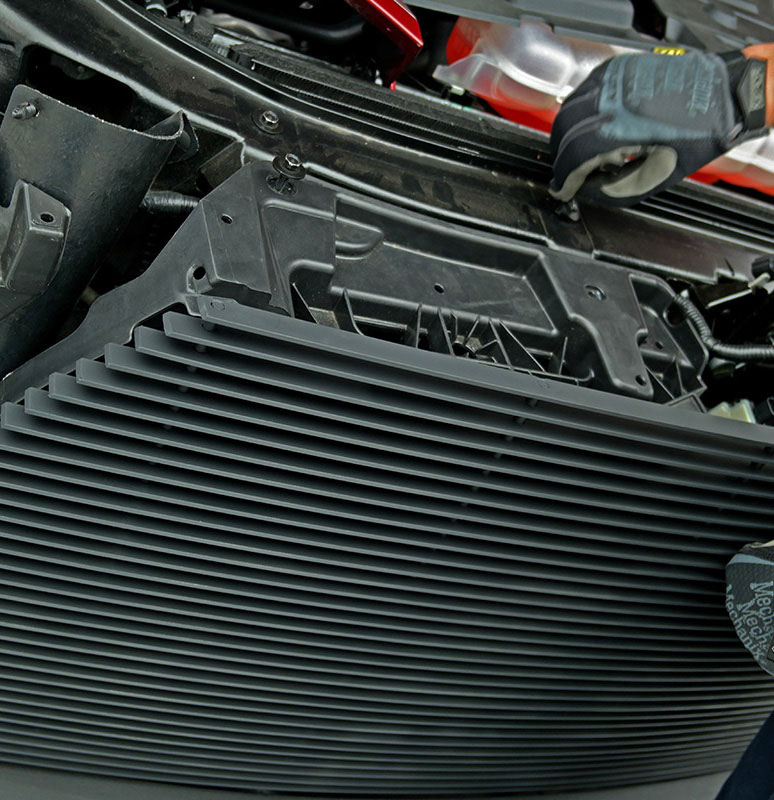
Fig16

Fig17
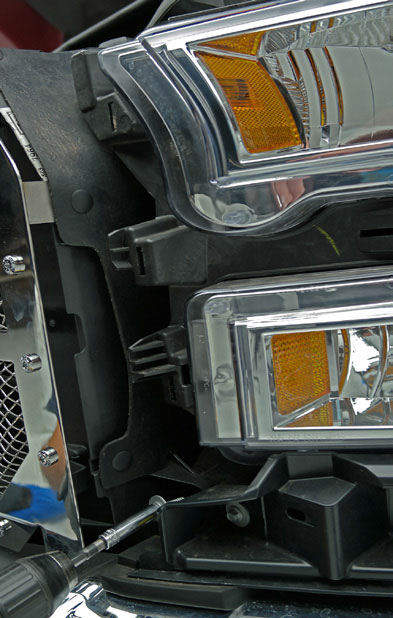
Fig18

Step 3- See fig 15-17
4) Grille assembly is now ready to reinstall on vehicle. Match it up to factory mounting points and reinstall in the reverse order that the grille was removed. Start with the (4) 10mm factory bolts on top and the (2) 8mm bolts located near the bottom corners.
Steps 4&5 See fig 18
5) Plug the (2) sensor connections back into the shutter component sensor units. 6) Place plastic radiator shroud cover over core support making sure the cold air intake lip is overlapped on top of the shroud. Align the factory mounting holes and use the (10) plastic clips to secure and fasten in position.
Step 7
7) Carefully put back into place the headlight plastic body panel around the head lamp area making sure to align with the 8 tab fasteners and then firmly press into place. Use the (2) 5/32” bolts to mount and secure the panel on the inside wheel well lip. On each side of the grille at the top corners, reinsert the plastic tabs. (1) on each side
Step 8- See Figure 19
8) At this point you want to look over your work and examine the gap alignments around all edges and in between the new T-REX Grille and the vehicle components and body lines. Carefully close the hood for a complete visual inspection. If adjustment is needed, you can loosen the top mounts and shift side to side for even gaps.
Fig19