FREE 1 to 3-Day Delivery on Orders $149+ Details
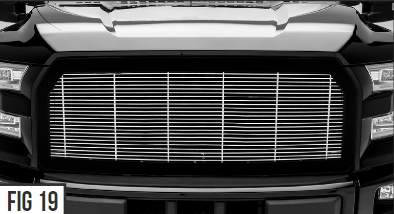
How to Install T-REX Billet Series Replacement Upper Grille w/ Black Frame - Polished on your F-150
Tools Required
- Screwdriver set (Flat Head)
- 10mm, 8mm, 7mm Sockets
- Ratchet Tool
- 1/2” Plastic Spatula
- Pocket Knife
Step 1 Front Bumper Removal
1) Turn off engine and chalk tires with stop block. Open Hood.
STEP 2
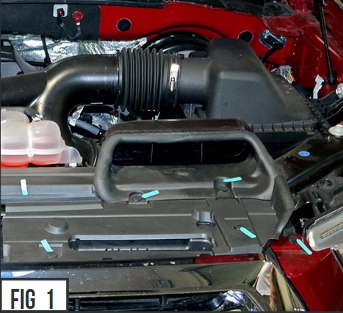
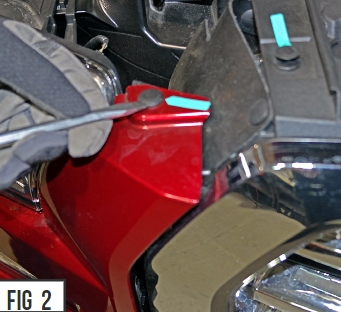
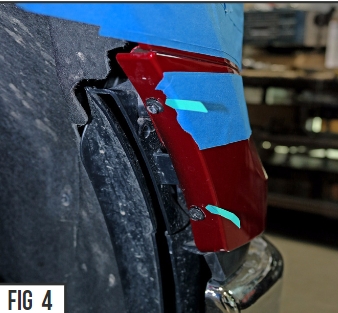
2) Identify & locate (10) plastic clips on top of plastic shroud and also (1) additional on each side located at the top of the headlight body panel cover. Carefully pry off to remove and then set aside for reinstallation later.
STEP 3
3) Remove plastic shroud and then set aside for reinstallation later.
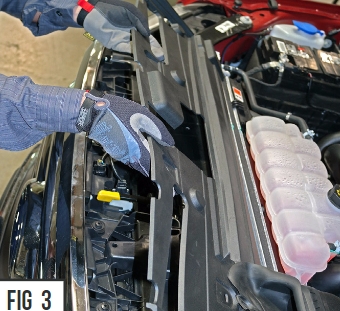
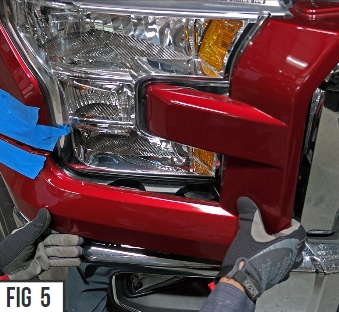
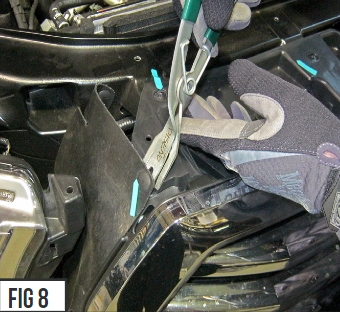
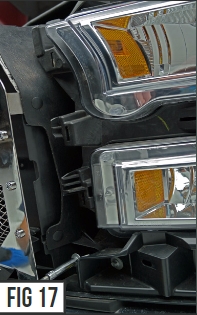
4) On the inside of the inner wheel well lip, remove (2) 7mm bolts. The headlight plastic body panel should now loose. You will need to coax panel out and off catch tabs to remove completely. The plastic wedge spatula should help.
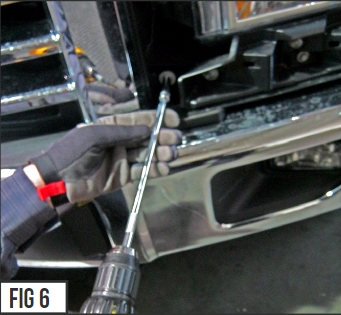
5) On each side of the factory grille near the bottom corner, just outside and behind, there is (1) 8mm bolt. (1) 8mm bolt on each side. Use 8mm socket to remove the (2) bolts.
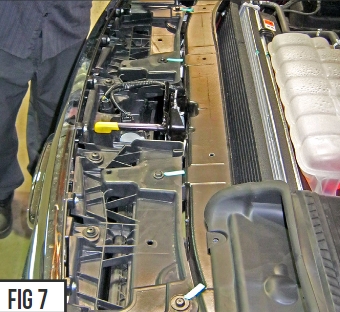
6) On top of the core support, remove (4) 8mm bolts.
7) Remove (4) plastic clips on upper corner near head lamp.
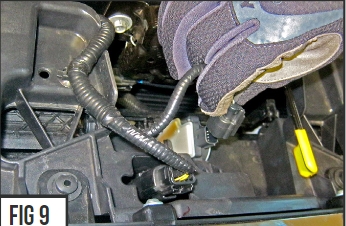
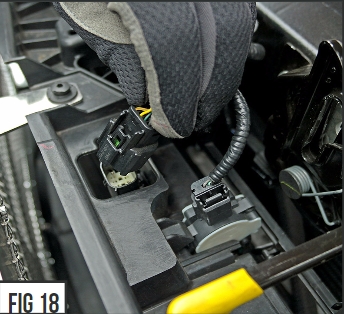
8) Located next to the hood latch, disconnect (2) sensors located at the top center of grille. Note to pull the plastic cable support clip.
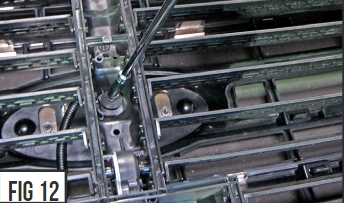
9) The OEM Factory Grille should now be free and ready to remove. Carefully place the grille on a soft cushioned surface and prepare to remove the shutter component which is currently fastened to the backside of the factory grille.
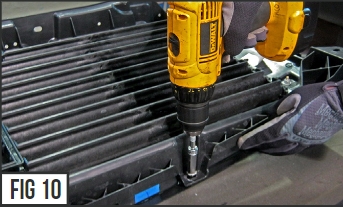
10) Remove the (7) 10mm plastic bolts that line the outside edge and the (1) 8mm bolt that is secures the center structure.
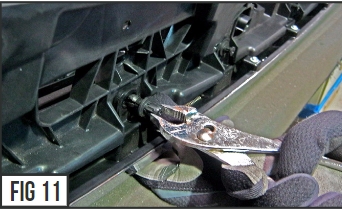
11) Remove the (4) plastic clips located on the top lip.
12) Set factory grille aside and prepare to install your new T-REX Grille
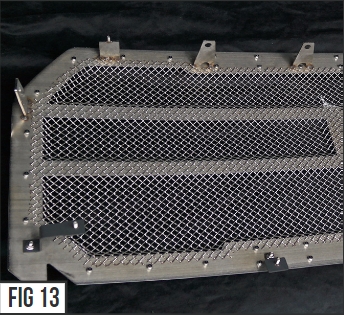
With the new T-REX Grille unit placed face down on a flat cushioned surface,
1) Set all extension brackets in place starting with large bracket on the lower bottom corners and the small brackets in the middle. Secure and fasten them with 10mm nuts.
2) Reinstall shutter component to new T-REX Grille with factory hardware that was previously removed.
3) Flip up and stand the entire grille unit up to access top. Re-insert plastic clips which will than secure shutter component to new T-REX Grille.
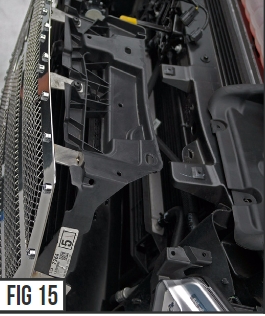

4) Grille assembly is now ready to reinstall on vehicle. Match it up to factory mounting points and reinstall in the reverse order that the grille was removed. Start with the (4) 10mm factory bolts on top and the (2) 8mm bolts located near the bottom corners.
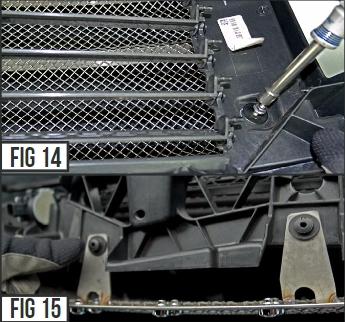
5) Plug the (2) sensor connections back into the shutter component sensor units. 6) Place plastic radiator shroud cover over core support making sure the cold air intake lip is overlapped on top of the shroud. Align the factory mounting holes and use the (10) plastic clips to secure and fasten in position
8) At this point you want to look over your work and examine the gap alignments around all edges and in between the new T-REX Grille and the vehicle components and body lines. Carefully close the hood for a complete visual inspection. If adjustment is needed, you can loosen the top mounts and shift side to side for even gaps.