 2019-2026
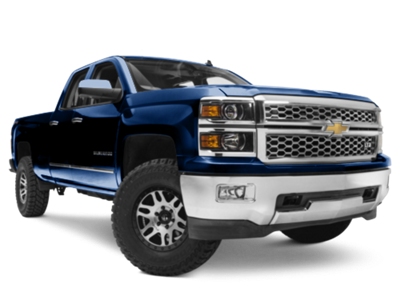 2014-2018
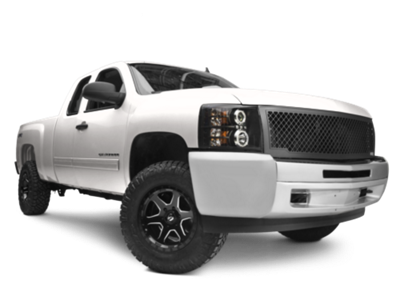 2007-2013
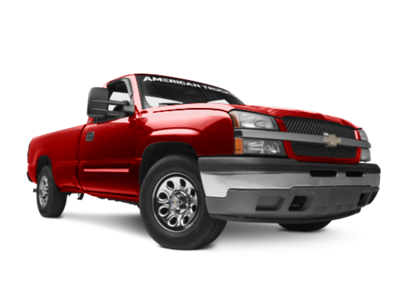 1999-2006


Installation Time
(approx) 3 Hours
Difficulty Level:
Light to Moderate mechanical skill required.
 FREE 1 to 3-Day Delivery on Orders $149+ Details
$1,249.99 kit
CONFIRM THIS FITS YOUR VEHICLE!
Saved - View your saved items
We're sorry. We couldn't save this product at this time.

Features, Description, Reviews, Q&A, Specs & Installation
| Bumper Type | Full Width |
| Bumper Material | Steel |
| Bumper Finish | Black |
| Bumper Winch Mount | No Winch Mount |
| Bumper Fog Light Fitment | Factory |
| Bumper Location | Front |
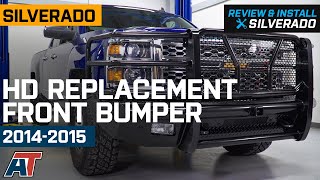
Heavy Duty Construction. These HD Replacement Front Bumper is the perfect direct replacement bumper to help set your Silverado apart from the rest. The one-piece fully welded design features a built-in grille guard for superior headlight protection. You can be sure that this bumper was built to last, as it has been crafted from high grade schedule 40 steel pipes and diamond plates.
Dual Coated Protection. These HD replacement bumper uses a two-stage E-coat and black powdercoated finish for a superior protective finish that is made to withstand the inevitable.
Light to Moderate Install. Installation is categorized as being "light to moderate" and can be completed in just two hours with the proper tools on hand. The kit comes with all the necessary plugs and mounting brackets for a seamless installation and direct replacement. No drilling is required and you can retain your tow hooks, front license plate and factory fog lights.
Limited 2-Year Warranty. This replacement bumper is backed by a limited 2-year warranty against manufacturer defects in materials, workmanship and finish. Please visit the manufacturer official website for complete details and exclusions.
Application. These HD Replacement Front Bumper will fit all 2014-2015 Chevrolet Silverado 1500 trucks.
Freight Notes. Freight items can only be shipped within the continental 48 states, no expedited methods. What is freight shipping? Your Answers are Right Here!.
Shop All Truck Parts And Accessories
Shop All Truck Bumpers
Shop All Front Truck Bumpers
CA Residents:  WARNING: Cancer and Reproductive Harm - www.P65Warnings.ca.gov
Installation Info
Installation Time
(approx) 3 Hours
Difficulty Level:
Light to Moderate mechanical skill required.
What's in the Box
Sponsored
