
Talk to a F-150 Sales Tech
1-888-706-1096
M-F 8:30A-11P ET, Sat-Sun 8:30A-9P ET
How to Install Smittybilt M1 Fender Flares - Black on your F-150
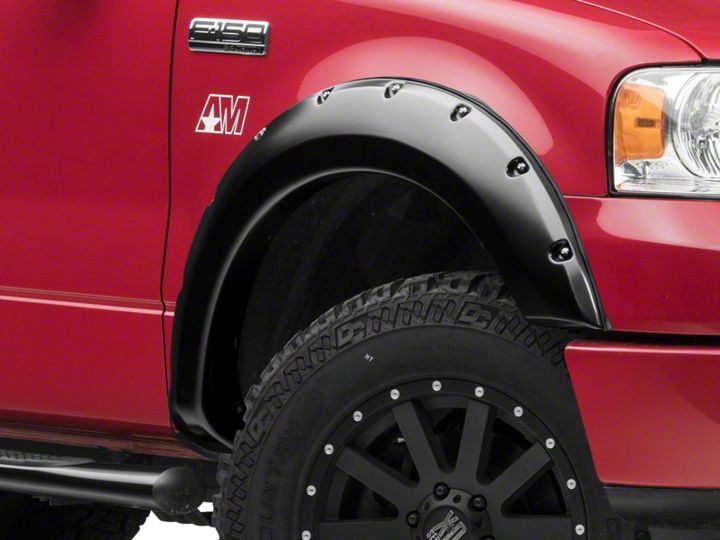
Shop Parts in this Guide
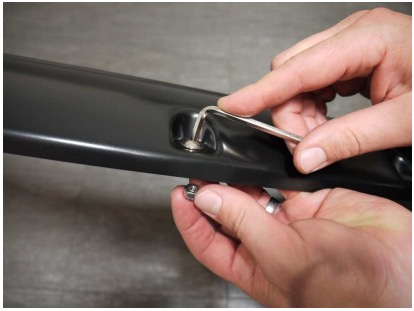
STEP 1: Attach 9 bolts to each Fender Flare using a 5/32” Allen key and a 3/8” wrench/socket. (wrench/socket and Allen key not supplied)
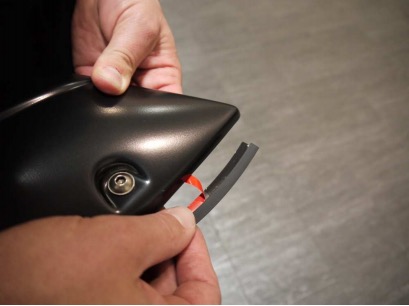
STEP 2: Attach the included rubber seal to the Fender Flares. Peel back 2” of the adhesive backing and position on the Fender Flare. Attach the seal to the Fender Flare, peeling back a few inches at a time. Attach rubber seal along all areas the Fender Flare will make contact with the vehicle body.
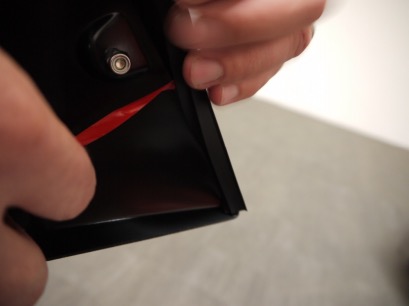
STEP 3: Pulling at right angles to the extrusion, remove the liner from the extrusion in small portions and apply thumb pressure to ensure that it adheres to the Fender Flares.
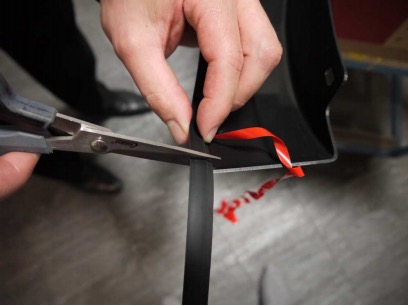
STEP 4: Trim any unnecesary extrusion and discard.
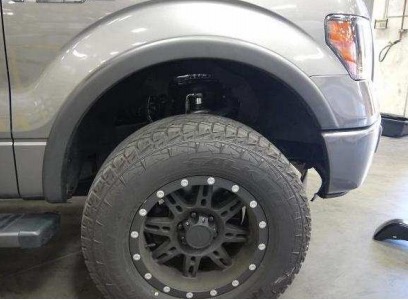
STEP 5: Clean the body areas where the Fender Flares will makes contact. Use the supplied alcohol wipe.

STEP 6: Remove four (4) 5.5mm bolts and retain for installation of Fender Flares. For 2007-2013 vehicles, only 3 bolts are removed. For models equipped with factory fender flares, removal of factory flares is required, please consult the vehicle service manual for factory fender flare removal.
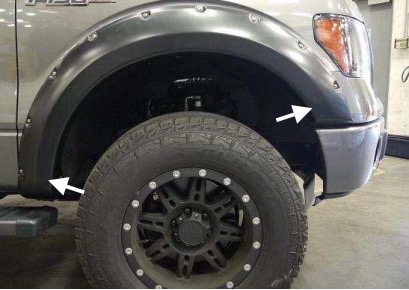
STEP 7: Place the Fender Flare onto the vehicle and fit into the correct position following the contours of the body. Use four (4) of the .6mm clips (two (2) per side) to secure the Fender Flare to the body. Make sure the dimple in the clip securely attaches in the slot on the Fender Flare.
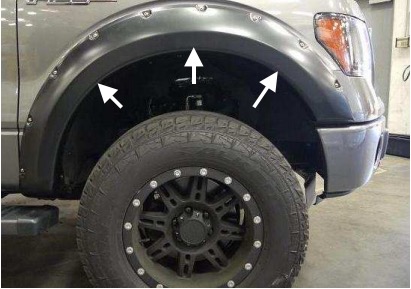
STEP 8: Insert six (6) of the .9mm lever retaining clips (three (3) per side) into the Fender Flare. Make sure the tab in the clip securely attaches in the slot on the Fender Flare. Secure with four (4) bolts removed in Step 6. For 2007-2013 vehicles, secure the center clip with the included scrivet.
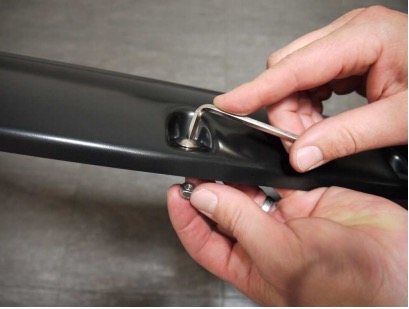
STEP 9: Attach 10 bolts to each Fender Flare using a 5/32” Allen key and a 3/8” wrench/socket. (wrench/socket and Allen key not supplied)
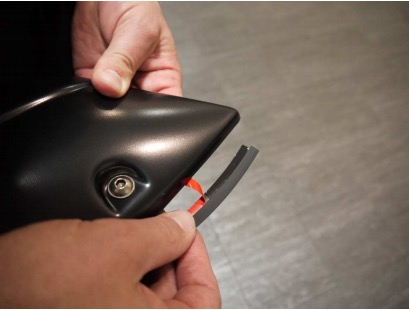
STEP 10: Attach the included rubber seal to the Fender Flares. Peel back 2” of the adhesive backing and position on the Fender Flare. Attach the seal to the Fender Flare, peeling back a few inches at a time. Attach rubber seal along all areas the Fender Flare will make contact with the vehicle body. Trim any excess rubber seal.
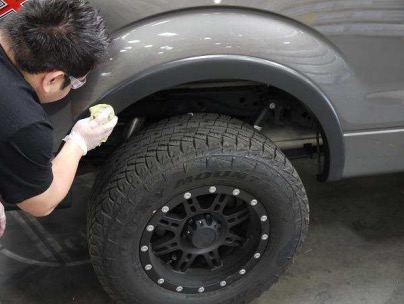
STEP 11: Clean the body areas where the Fender Flares will makes contact. Use the supplied alcohol wipe. For models equipped with factory fender flares, removal of factory flares is required, please consult the vehicle service manual for factory fender flare removal.
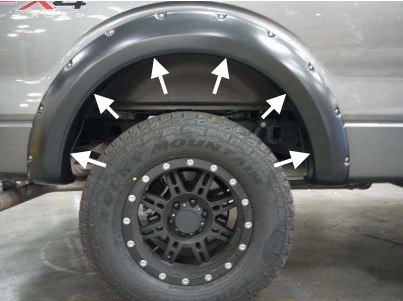
STEP 12: Place the Fender Flare onto the vehicle and fit into the correct position following the contours of the body. Use twelve (12) of the .6mm clips (six (6) per side) to secure the Fender Flare to the body. Make sure the dimple in the clip securely attaches in the slot on the Fender Flare
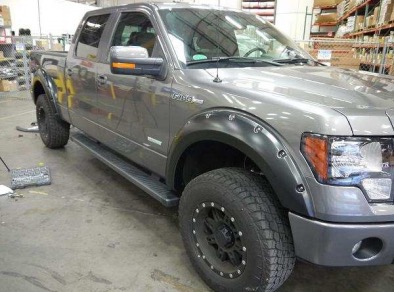
STEP 13: Double check the front and rear Fender Flares to make sure all bolts are tight and clips are securely fastened. Your installation is now complete. Do not use abrasive cleaners.

