 2019-2026
 2014-2018
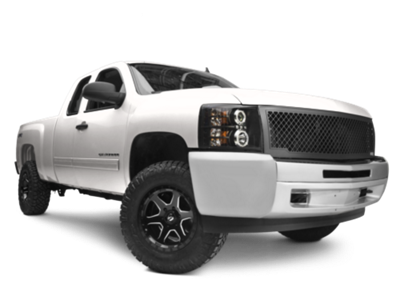 2007-2013
 1999-2006


Installation Time
(approx) 2 Hours
Difficulty Level:
Light to Moderate mechanical skill required.
 FREE 1 to 3-Day Delivery on Orders $149+ Details
$2,073.49 kit
CONFIRM THIS FITS YOUR VEHICLE!
Saved - View your saved items
We're sorry. We couldn't save this product at this time.
Features, Description, Reviews, Q&A, Specs & Installation
| Bumper Type | Full Width |
| Bumper Material | Steel |
| Bumper Finish | Black |
| Bumper Winch Mount | No Winch Mount |
| Bumper Fog Light Fitment | Factory |
| Bumper Location | Front |
Aggressive Design and Unrelenting Protection. Add robust protection to the front of your work truck with this HD Replacement Front Bumper. Designed to provide complete front-end protection, this front bumper comes with an integrated grille guard that also helps protect the headlights. Also, this grille guard is designed to support front emblem cameras and adaptive cruise control. Without a doubt, this grille guard makes your truck readier for treacherous adventures than ever.
Uses Factory Fog Lights. The design of this Front Bumper allows the OE fog light to be re-used via its built-in mounting holes. This lets you drive with the same amount of visibility at night as the factory configuration.
Heavy-Duty Construction. Engineered for aggressive applications, this Front Bumper is made of diamond plate steel and schedule-40 pipe to ensure unrelenting durability. It also features a high-quality, semi-gloss black powder-coated finish that guarantees years of corrosion protection while also adding a more formidable appeal to your truck.
Simple to Set Up. The bolt-on feature of this HD Replacement Front Bumper allows for simple installation. It uses the factory mounting locations on your truck without the need for any permanent modifications to it.
Application. This HD Replacement Front Bumper is designed for use on all 2019-2021 Chevrolet Silverado 1500 models.
CA Residents:  WARNING: Cancer and Reproductive Harm - www.P65Warnings.ca.gov
Installation Info
Installation Time
(approx) 2 Hours
Difficulty Level:
Light to Moderate mechanical skill required.
What's in the Box
Sponsored
