 FREE 1 to 3-Day Delivery on Orders $149+ Details
How to Install Rigid Industries 20 in. Light Bar Bumper Mounting Brackets on your F-150
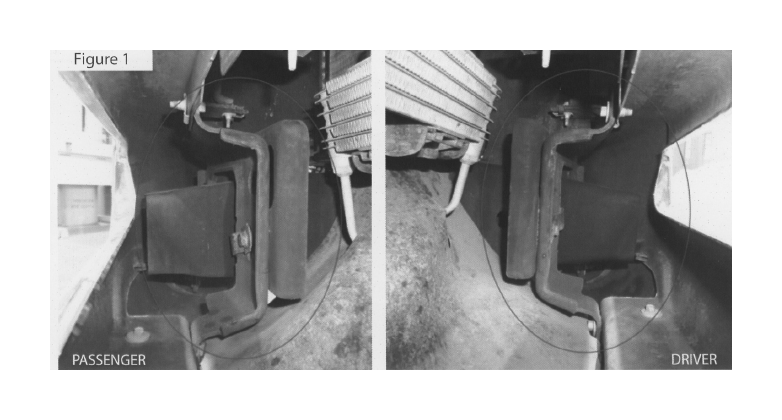
Step 1: Locate front factory bumper mounts, driver side and passenger side.
See Figure 1.
STEP 2
Remove and discard factory 10mm bolts from driver and passenger side mounts.
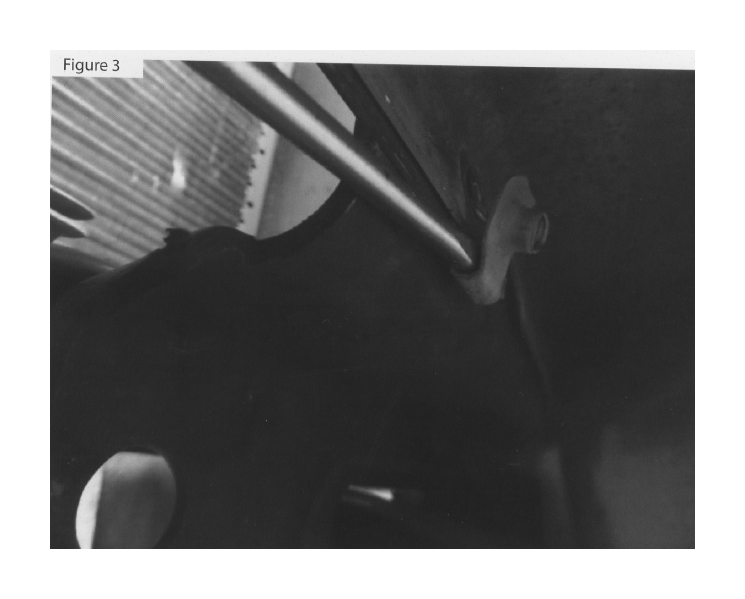
STEP 3
Remove driver and passenger side clips left behind after removing top screws.
See Figure 3.
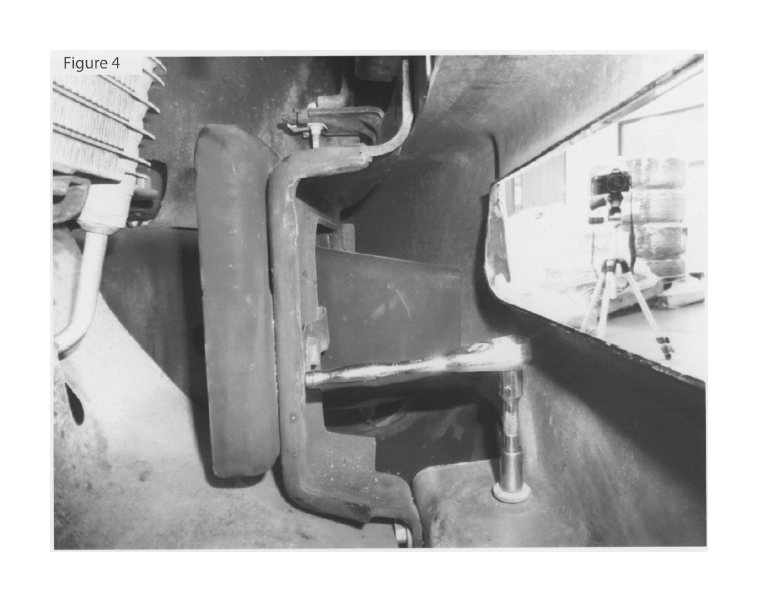
STER 4
Remove 8mm bolt from driver side and passenger side, save for re-use. See Figure 4.
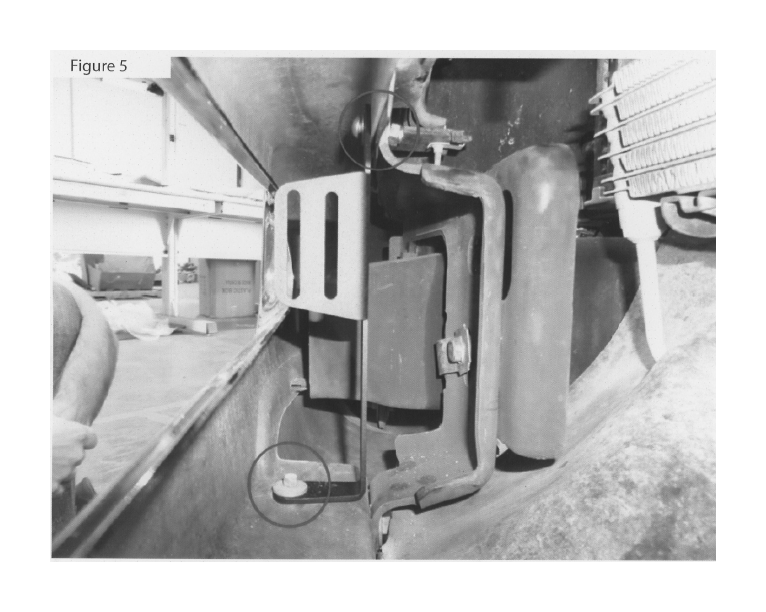
STEP 5
Install Rigid mounts onto driver and passenger sides. Use (1)5/16x18x1 bolt, (1) 5/16 Nyloc nut, and (2) 5/16 x 3/4 washers for the top, use the bolt saved in Step 4 for the bottom. See Figure 5.
Note: Do not fully tighten bolts until after Rigid Industries LED light is mounted.
STEP 6
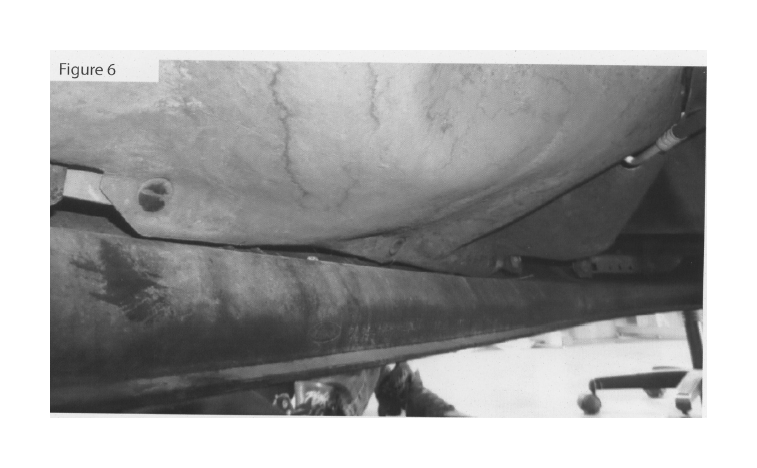
Locate and remove 3 press fit retainers on the dust flap, save for re-use. See Figure 6.
STEP 7
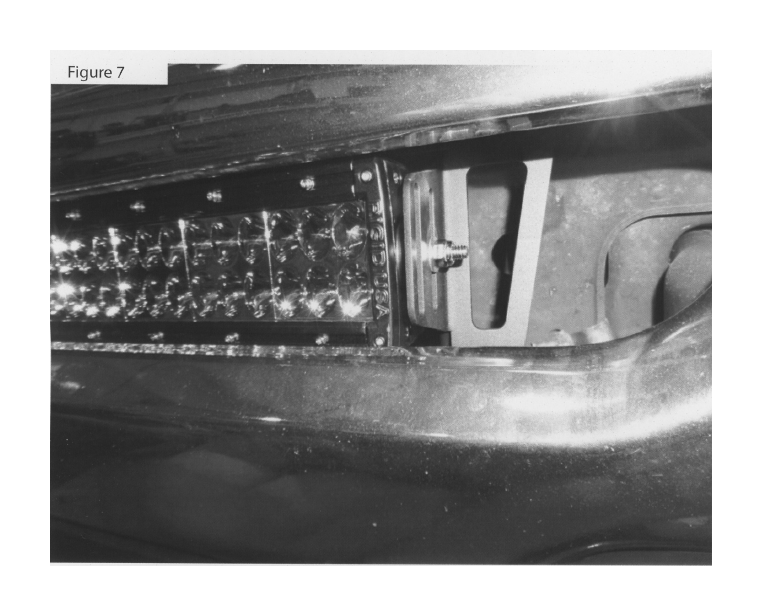
Lift dust flap and install Rigid Industries LED light using hardware provided with the light.Tighten all screws.
Note: E-Series light will use the back slots. SR-Series light will use the front slots.
STEP 8
Re-attach dust flap with 3 press fit retainers saved in Step 6.
WIRING
Wire your light(s) using the wire harness and switch provided with your light(s). Take care to avoid any heat sources and sharp or abrasive surfaces when routing the wire.
