 FREE 1 to 3-Day Delivery on Orders $149+ Details
How to Install Raxiom 50 in. Curved LED Light Bar Windshield Mounting Brackets on your Silverado
Tools Required
- 1/2” wrench
- 9/16” wrench
- Drill
- 33/64” drill bit
- tape measure
- permanent marker
- 3/16” Allen wrench
- 6mm Allen wrench
- masking tape
NOTE: Please read instructions before beginning installation. Check all of the kit’s hardware to ensure it has all the proper contents. Be sure you have all needed parts and know where they go.
Contents of Kit: Driver mount (1), Passenger mount (1), Gaskets (2), rivets (6), Allen head bolts (6)
Installation Instructions:
1. Start by opening the doors and pulling back the weather stripping above the windshield on both sides of the truck.
2. Apply masking tape to the painted surface of the truck to prevent scratching while marking the mount’s hole placement.
3. Install the driver and passenger mounts to the light bar using the supplied light bar’s hardware. Only hand tighten at this time.
4. With a second person, place the mounts on the top of the door jam. Measure ½” up from the windshield line and mark the three holes on both sides of the truck with a marker or center punch.

5. Remove the mounts from the truck and drill the previously marked holes with a ¼” drill bit making a pilot hole.
6. Now that pilot holes were made, drill those holes out to 33/64”.
7. Take the supplied bolt, washer, nut and screw them into the riv-nut.
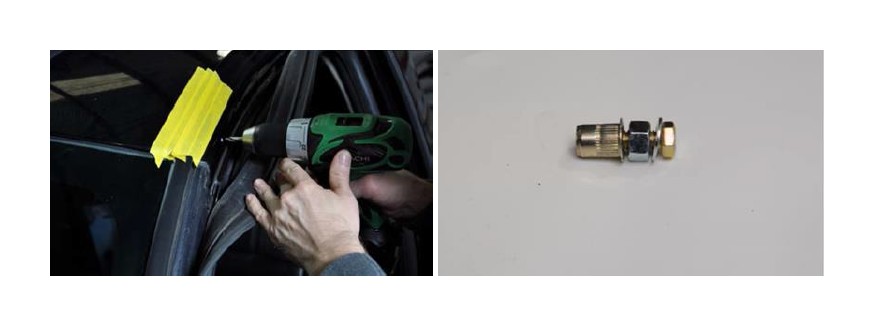
8. Place that assembly into the drilled hole in the door jam.
9. Use a 1/2” wrench and a 9/16” wrench to tighten the bolt while holding the nut with the 9/16” wrench. Doing this will compress the nut insert and lock it into place while inserted in the drilled hole.
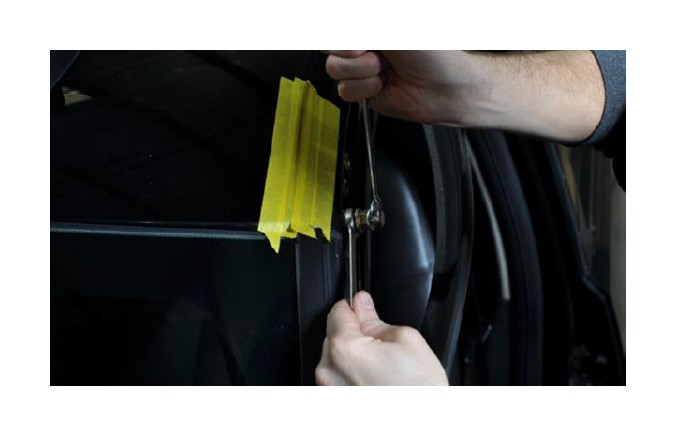
10. Repeat this step for all six nut inserts.
11. Install the gasket on each side of the light mounts.
12. The masking tape can be removed at this time.
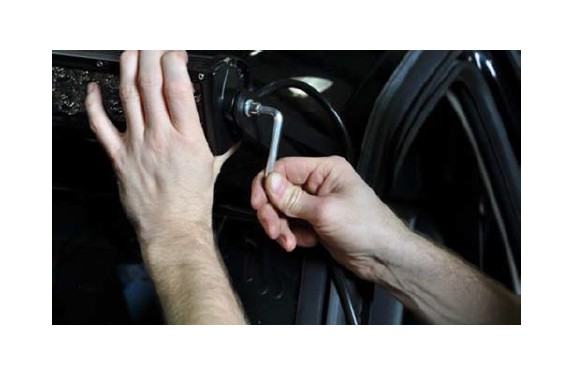
13. With a second person, align light bar with mounts attached to the three previously drilled holes on both side of truck. Secure the mounts to the truck with the supplied Allen head screw and tighten down with a 3/16” Allen wrench.
14. Now is the time to make adjustments to gain the desired light bar’s angle, then tighten down.
15. Reattach the factory rubber door seals.
16. Route the light bar’s wire, and wire it up according to the light bar’s instructions.


