 FREE 1 to 3-Day Delivery on Orders $149+ Details
How to Install Rogue Racing Revolver Rear Bumper - Pre-Drilled for Backup Sensors on your F-150
Tools Required
- 3/16” Allen Socket or Wrench
- 1/2“ Socket or Wrench
- 10mm Socket or Wrench
- 15mm for the Front Skid Plate
- 21mm Socket for the Front Bumper
Rear Bumper
Remove six 10mm bolts that hold the bumper skins to tow hitch assembly. License plate area will have plastic expanders to hold it in place. You’ll have to go from underneath to access and squeeze together with pliers and it should pop out with minimal effort.

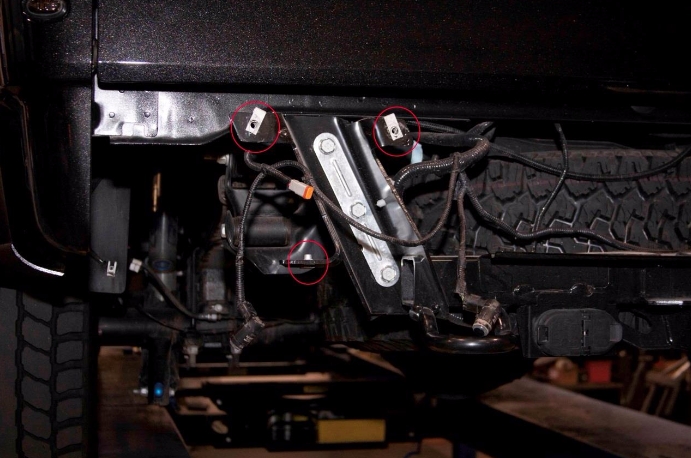
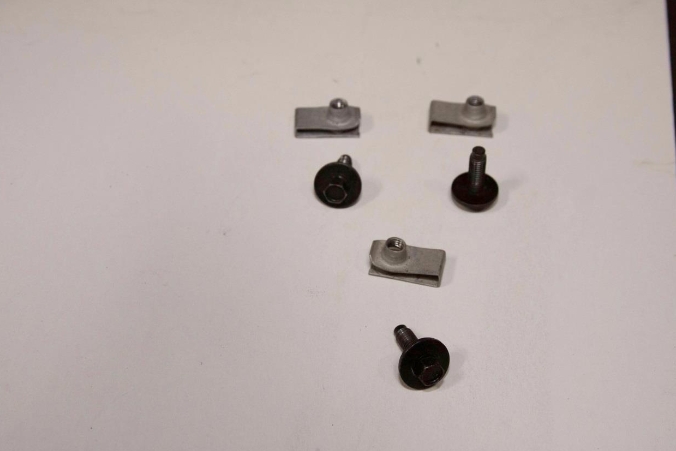
Here’s a side view after removal of the rear bumper. Circled are the 3 Bolts and speed clips that need to be removed. There are 3 bolts and retainers per side.
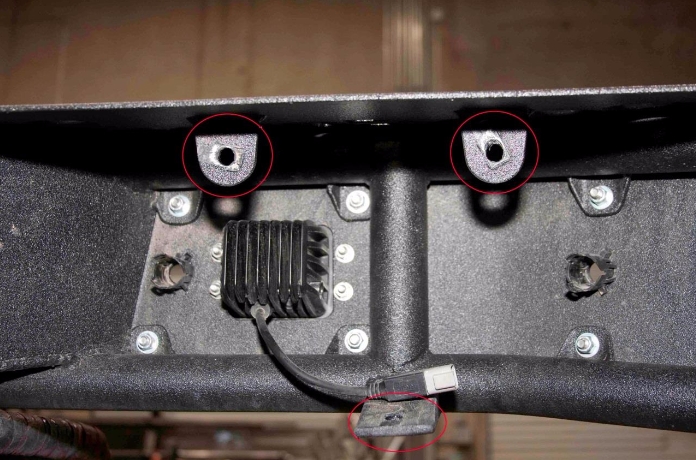
Facing the rear bumper head on after bumper removal
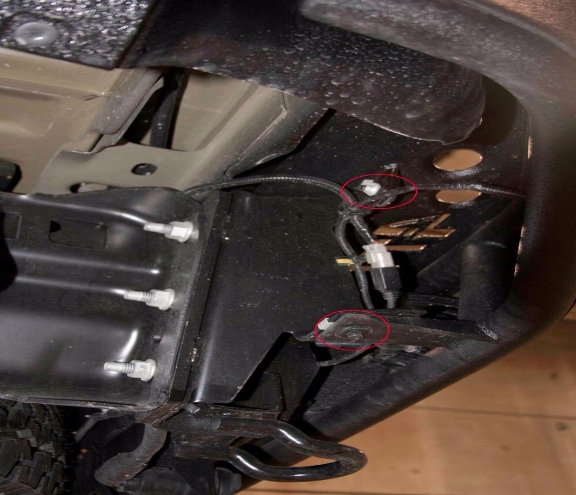
The 3 tabs on the Revolver Rear bumper that will line up with the factory tabs. Re-use the factory hardware to bolt up the rear bumper.
Revolver Rear bumper bolted up using the 3 factory tabs
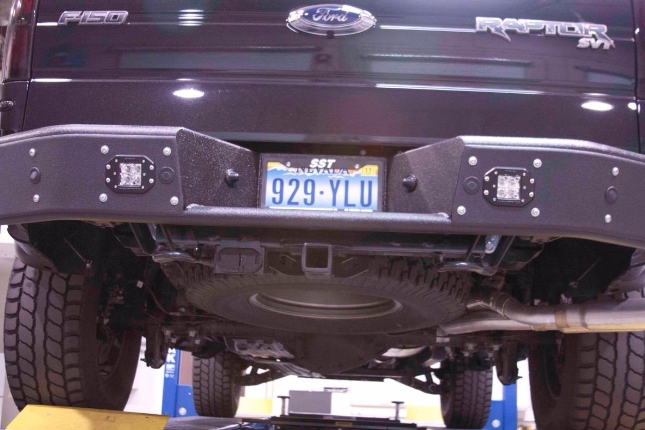
Rear View with bumper and Rigid flush mounts installed rear bumper Install
Revolver Front Bumper Instrucstions
There are four nuts that connect the front bumper to the mounting flanges on the truck. These will need to be removed as well as the 10mm bolt for the hood latch. The 8mm bolts that connect it to the front valence will also need to be removed.
