 FREE 1 to 3-Day Delivery on Orders $149+ Details
How to Install Rugged Ridge Winch Hook Holder (07-17 Sierra 1500) on your GMC Sierra
To obtain correct installation, we recommend that you follow the basic steps covered in these instructions. Please take care when assembling this product to protect the finish and to maintain a quality look to your new investment. If able have a second person help with the installation.
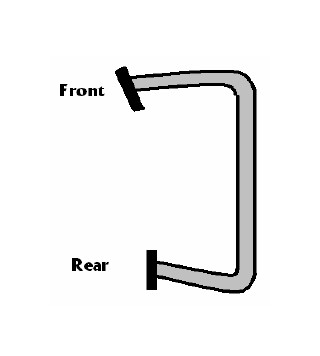
The left and right side nerf bars are the same. The long side needs to be positioned towards the front of your vehicle.
Step one: Check parts list:
(16) self tapping 3/8" screws
(2) Nerf bars
Step two: Position the nerf bar up to frame. Maintain a 1/2" minimum between the bottom of the vehicle and the top of the nerf bar. Locate the nerf bar front to back until it is parallel with the frame and the body of the vehicle. With nerf bar in place (second person holding) mark the frame through nerf bar mounting holes located in the bar bracket. After marks have been made repeat step one on the other side and set bars to the side.
Step three: Using a center punch tap into the frame at marked holes with hammer. At punch mark drill a 5/16" hole in frame. NOTE: BEFORE DRILLING, BE SURE TO CHECK BACK SIDE OF FRAME FOR POSSIBLE HAZARDS.
Step four: Using (8) 3/8" self tapping screws, position the nerf bar into place over drilled 5/16" holes. Secure to frame with the supplied 3/8" screws. Repeat the procedure on the other side.

