FREE 1 to 3-Day Delivery on Orders $149+ Details
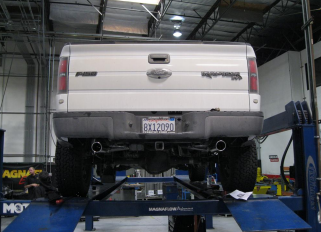
How to Install a Magnaflow MF Series Cat-Back Exhaust - Split Rear Exit on your Ford F-150
Installation Time
4 hours
Tools Required
- 13mm
- 15mm
- Hanger Tool (Or Pry Bar)
- 7/8"
- Sawzall or other cutting device.

Shop Parts in this Guide
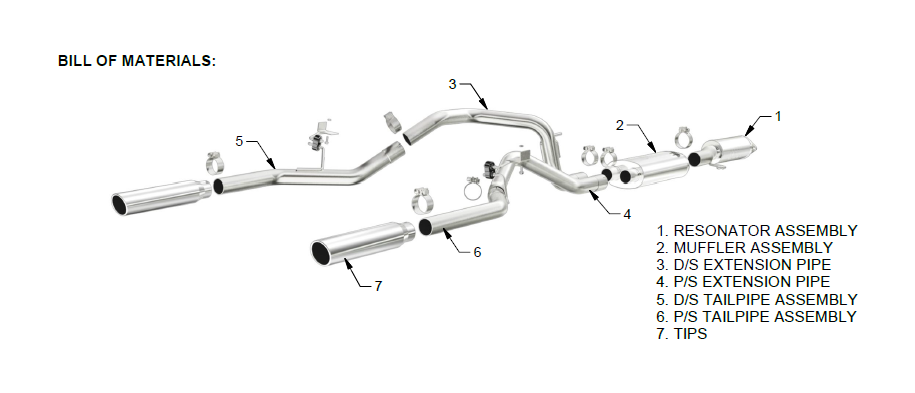
HARDWARE KIT:
1.[6] 2.50" Clamp
2.[1] 3.00" Clamp
3.[2] Rubber Insulator
4.[1] Hanger Assy D/S
5.[1] Hanger Assy P/S
5.[2] Nut U-Type 8-1.25mm
6.[2] Bolt 8-1.25mm
7.[2] Nut 10-1.50mm
INSTALLATION INSTRUCTIONS
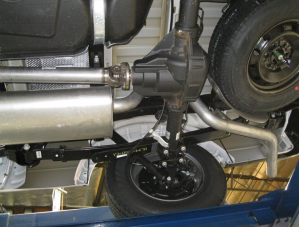
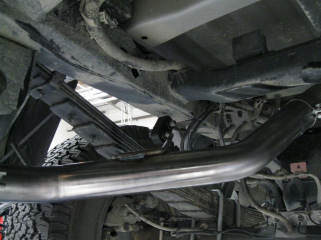
Step 1. The new exhaust system requires that you
permanently remove the spare tire from the vehicle. To
remove the OEM exhaust system, you will to need to cut
the pipe beind the muffler before it goes over the axle.
You can then disengage the welded hangers from the
OEM rubber insulators and remove the tailpipe. Unbole
the flange attaching the OEM Resonator to the catalytic
converter. Do not damage or discard the OEM fasteners
or rubber insulators, as they will be reused to mount the
new system. Disengage the muffler hangers and remove
the OEM exhaust from the vehicle.
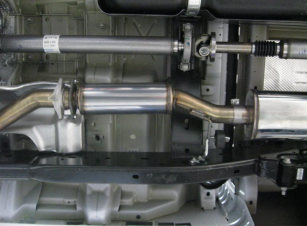
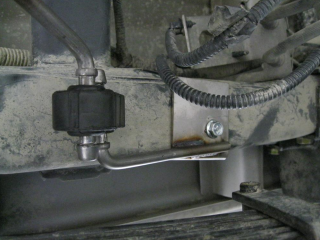
Step 2. Begin by fastening the Resonator
Assembly to the catalytic converter using the supplied 10mm
nuts, the OEM clamp assembly and by fitting the
welded hanger into the OEM rubber insulator(Leave
all clamps and fasteners loose for final adjustment
of the complete system.) Install the Muffler to the
Resonator Assembly using the supplied 3.00"
clamp. Next install the Tailpipe Extensions to the
Muffler in the similar fashion using the supplied
2.50" clamps.
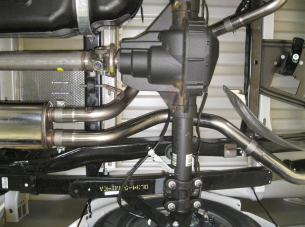
Step 3. Next you will need to use the supplied
U-Clip nut and attach them to the recieving cut outs
in the bottom of the frame member. Fasten the
supplied hanger assemblies to the frame members
using the supplied bolts on both the Driver and
Passenger side. Then install the Tail Pipe
Assemblies to the Tail Pipe Extensions using the
supplied 2.50" clamp, fitting the welded hangers into
rubber insulators.
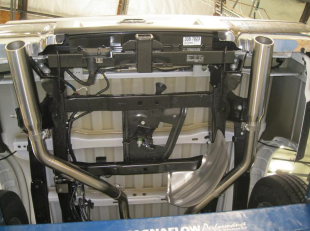
Step 4. Lastly, install the tips to the Tail pipe
Assemblies using the supplied 2.50" clamps. The
supplied adjustable tips are design to fit a variety of
aftermarket bumpers and rollpans, once a position
is decided for the tips it is recommended to have
them welded into place.
Step 5. Once a final position has been chosen for
the new exhaust system, evenly tighten all clamps
from front to rear using the torque specifications on
page one of the instructions. Inspect all fasteners
after 25-50 miles of operation and re-tighten if
necessary.