How to Install JLT Cold Air Intake on your F-150
Shop Parts in this Guide
Please review complete instructions prior to installing.
1. Verify you have all of the following parts included in the kit:
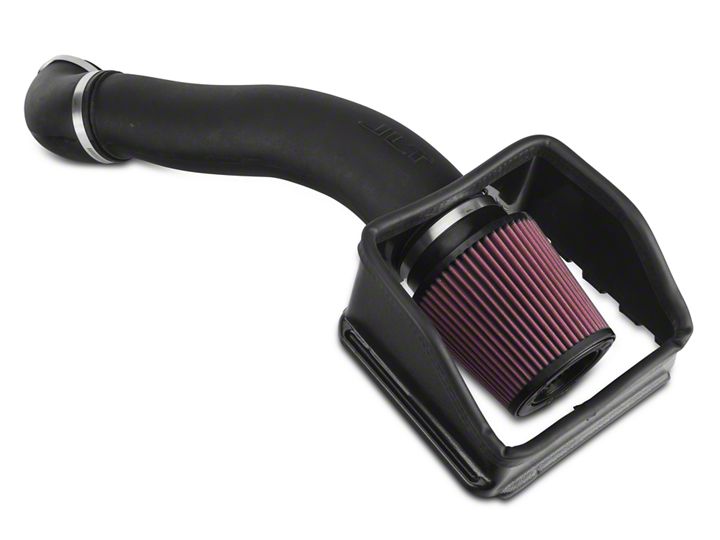
(1) JLT Intake tube W/ PCV fitting and Breather Hose, (1) 3.5”-4" Elbow Reducer, (1) 56 size clamp,
(1) 64 size clamp (1) 4.5x6" Air Filter, (1) Heat Shield, (1) Heat Shield Gasket
2. Gather all of the following tools needed for the installation: 5/16 nut driver, Phillips head screw driver
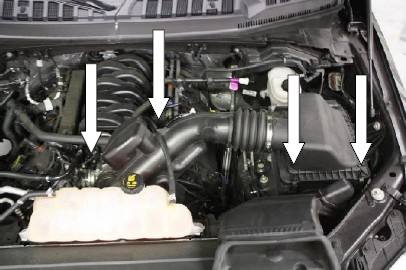
3. Remove the stock airbox by loosing the clamp at the throttle body, unplug the PCV tube, small breather line and coolant hose. The top of the air box is held to the bottom with 2 retaining clips, pop those off and remove the entire intake tube assembly.

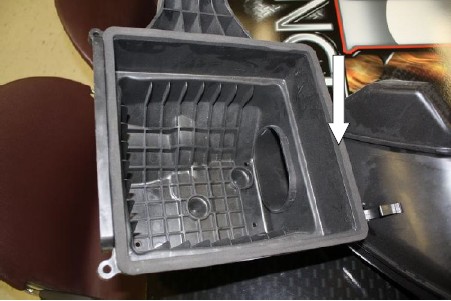
4. Remove the adhesive backing of the heat shield gasket and apply it to the lower portion of the heat shield.

5. Install the JLT heat shield onto the factory box, it will slide into the back portion. Reattach the 2 clips to secure the heat shield.
6. Attach the Rubber reducer to the JLT intake tube and loosely install the clamps.
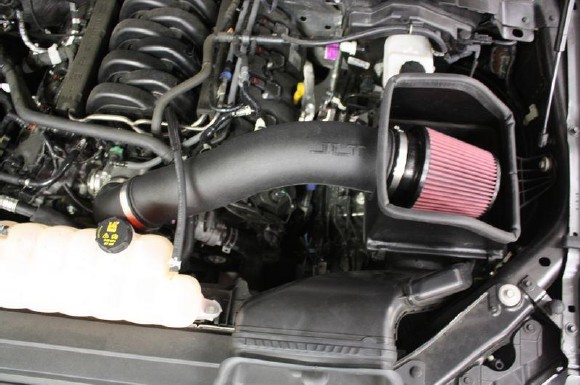
7. Install the Rubber reducer on the throttle body and rotate down to sit in the heat shield and tighten clamps. You may need to rotate the tube in the coupler to get it to sit straight before tightening the clamps. Now install the air filter onto the end of the tube and tighten the clamp. Plug in the PCV fitting, and breather hose. That's it!
CLAMPS ONLY NEED TO BE SNUG-DO NOT OVER TIGHTEN


