FREE 1 to 3-Day Delivery on Orders $149+ Details
How to Install Injen Power-Flow Cold Air Intake - Wrinkle Black on your F-150

To Clean our filter:
Carefully remove the filter from the housing. Once removed, wipe down the housing using a clean shop towel, being careful not to knock any dirt and/or debris in the air inlet. Your filters can be cleaned by carefully vacuuming the filter media from the dirty side, or by holding the filter with one hand and care-ully blowing the filter media at a 45-degree angle from the clean side using low-pressure shop air (15-20 lbs. psi).
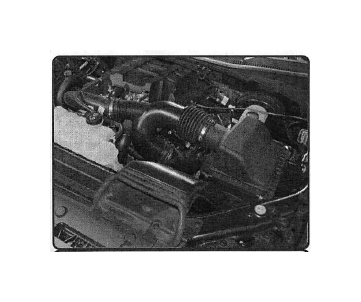
1. Stock intake system shown.
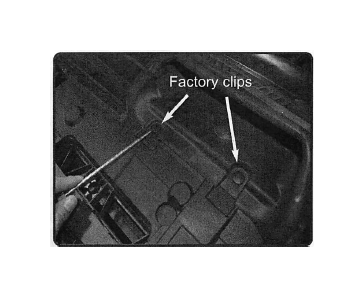
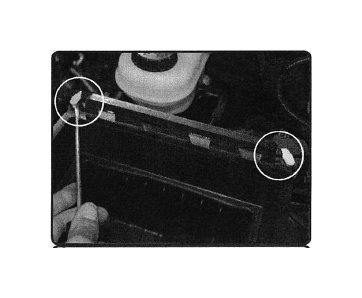
2. Remove the two plastic retaining
rivets from the air scoop and remove scoop rom engine bay.
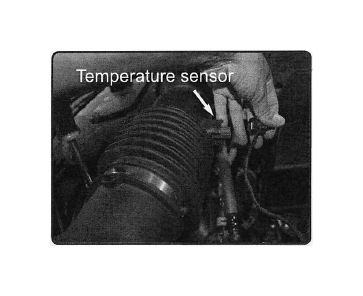
7. Disconnect the temperature sensor
harness.
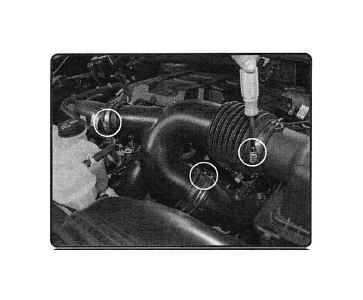
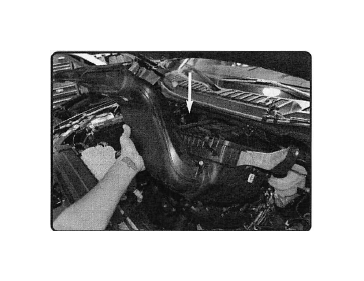
3. Loosen the 3 clamps on the stock intake tube using 7mm nut driver.
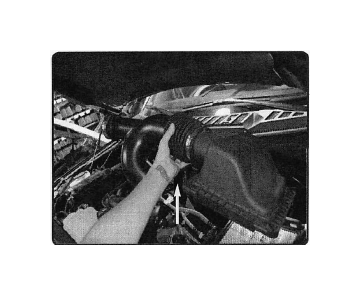
4. Un-clip the upper half of the air box
attached to bottom of air box. Remove stock assembly out of vehicle.
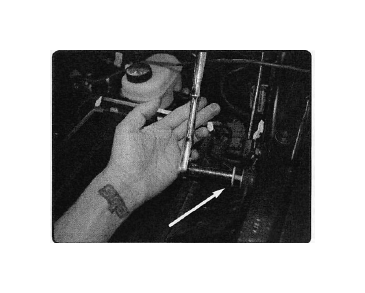
5. Loosen the bolt holding in the
bottom of the airbox using 13mm socket or rench.
6. Pull back the temperature harness from the air box.
7. Now lift up and remove the bottom
half of air box out of vehicle.
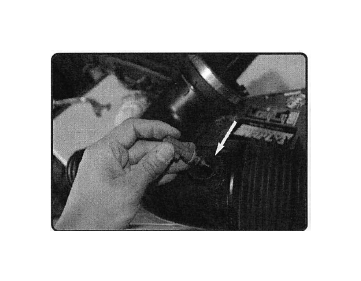
8. Loosen and remove the temperature sensor out of stock intake. Use a small flat head screwdriver to pull back clip on sensor.
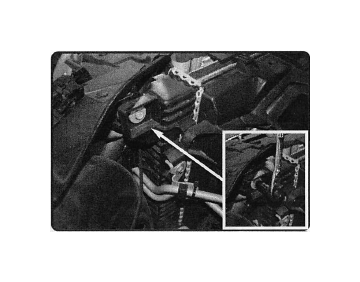
9. Locate the bolt holding in the radiator support. Loosen bolt using 13mm socket and ratchet. Save bolt for later install.
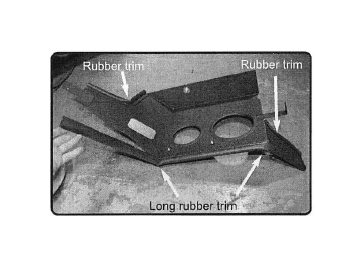
10. Install the vinyl trim to holes on heat shield. 19" to larger hole and 15" to smaller hole.
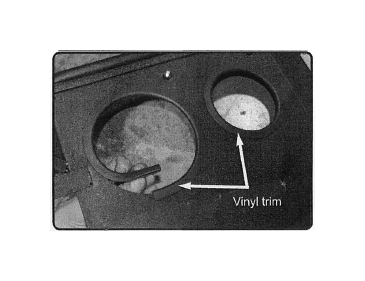
11. Install the provided rubber trim and vinyl trim to heat shield. See above for correct position. Note: longer rubber trim, notch for easy corner installation.
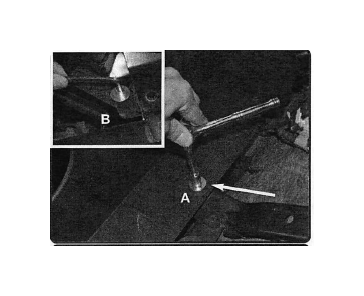
12. Locate the stock air box grommet in above image. Install the stand off stud to the grommet and secure.

13. A) Install the heatshield into the vehicle and position bracket to the front radiator support. Secure using bolt from step 9. Tighten and secure.
B)Now install the bottom of the heat shield hole to the stand off stud..

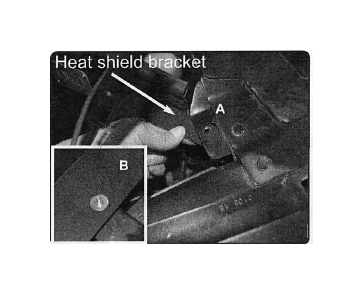
14. A) Now install the bracket on heat shield to he front clip located on fire wall. Make sure bracket sits under clip. Secure using provided M6 socket cap screw and fender washer. B)Secure the stand off stud using provided M6 nut and fender washer.
15. A)Now secure and tighten using 10mm socket and ratchet. B)Secure the bracket using alien key.
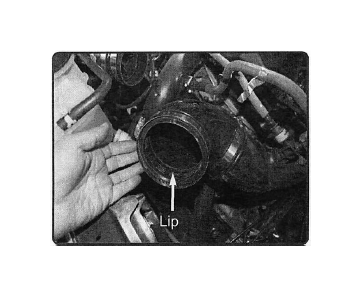
16. Now install the 4" elbow with clamps provided to the large turbo housing side. Make sure the side with no lip is installed on the hous-ing. Position like image above.
17. Install the 3" straight hose with
clamps provided to the secondary turbo housing. Tighten the clamp on housing only using 8mm nut driver.

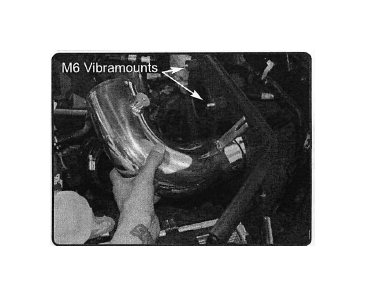
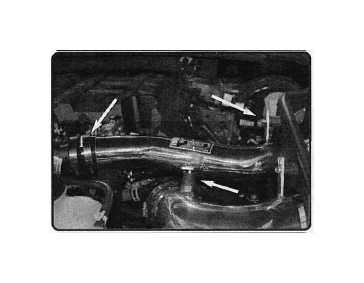
18. Install two vibramount to the thredded inserts on heat shield. Install the large intake pipe, make sure the 3.5" side goes through heat shield. Posi-tion the bracket to the vibramount and tube to 4" elbow. Do not tighten.
19. Position for the best fit, make sure the elbow fits in the natural position for best fit and clearance.
20. Secure the bracket using provided m6 nut and fender washer tighten using 10mm socket and ratchet. Tighten clamps using 8mm nut driver.
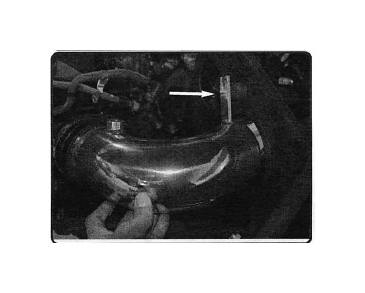
21. Install the vibramount to the welded fitting on intake tube, secure the vibramount and tighten
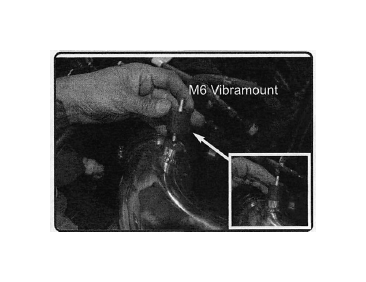
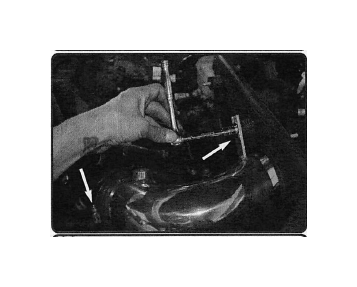
22. Now install the smaller intake tube. Position tube to 3" hose and brackets to vibramounts.
23. Secure the brackets using pro-vided M6 nuts and fender washers.
24. Tighten all the vibramounts using 10mm socket and ratchet.
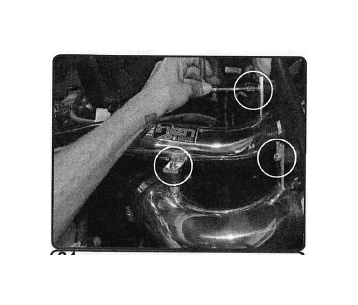
25. Tighten clamp using 8mm nut
driver.
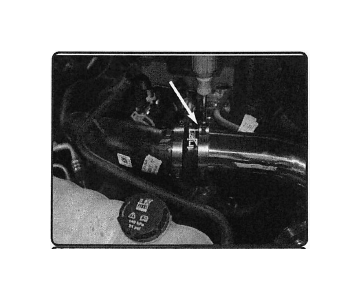
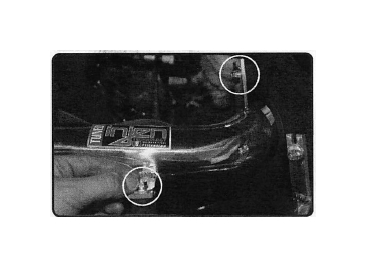
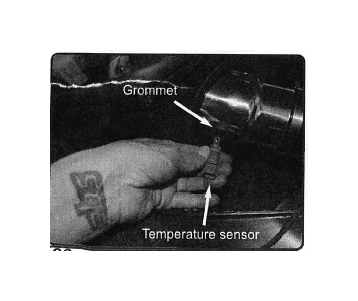
26. Install the grommet to the hole on 4" ube. Now install the temperature sensor to grommet and secure. Re-connect the harness to the temperature sensor.
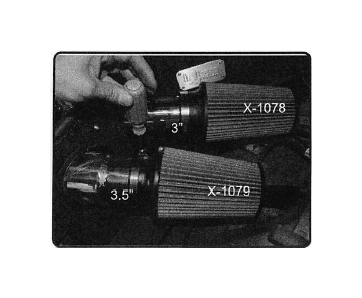
27. Install the 1078 filter to the 3" tube. Install the 1079 filter to the 3.5" side of the large tube. Tighten clamps using 8mm nut driver.
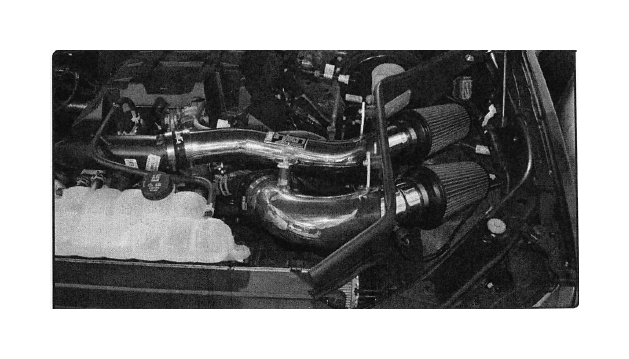
Congratulations! You have just completed the installation of this intake system. Periodically, check the alignment of the intake, normal wear and tear can cause nuts and bolts to come loose. Note: Check clearance and adjust if needed! Failure to check the alignment and adjust the intake can cause dam-age that will void the warranty. Injen Technology is not re-sponsible for any damages caused by/from improper installation.