 FREE 1 to 3-Day Delivery on Orders $149+ Details
How to Install Husky Removable Pivoting Mud Flaps - Textured or Mirrored on your F-150
PACKAGE CONTENTS:
2 - Pivoting Mud Flap & Flange
2 - Mounting Bracket & Tube
8 - SS Self Drilling Screws
20 - Washers
6 - SS Button Head Cap Screws
6 - Nyloc Hex Nuts
Installation
Read all directions thoroughly prior to the
installation of your Mud Flaps.
1. Clean the mounting location on your
vehicles fender.
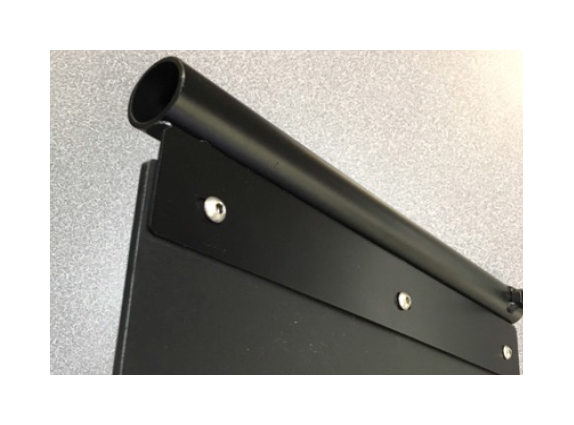
2. Assemble the upper flange bracket with the SS button head cap screws through the flange, mudflap, washer and into the nyloc hex nut.
Note: The 1” soild strip installs on the outside of the flange
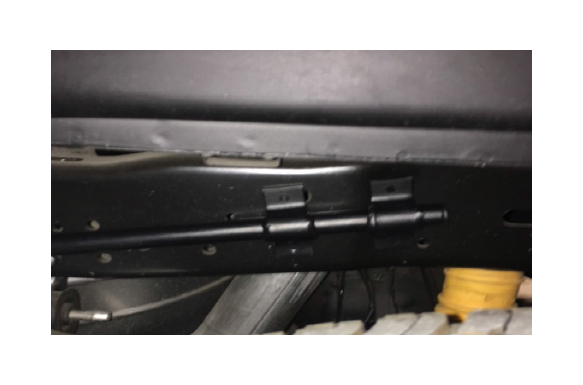
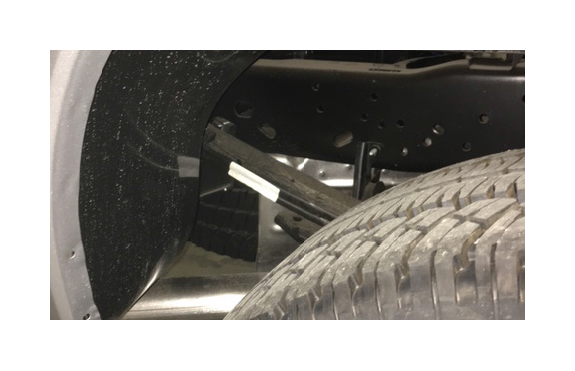
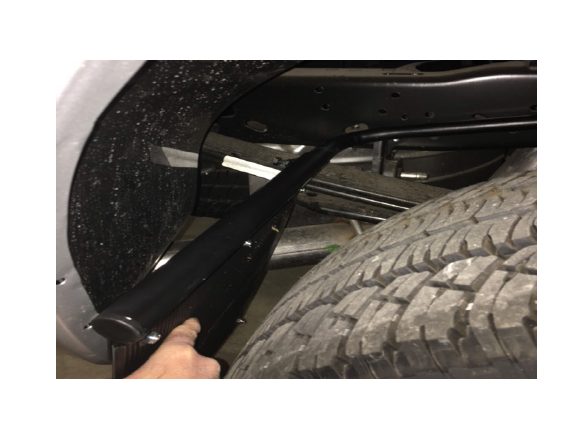
3. Find the proper mounting location for the mounting bar by holding the bar and mud flap in the wheel well opening.
Note: These are general mounting guidelines and the mudflap can be mounted in many different ways to provide whatever cover-age you deem necessary.
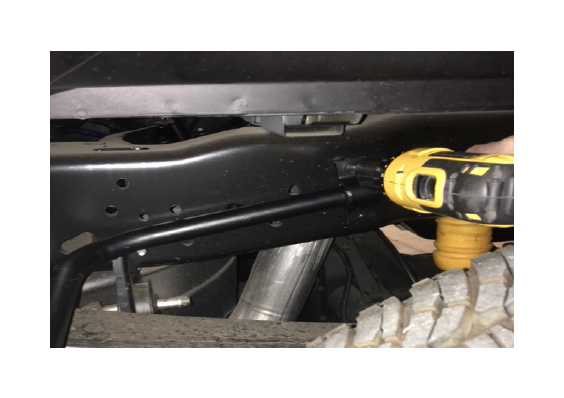
4. Use supplied self drilling screws and washers to fasten the mounting bar to the frame.
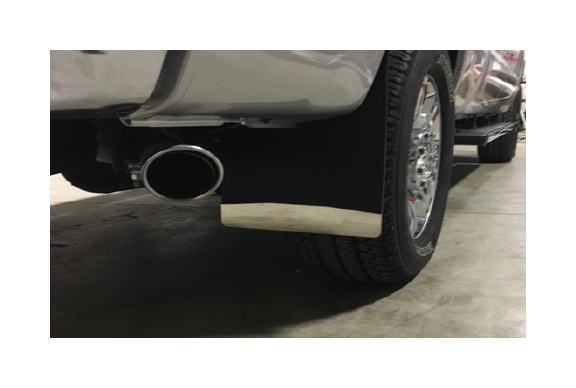
5. Slide the mud flap and flange over the mounting bar and tighten the bolt to hold the mudguard at your desired angle
6. Repeat steps 1-5 on the opposite side

