FREE 1 to 3-Day Delivery on Orders $149+ Details
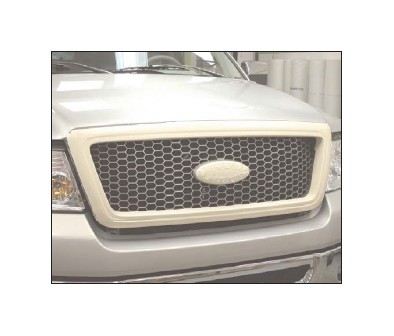
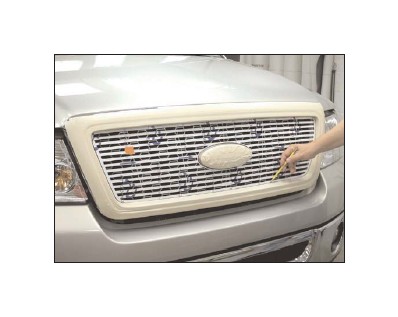
How to Install E & G Q Upper Overlay Grille - Polished (04-08 XL, XLT, Lariat) on your Ford F-150

1. Tape around the grille surround and insert to prevent scratching the plastic.
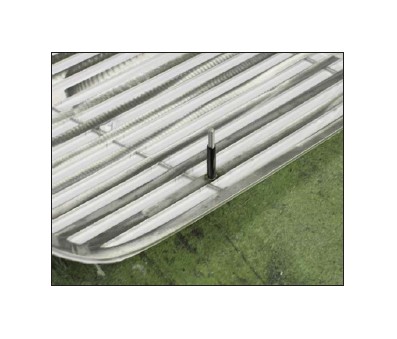
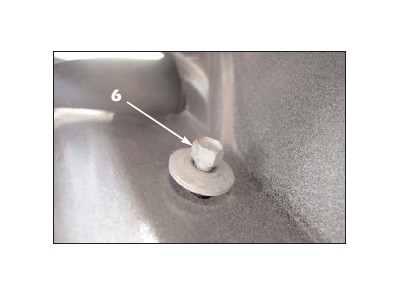
2. Install a silicone sleeve onto each mounting stud. This will conceal the treads so that they are not visible. Trim the length as needed.
3. Remove the protective film from the grilles and use a mild solvent or adhesive remover followed by glass cleaner or alcohol to remove any glue residue.
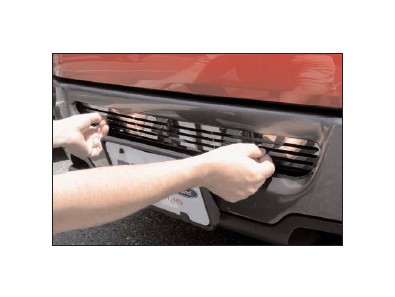
4. Carefully align the stainless grille into the factory grille opening. Once the paint is dry, realign the stainless grille and open the hood. Install a flat mounting washer and an ESNA lock nut onto each stud and tighten.
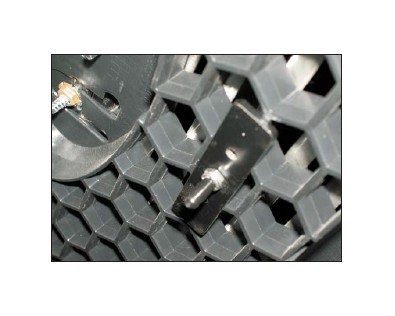
5. For mesh grilles that are black from the factory. proceed to Step 9. If the factory grille insert is not black, draw a line with the edge of the E&G grille, then remove the grille.
6. Once the grille is removed, trim the tape 1/8” inside the line drawn in the previous step.
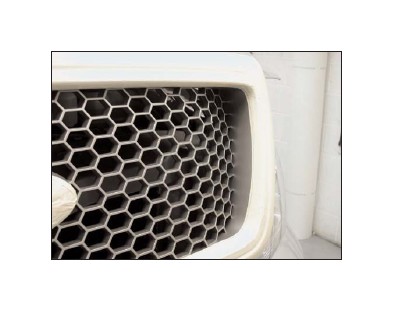
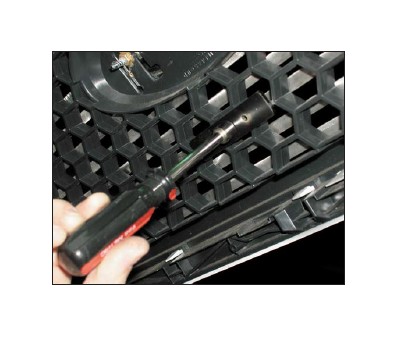
7. Paint the exposed factory honeycomb flat or semi gloss black to conceal it. Make sure you mask behind the grille and over the headlights to prevent paint overspray.
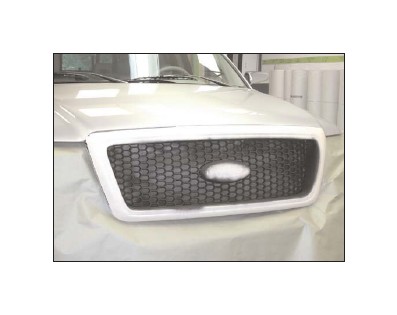
8. Reinstall the E&G grille as outlined in Step 4.
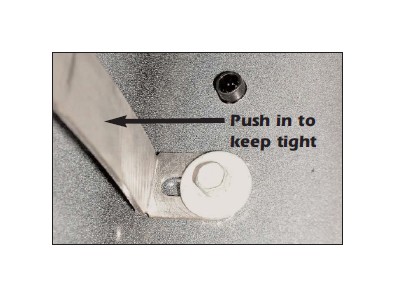
9. Reinstall the thread protectors that came installed on the grille to cover the exposed threads.
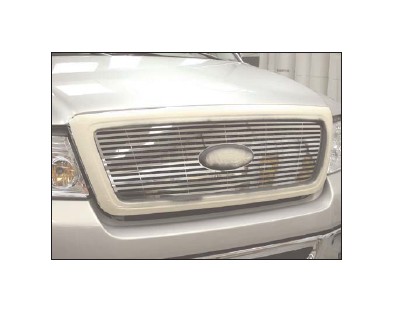
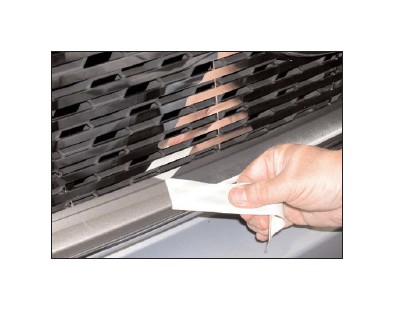
10. Remove the protective masking tape applied to the factory grille surround. Pull the tape back over itself to prevent the tape from tearing. If the grille fits tight and the tape binds, you can pull up on the grille and pull down on the factory grille frame for the added clearance needed to remove the tape.
6. Remove the three (3) lower 8mm hex head bolts that secure the lower air dam to the bottom of the metal bumper that line up where the lower grille mounting brackets line up (start with the center bolt and skip the next bolt to the left and right then remove the following left and right bolt). This photo was taken from inside the front bumper.
7. Carefully pass the lower “Q” grille through the existing opening in the metal bumper, making sure that the lower mounting brackets line up with the mounting holes in the metal bumper.
8. Reinstall the factory 8mm hex bolts to secure the lower grille into place. Make sure that the lower section is tight against the lower bumper opening as you tighten the bolts.
9. Finished installation.