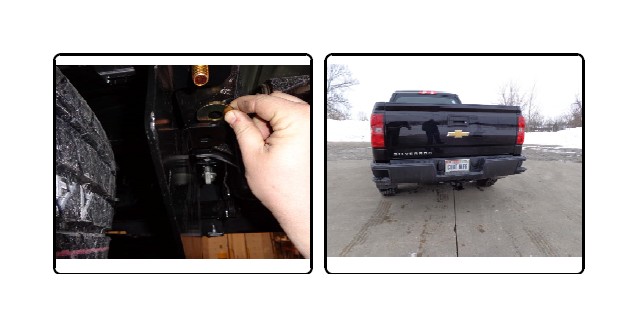
How to Install Curt Manufacturing Class IV Trailer Hitch - Square Tube on your Silverado
Tools Required
- SAFETY GLASSES
- SPRAY LUBRICANT
- 3/4" 21mm SOCKET
- RATCHET
- TORQUE WRENCH
- BOXED END WRENCH 3/4"
- 6" SOCKET EXTENSION
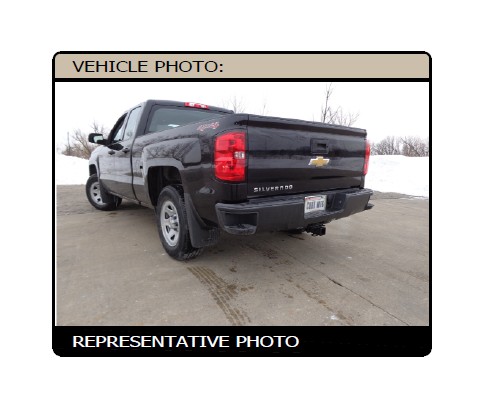
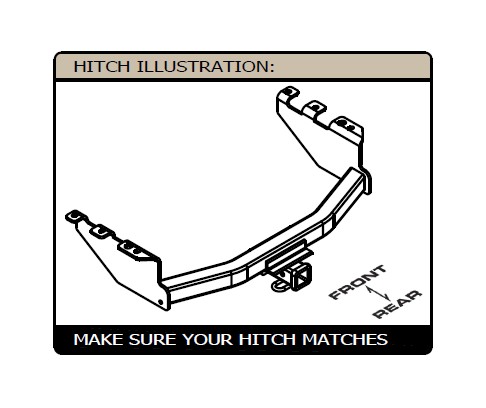

NOTE: For ease of install temporarily lower spare tire, See owners manual.
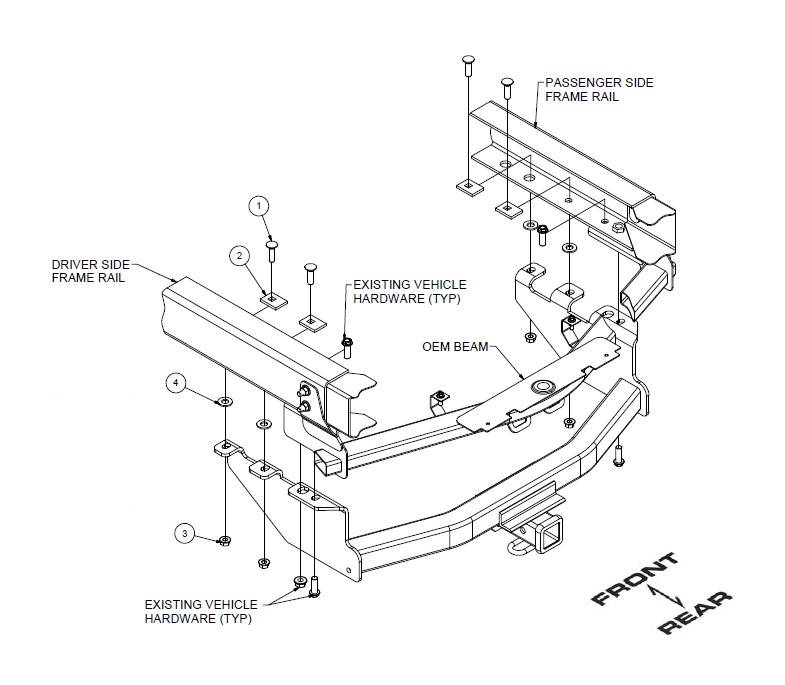
1) Remove (1) M14 x 40mm bumper bracket bolt, (1) M14 x 80mm bolt and (1) M14 nut from each frame rail. Raise hitch into position by aligning the rear most holes in the hitch with the holes where the bumper bracket bolts were removed. Secure hitch using factory M14 x 40mm bolts in existing weldnuts and M14 x 80mm bolts, as shown.
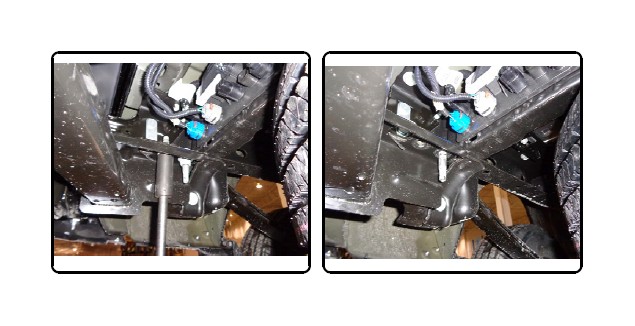
2. Install 1/2" carriage bolts, spacers, and flange nuts in remaining holes as shown. Torque all 1/2" hardware to 110 ft-lbs. Torque all M14 hardware to 103 ft-lbs. Raise spare tire if lowered during install.
INSTALLATION COMPLETE
INSTALLATION STEPS
NOTE: Temporarily lower spare tire for ease of installation, see owners manual.
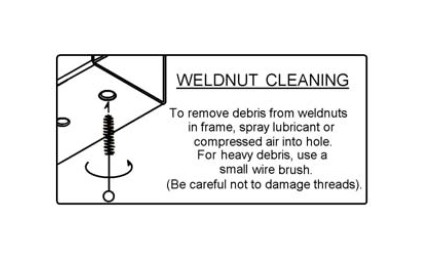
1. Remove (1) M14 x 40mm bumper bracket bolt, (1) M14 x 80mm bolt and (1) M14 nut from each frame rail. Raise hitch into position by aligning the rear most holes in the hitch with the holes where the bumper bracket bolts were removed. Secure hitch using factory M14 x 40mm bolts in existing weldnuts and M14 x 80mm bolt, as shown. (Clean weldnuts w/ lubricant or brush if needed)
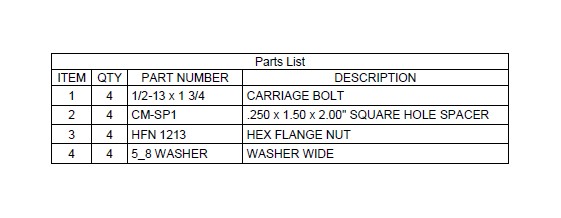
2. Install 1/2" carriage bolts, spacers, and flange nuts in remaining holes as shown.
Torque all 1/2" hardware to 110 ft-lbs. Torque all M14 hardware to 103 ft-lbs.
Install spare tire if removed for install
