 FREE 1 to 3-Day Delivery on Orders $149+ Details
How to Install ReadyLIFT 2.25 in. Billet Aluminum Leveling Kit - Black on your Sierra
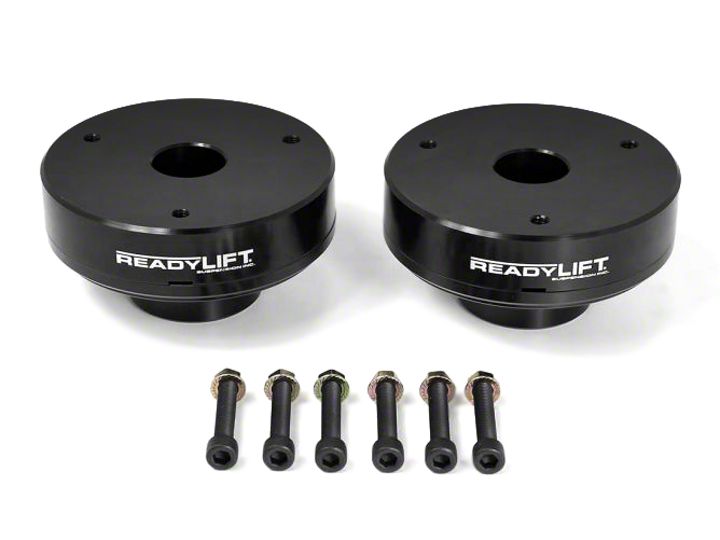
Shop Parts in this Guide
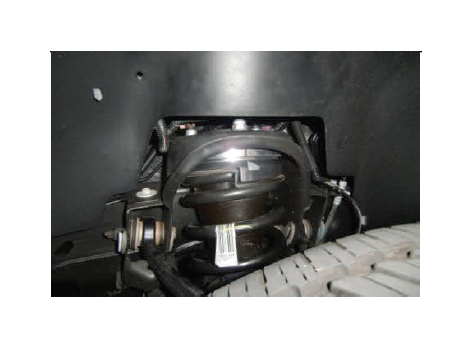
Raise and support vehicle by frame
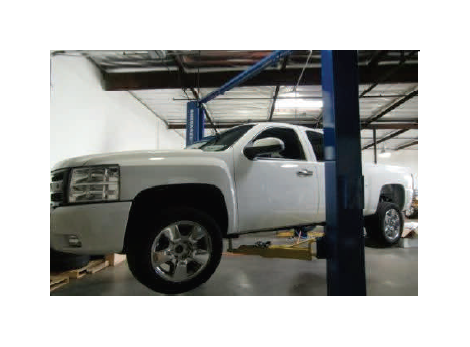
Remove front wheels/tires

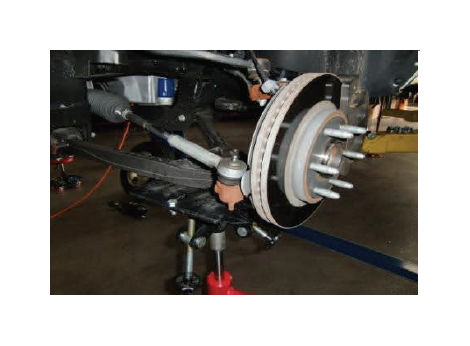
Disconnect sway bar end links
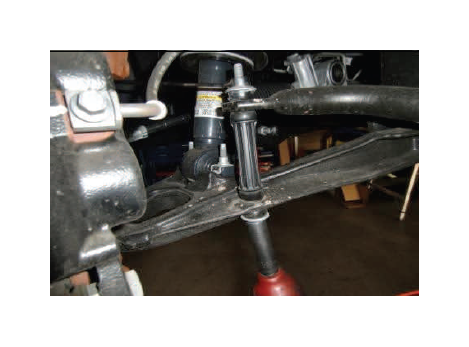
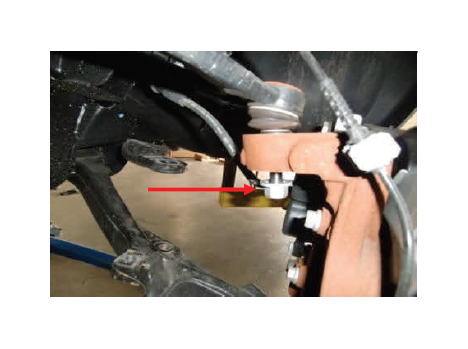
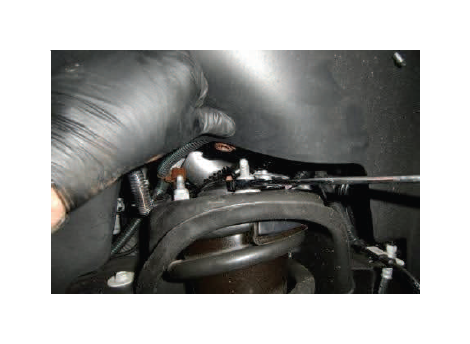
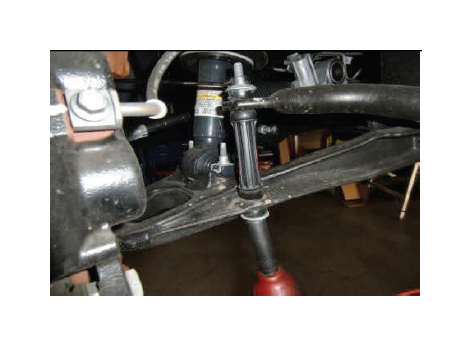
Disconnect ABS/brake line bracket on upper control arm
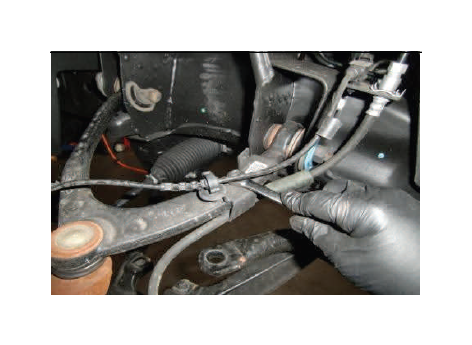
Disconnect ABS bracket on spindle

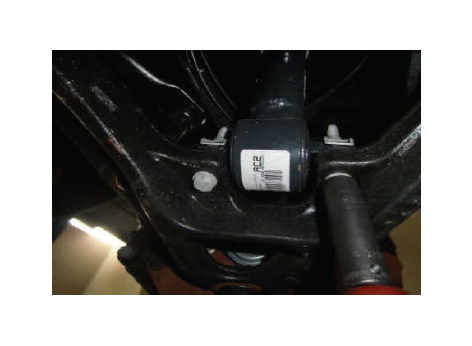
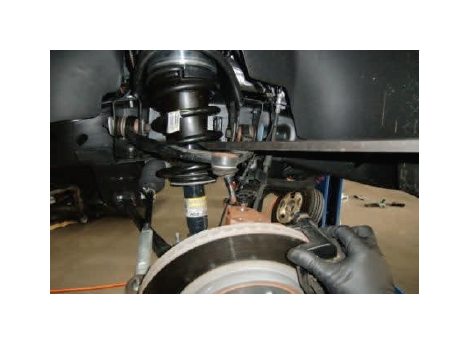
Loosen upper ball joint nut

Leave nut attached as shown
Strike spindle with hammer to loosen ball joint

Support suspension with jack
Now remove nut from ball joint

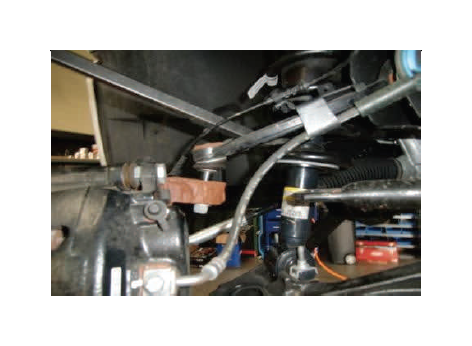
Remove lower strut mounting bolts
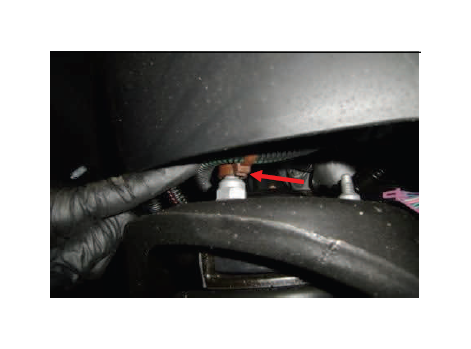
Unclip upper strut ABS clips on mounting nuts
Remove upper strut mounting nuts
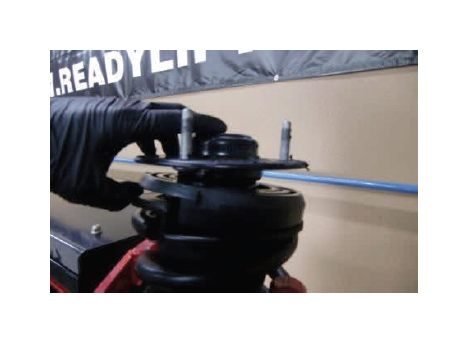
Lower suspension and remove strut assembly from vehicle

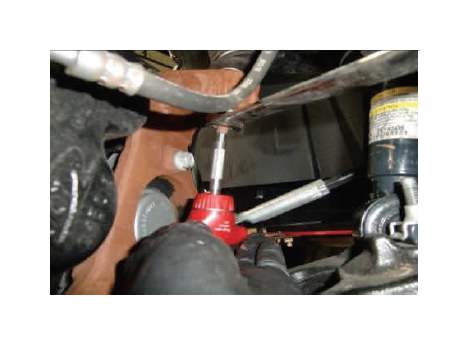
Place strut in vise or spring proper compressor
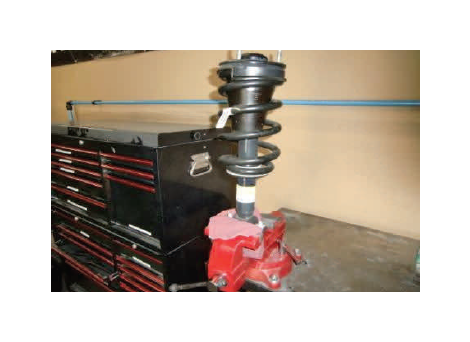
Use spring compressor to relieve tension for disassembly
Use caution, spring is under severe tension

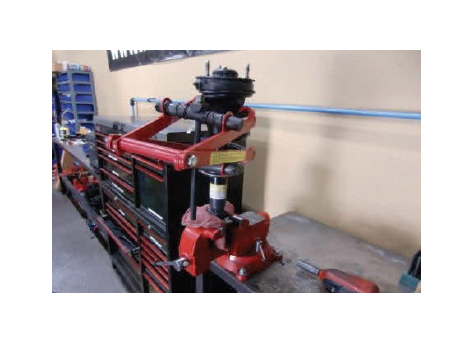
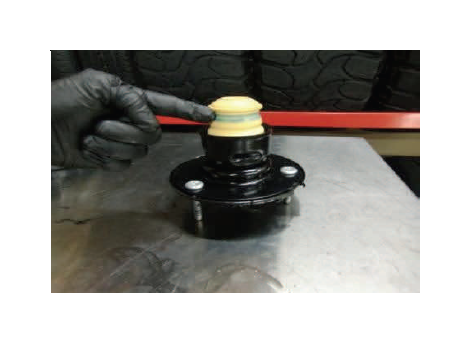
Adequate compression achieved when you see gap here
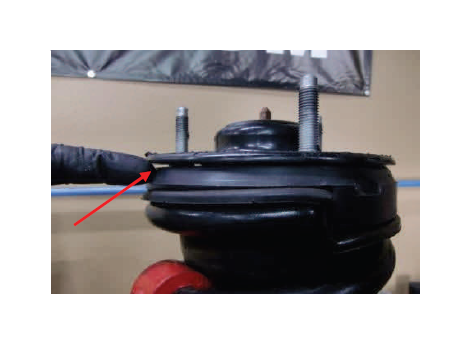
Remove top retaining nut

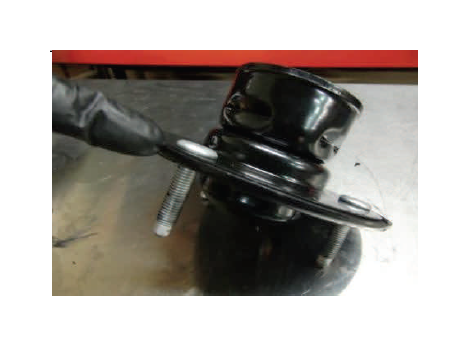
Remove upper retaining plate only
Remove foam bump stop
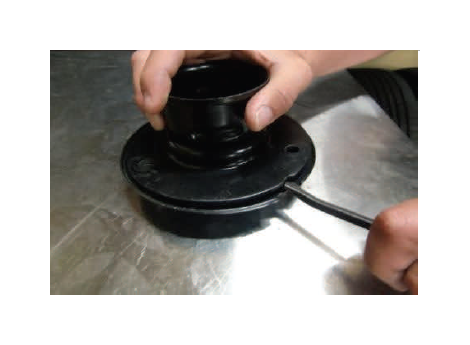
Remove press-in studs
Separate two halves of mounting plate
Remove inner rubber bushing
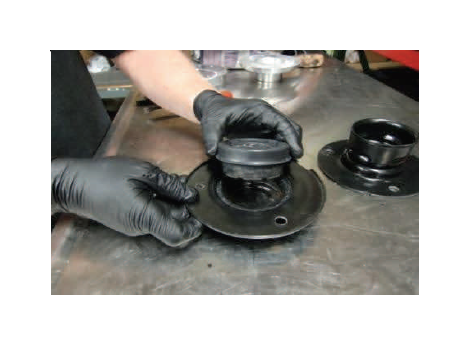
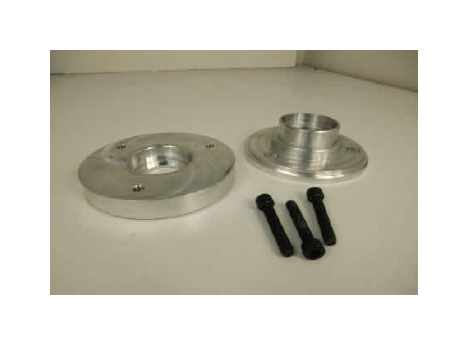
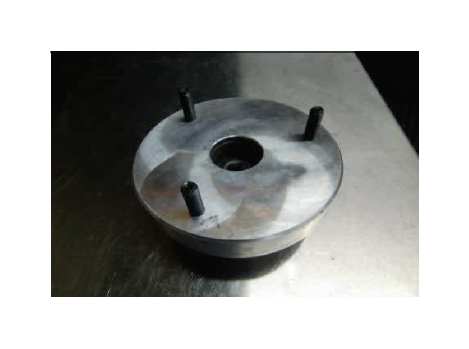
Shown: T6-3085 kit unassembled
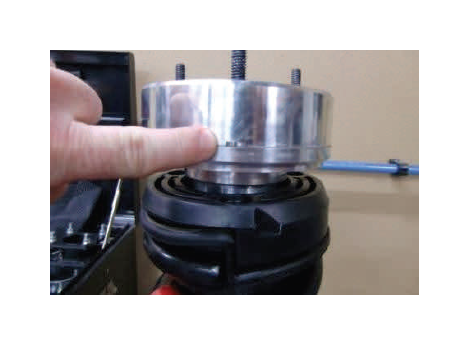
Place OE strut bushing between two halves
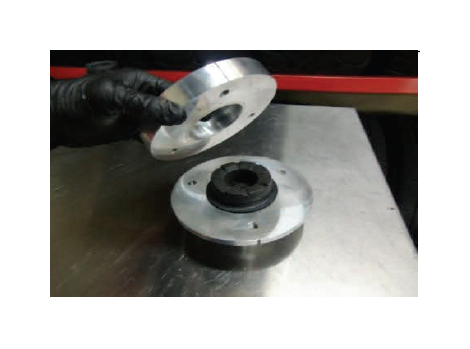
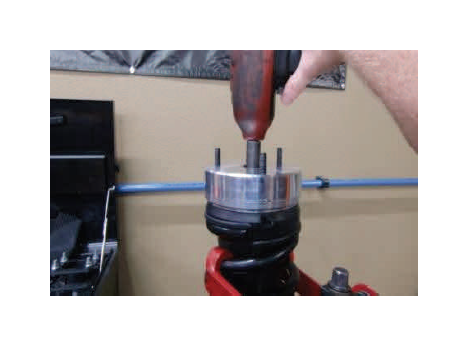
Install mounting studs into countersink holes and tighten
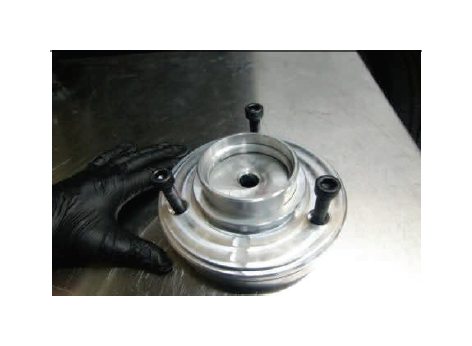
Shown: T6-3085 properly assembled
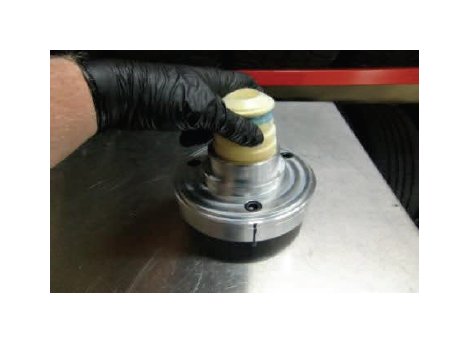
Install tight fitting OE bump stop into T6-3085
Note; Indexing mark and reposition onto strut assembly
Use OE nut and tighten down to factory spec
Install strut assembly w/ new nuts on top, OE in lower
Raise suspension to reconnect ball joint to spindle
Use a pry bar to depress ball joint into spindle, attach nut
Tighten to spec, use allen wrench to hold ball joint stem
Reconnect sway bar end link and ABS/brake brackets
Final Checks & Adjustments
Post Installation Warnings: Once the vehicle is lowered to the ground, check all parts which have rubber or urethane components to insure proper torque. Torque wheels to factory specs. Move vehicle backwards and forwards a short distance to allow suspension components to adjust. Turn the front wheels completely left then right and verify adequate tire, wheel, brake line, and ABS wire clearance. Test and inspect steering, brake and suspension components for tightness and proper operation. Inspect brakes hoses and ABS lines for adequate slack at full extension. Failure to perform the post inspection checks may result in vehicle component damage and/or personal injury or death to driver and/or passengers. Test drive vehicle and re-check the torque of all fasteners and re-torque wheels on vehicle. Readjust headlamps.
Vehicle Handling Warning: Vehicles with larger tires and wheels will handle differently than stock vehicles. Take time to familiarize yourself with the handling of your vehicle.
Wheel Alignment/Headlamp Adjustment:
It is necessary to have a proper and professional wheel alignment performed by a certified alignment technician. Align the vehicle to factory specifications. It is recommended that your vehicle alignment be checked after any off-road driving. In addition to your vehicle alignment, for your safety and others, it is necessary to check and adjust your vehicle headlamps for proper aim and alignment
Vehicle Re-Torque and Safety Inspection:
Upon completion of all services and adjustments performed on your vehicle, and within 50 miles of driving, check to ensure all fasteners and hardware are properly torqued to specification as noted in the vehicles factory service manual or the torque chart included.

