2 Days Left! Guaranteed Free Delivery 12/24. Order by 3pm EST available on most items - Details
How to Install Corsa 3 in. Sport Cat-Back Exhaust w/ Twin Black Tips - Single Side Exit on your F-15
Installation Time
2 hours
Tools Required
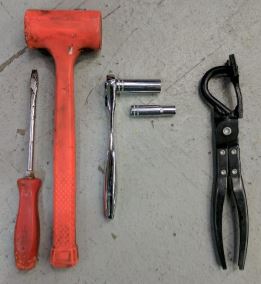
- 15mm Deep Socket
- 10mm Deep Socket
- Ratchet
- Flathead Screw Driver
- Hammer
- Exhaust Grommet Removal Tool
- Torque Wrench (Suggested)
- Jacks
- Jack Stands
- Soapy Water
- Penetrating Oil

Shop Parts in this Guide
Removal Procedure
*It may help to presoak all of the hardware being removed ahead of time with penetrating oil.
1. On the clamp connecting to the cat pipe, use a 15mm socket and ratchet to loosen the nut on the exhaust clamp to the point it almost comes off.
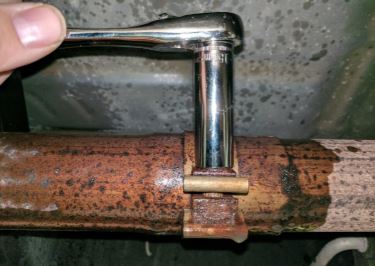
2. Spray rubber grommets with soapy water prior to removal to help the hangers slide out. Use exhaust grommet removal tool to remove the grommet at the front of the stock muffler. If you do not have access to a grommet removal tool, you can use a screw driver to work the grommet off by sliding it next to the hanger and pulling down.
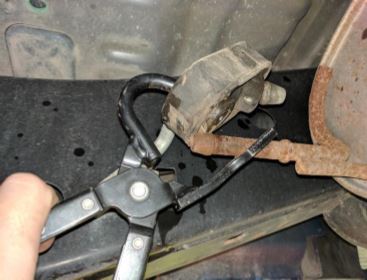
3. Using a 10mm deep socket, remove the bolts holding on the grommet bracket at the top rear of the muffler. Once you remove the bolt, you will have to slide the bracket towards the driver’s side of the truck to separate it from the truck.
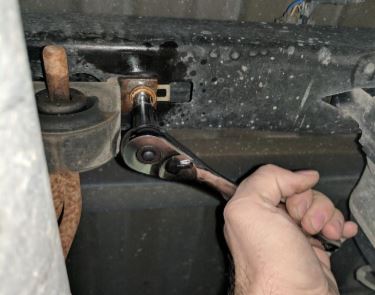
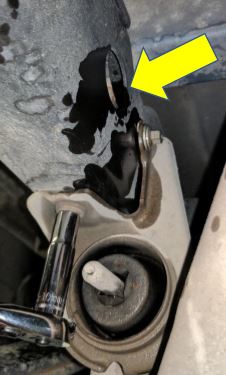
4. Remove the last grommet bracket by using a 10mm socket. At this point, the exhaust is only being held up where it connects to the cat. *by using the access hole in the frame, you can spray the top of the bolts with penetrating oil to help with removal – See Arrow*
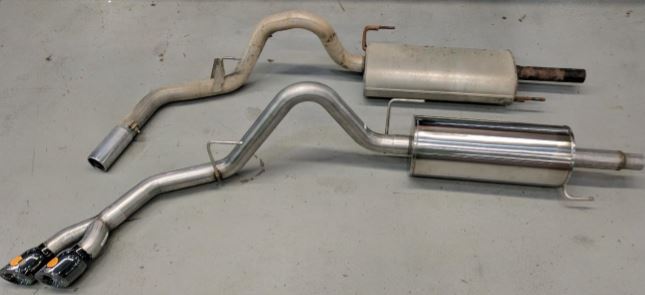
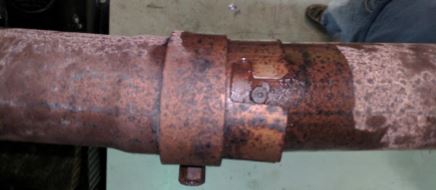
5. In order to remove the exhaust from the truck, you must twist the whole system towards the driver’s side of the truck (counter clockwise), or if someone is helping, twist the tail pipe up, and then pull back. The OEM exhaust has a notch in the pipe that has to be cleared. Once the pipe is removed, work the exhaust over the axel, towards the front of the truck
Installation
6. Re-Install the rear most grommet bracket that was removed by using a 10mm deep socket. This will help by giving the over the axle pipe something to hang on. The hanger on the over the axel pipe is a little tight and needs to be pushed up into the grommet. Once the hanger is in the grommet, the over the axle pipe will support itself.
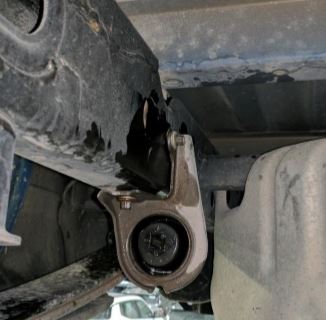
7. Install the middle grommet bracket onto the over the axle hanger. Install the grommet bracket by using a 10mm deep socket. Make sure the side without a bolt gets slid back into the slot in the frame.
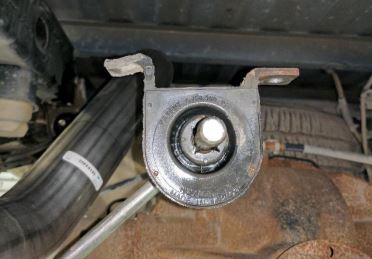
8. Slide the front of the Corsa muffler into the cat pipe. Make sure to slide it in as far as you can to allow room to slide the over the axle pipe onto the muffler. Do not tighten this clamp yet. It will be easier to get the over the axle pipe on the muffler, and you may need to rotate the muffler to line up with the grommet on the left front of the muffler.
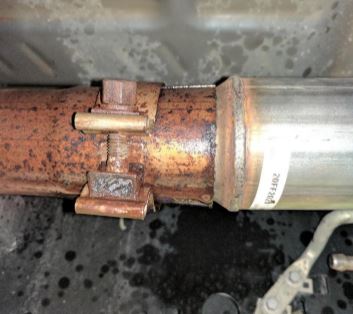
9. Make sure the exhaust clamp that was supplied with the kit is installed prior to sliding the over the axle pipe onto the muffler. Take a second to apply the supplied anti-seize to the threads of the new clamp. Make sure the muffler is rotated so the front hanger aligns with the grommet on the truck. Once the over the axle pipe is installed onto the muffler, using a 15mm deep socket, tighten the clamp. Now tighten the clamp on the front of the muffler using a 15mm deep socket.
Torque: 45Ft lbs.
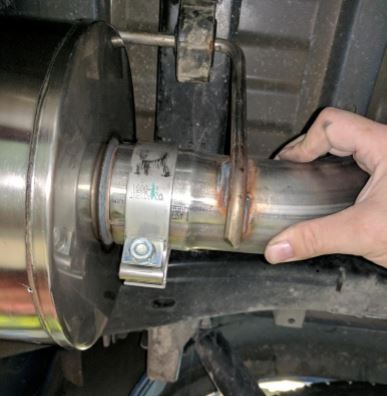
10. Install the grommet onto the muffler hanger. Spray with soapy water first to make it slip on easier.
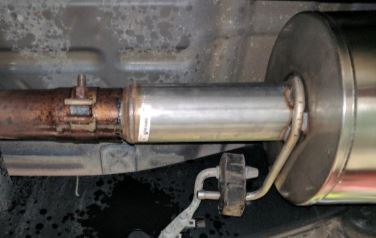
11. Slide the exhaust clamp onto the exhaust tips. Apply supplied anti-seize to the threads of the bolt prior to tightening. Align the exhaust tips with the bed of the truck. Once they are in the desired position, tighten the bolt using a 15mm deep socket.
Torque: 45 Ft lbs.
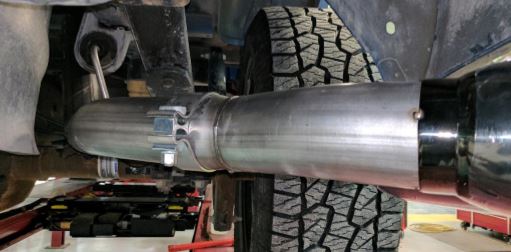
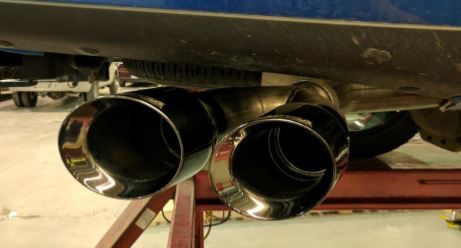
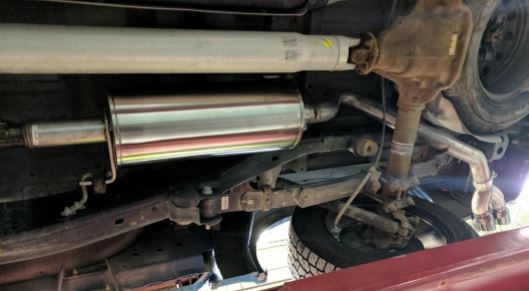
Finished Product:
Installation Write up provided by AmericanMuscle Customer Earl Legree 12/18/2016
