 FREE 1 to 3-Day Delivery on Orders $149+ Details
How to Install Covercraft SeatGloves Seat Covers - Red on your Silverado
Wash your SeatGloves™ seat protectors in a conventional washing machine, using cold water and a gentle cycle setting.
Dry the seat protectors using an “air” or “low heat” setting on a standard style tumble dryer. They may also be line dried, weather conditions and temperature permitting.
SeatGloves are semi-custom patterned to fit most bucket seats. Installation is easy, allowing the seat protectiors to be easily removed for cleaning. Use the following step-by-step instructions:
STEP 1
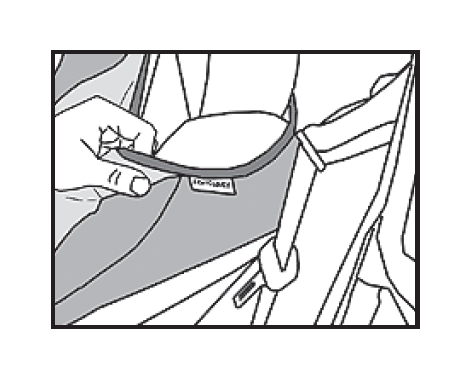
Install the seat back portion FIRST.
Pull it down over the top of the seat, adjusting the fit so it does not interfere with the seat belt holder (if the vehicle is equipped).
SeatGloves are designed to protect the seating area of the seat and they do not cover the top shoulder/edge of the seat.
Adjust the seatback portion so it’s bottom edge is aligned with the bottom of the seatback.
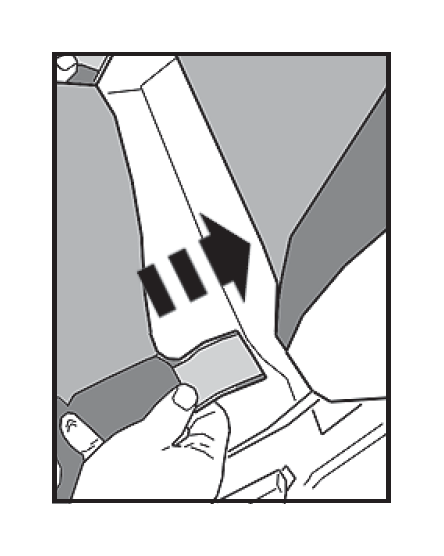
STEP 2
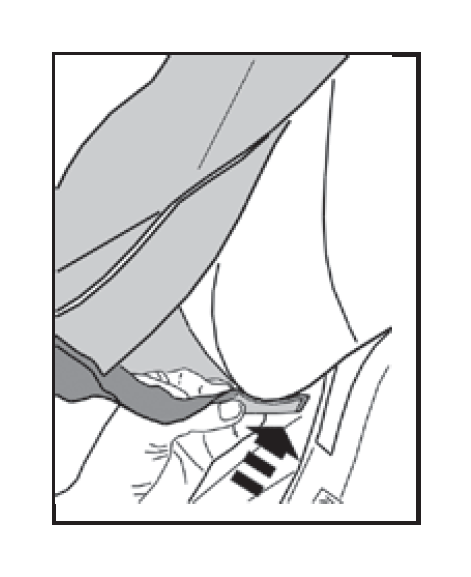
Push the hook & loop tab on the front side of the SeatGloves through the opening between the base of the seat and the seatback.
There are two of these tabs on each bucket seat.
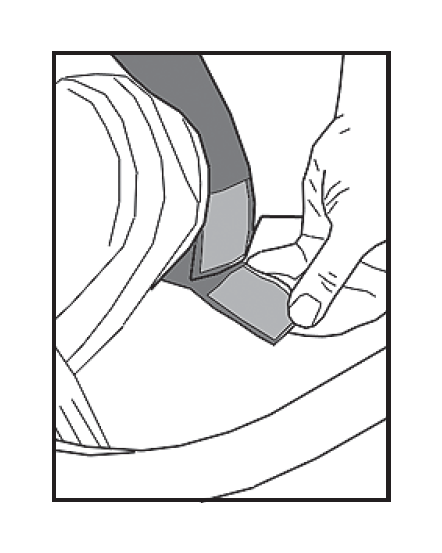
STEP 3
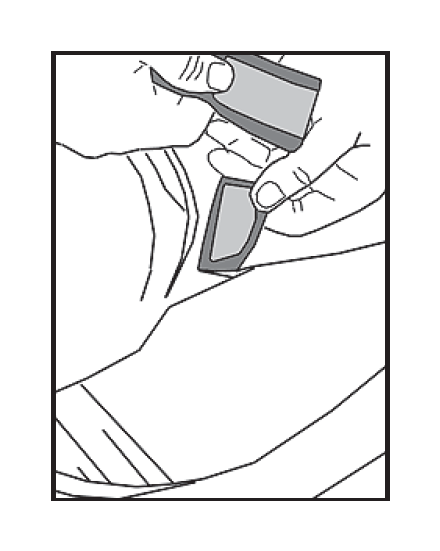
Attach the hook & loop tab pushed through the seat to the other tab from the seatback portion of the SeatGloves. Affix it to the underside, leaving the outside layer of hook & loop free.
STEP 4
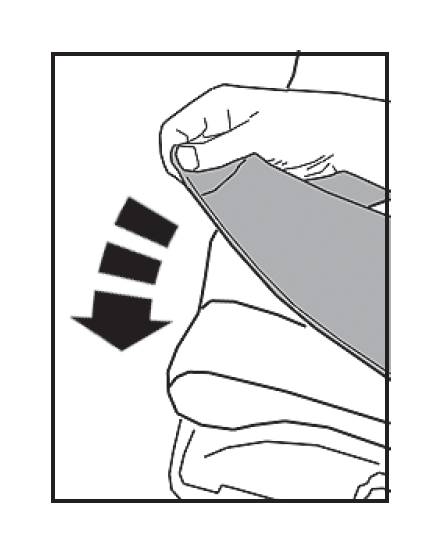
Position the bottom portion of the SeatGloves over the base of the seat.
STEP 5
Push the hook & loop tab between the seatback and base of the seat.
STEP 6
Affix the hook & loop tab from the seat base to the hook & loop tab on the seatback portion


