How to Install Carrichs Chrome Bodyside Moldings on your Silverado

Shop Parts in this Guide
Installation of Body Side Moldings
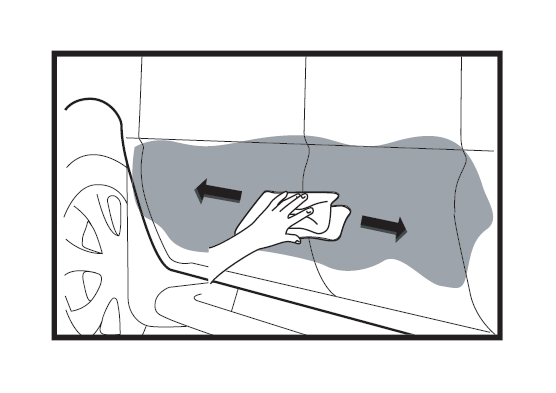
1. Wipe down surface with a soft towel soaked with alcohol to remove any wax or contaminants from paint finish of vehicle's lower door area.
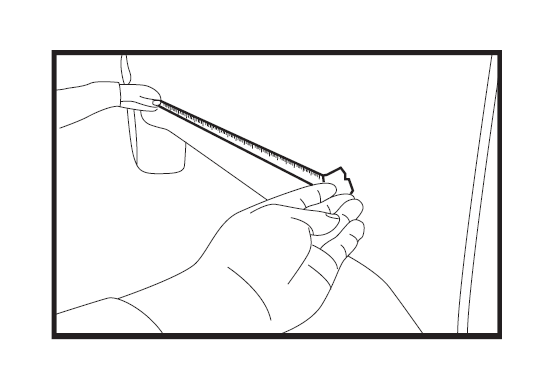
2. Determine location of where universal Body Side Moldings will be placed. Moldings must only be installed on a flat non curved section of the door to adhere properly. Only measure the flat non curved section of the door and determine if you have the correct length moldings before proceeding. Allow no more than 2 inches of clearance on each end of the Body Side Moldings to door edge for optimal clearance and appearance.
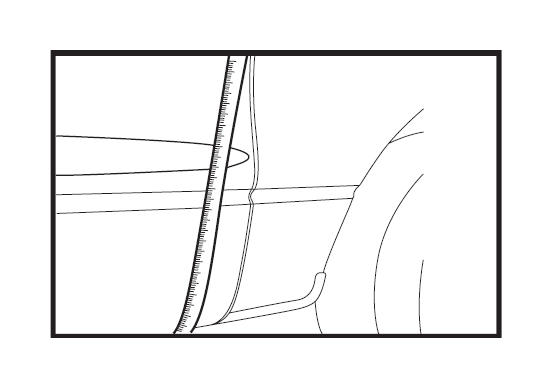
3. After confirming you have the correct length moldings, mask off a straight section on the door to use as a guide to aid in installing the moldings straight and level. Take into consideration clearance needed to open door. (2 inches)
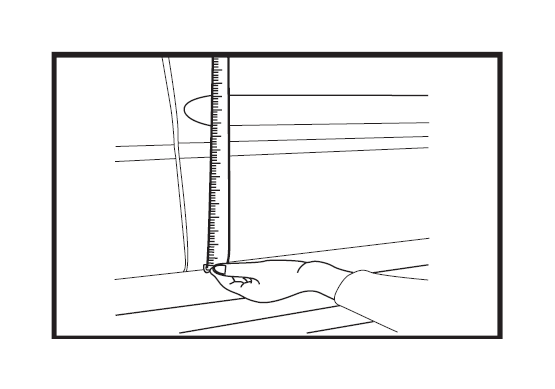
4. Confirming masking tape is straight and level. With tape measure, measure vertically along door. Lengths should be the same along both sides of tape. Use horizontal centerline of each molding piece. If heights are different make adjustments until they are equal in length.
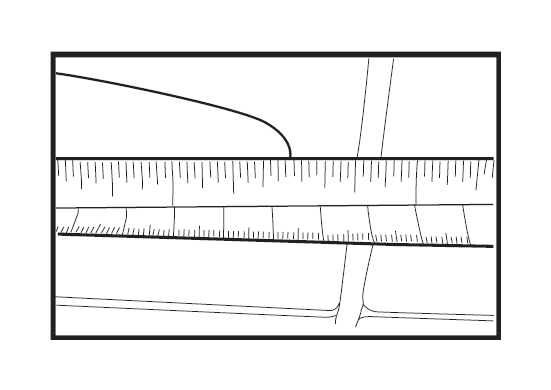
5. Place Body Side Moldings on vehicle's door. Body Side Moldings should have 2 inches clearance between door edges to allow doorto fully open without impacting Body Side Moldings. Start at one end of the door and work your way to the other side using masking tape as guide to insure straight and even installation. Once Body Side Moldings has been installed and leveled, press and hold molding down against door for 10 seconds for proper bond.
6. Repeat steps 1-5 for other doors.
CAUTIONS UPON INSTALLATION
The cautions mentioned hereunder are very important to install this product to prevent damage
1. Please thoroughly read installation instruction before attempting.
2. This product must be installed as specified in the manual. Failure to do so may result in improper fit which can cause damage or complete loss of the product, and will void the warranty.
3. For installation under temperature 15 degree Celsius or lower, it is strongly advised to use dryer to warm double-side tape to ensure proper adhesion.
4. After installation, make sure to allow a minimum of 24 hours before operating vehicle, or contact to water.
MAINTENANCE :
1. To clean stain on the product, use soft cloth or sponge with mild detergent and water solution.
2. Avoid using chemicals or any abrasive-type cleanser to clean as they can cause damage to the product.
3. It is advised to wash vehicle often, if vehicles are used in the area where snow melting agent is frequently used or see breeze blow.


