FREE 1 to 3-Day Delivery on Orders $149+ Details
How to Install Black Horse Off Road Pocket Style Fender Flares - Matte Black (09-14 Styleside, Excluding Raptor) on your Ford F-150
Installation Time
2 hours
Tools Required
- Utility Knife
- Elecrtic Drill
- 1/4' Drill Bit
- tt2 Phillips Driver
- 1/2" Wrench
- Socket Wrench
- 7/32 " Socket
- 10 mm Socket
- Grease Pencil

Shop Parts in this Guide

FEATURE
High quality injection molding fender flares Made from light weight impact resistance Polypropylene, non-cracking, non-warping, 100% UV-resistant, Professional installation is always recommended Step 11 Before Installation
A.Fit: Fit of the flare to vehicle should be confirmed Son e fling, sanding, or cutting may be adopted for proper fit if necessary.
B.Painting. (optional) if paint is desired it must be done pr ior of installing flares on vehicle. Glean outer surface with a good grade degreaser.
C,Metal protection: Rust resistance paint of all exposed f asteners and bare metal should be done BEFOR installin g flares. Undercoating the inner fender wells should be d one AFTER flare attachments have been completed.
D.Flares may interfere with existing decals on vehicle. If you wish. Remove decals prior to installation of flares.
Hardware Kit:

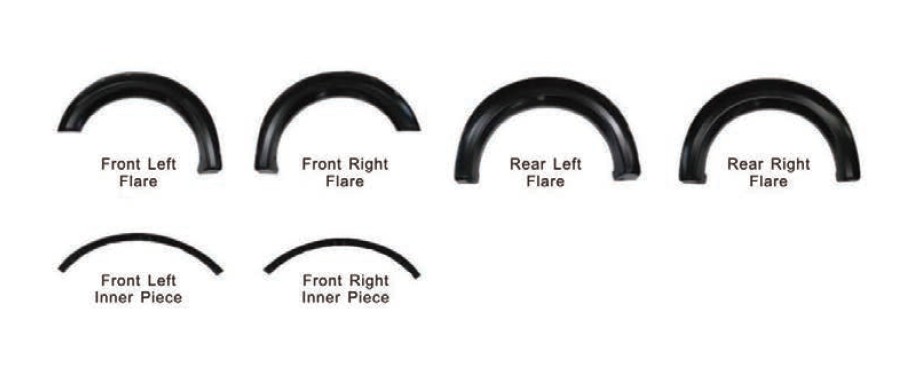
Component List:
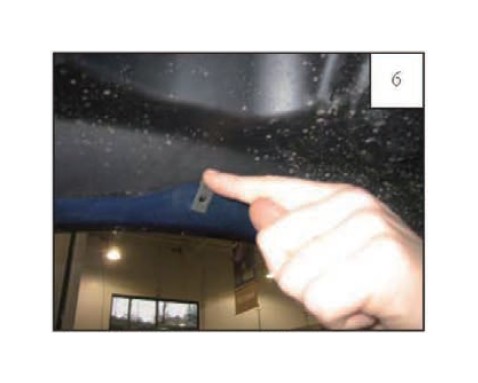
STEP 2 - EDGE TRIM INSTALLATION
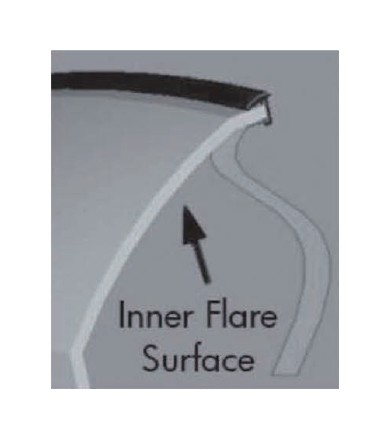
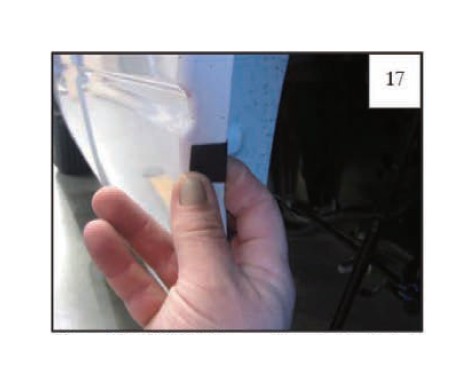
A. Peel two to three inches of red vinyl backing away from Edge Trim (GPI-0005) tape. Applying the adhesive side of the edge trim to the inner side of the flare, affix the edge trim to the top edge of the flare (the portion that comes in contact with the vehicLe).
B_ Press edge trim into place along the top edge of the flare in one-foot increments, pulling red vinyl backing free as you continue to work your way around the top edge of the flare.
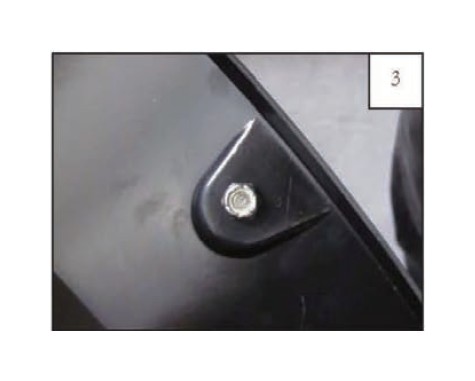
Pocket Hardware Installation:
Put a Washer (lekikl -001 2) on each Bolt (SW1-005.9)
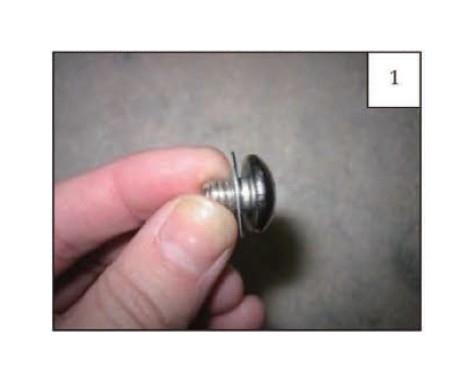
Put each BolltoWasher combination through. a pocket hole in the flare.
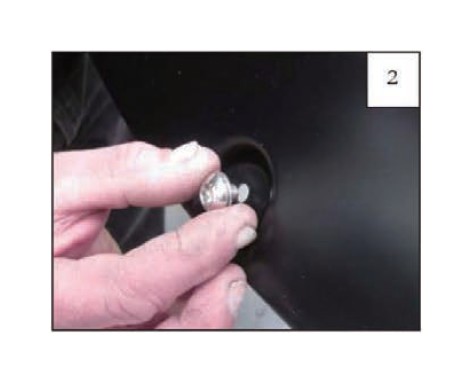
Place a Nat (611_11.0019) over the end of each Bolt arid Tichte
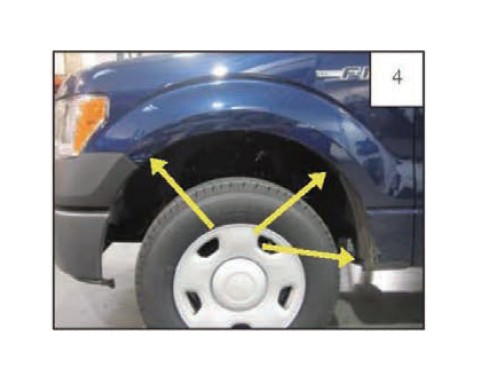
Front Flare Installation Procedures Driver's Side)
Remove three factory screws with a 7)32" socket wrench. Save screws for reinstallatiin.
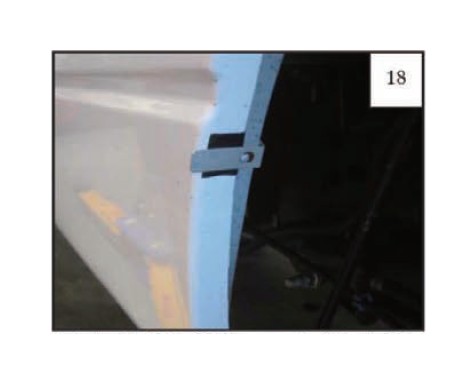
Instal/ Clip (CL1-0011) over fender wheel well lip. Sark step 6.
Place Clip (CL1-0011) over existing factory hole.
Une up the holes in !he inner piece with the two uppermost factory holes and the Clip (CL1-0011 NOTE: Driver's side inner piece a marked vvath en and passenger's side krier piece is marked with

Using a Phillips screw driver, start a faCtory supplied screw through center hole in inner piece and through the Clip (CI_ 1-0011 )1 over the fender wheel well lip
Using a 7737 socket wrench, reinstall the factory screws through the inner piece
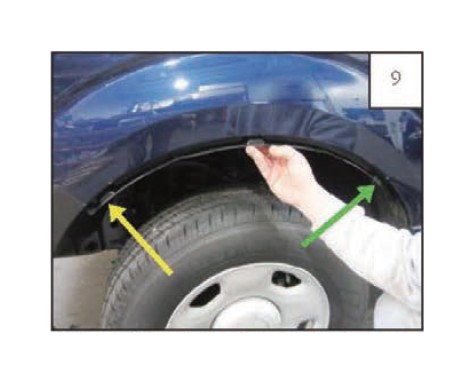
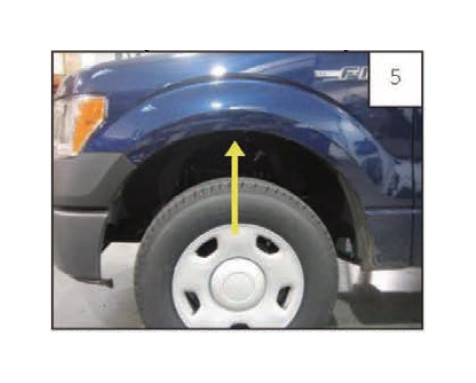
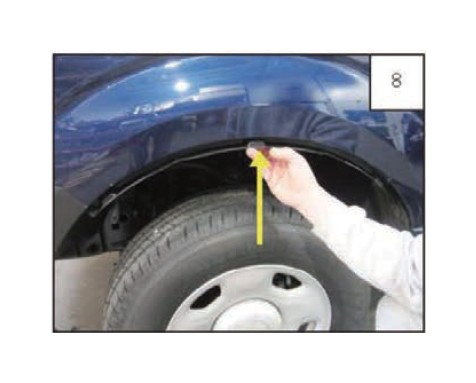
Posillon and hold flare on „J. Aall rear most 'factory screw using a 7/37 socket wrench
Still holding flare in position on lender, drill through bumper cover with a 1/4* drill bit using the forward most hole in the flare as a g.uide
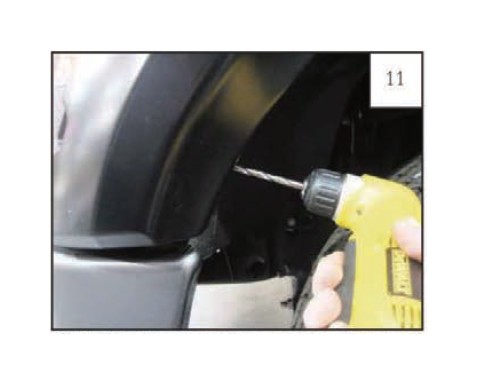
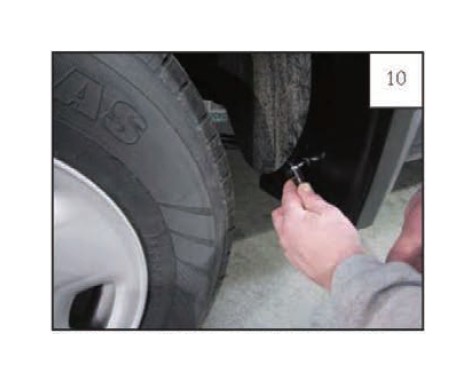
Still holding flare to fender, install Retainers [RV1-P001 ) using a Phillips screw driver See step 13
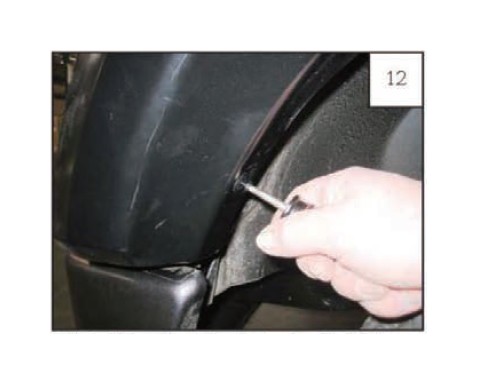
Retainer (RV1-P001 )locabons
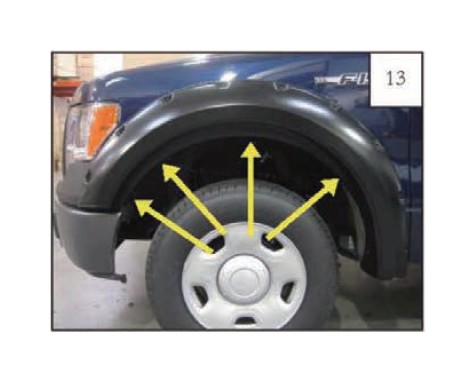
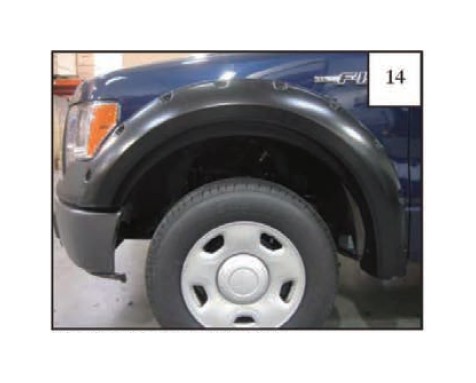
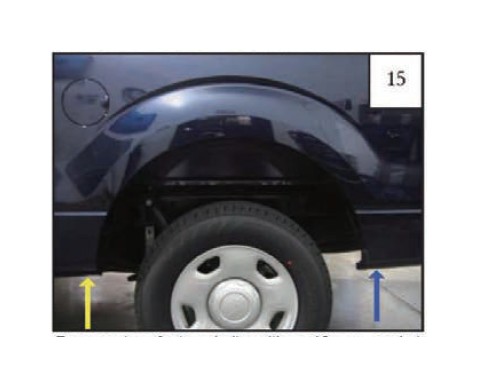
Completed front flare installation.
Rear Flare
Remove two factory bolts with a 10 mm socket wrench
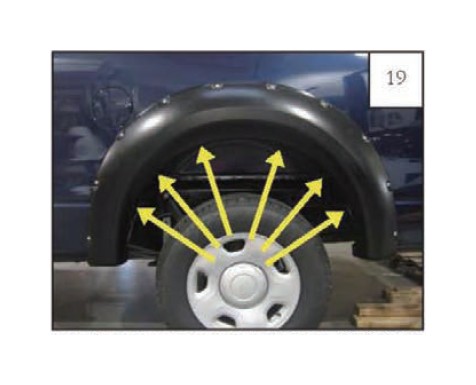
Hold flare to vehicle and mark he location with a grease pencil of the six holes in the flare.
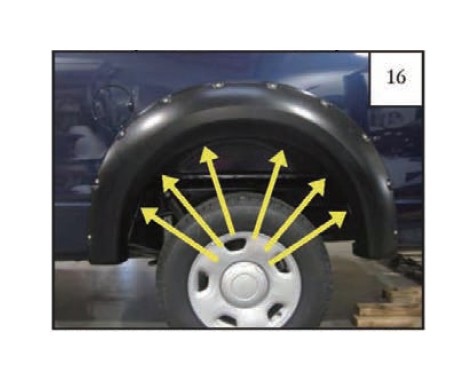
Wrap a Tab (MT1-00141) around the wheel well sheet metal, centered over each of the six marks made in Step 16.
Install a Clip (CL1-0009) over each of the six Tabs (MT1.0014) placed on the sheet metal in Step 17.
Hold flare to vehicle and start Screw (SW1-0058) through the two topmost holes in wheel well Then Mart Screws through remaining four holes in flare Tighten all Screws.
Using a 10 m ro socket wrench, reinstali factory bolts
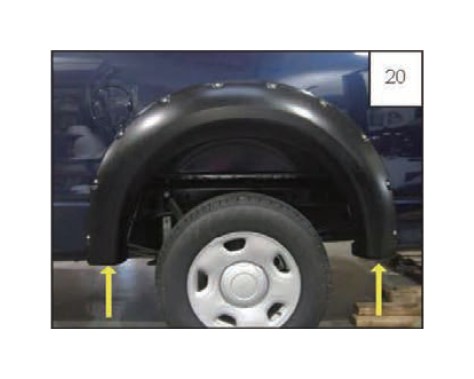
Completed rear flare inst4lation

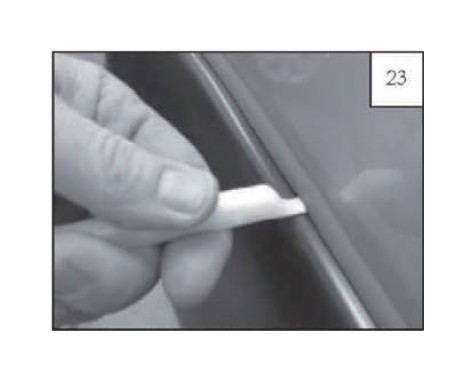
Edge Trim Tool Procedures:
Using supplied Edge Trim Tool (ET1-0002). seed edge tnm against vehicle by hoolong curved end under edge tnm at one end of flare Next. slide around outer edge of flare to the other end
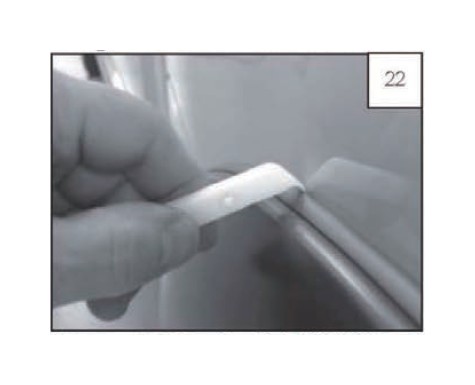
Using fiat end of supplied Edge Trim Tool (El' 1-0002), seat edge trim against flare by inserting straight end between edge trim and flare at one end Next, slide around entire edge to the other end