FREE 1 to 3-Day Delivery on Orders $149+ Details
How to Install Barricade Raptor Style Grille - Black on your F-150
KIT INCLUDES:
Packaged Grille
2 Mounting Brackets
Removal of OEM Grille
Step 1. Removal of OEM grille
Open the hood and using a 10mm socket, remove the 2 bolts holding the factory grille shell brackets to the hood. Fig 1
Remove the 6 factory 10mm nuts along the top of the grille shell that attaches to the hood. Fig 1
Remove the last two 10mm bolts from the mounting bracket on both sides of grille. Fig 2
Carefully remove shell from vehicle and move to workbench.
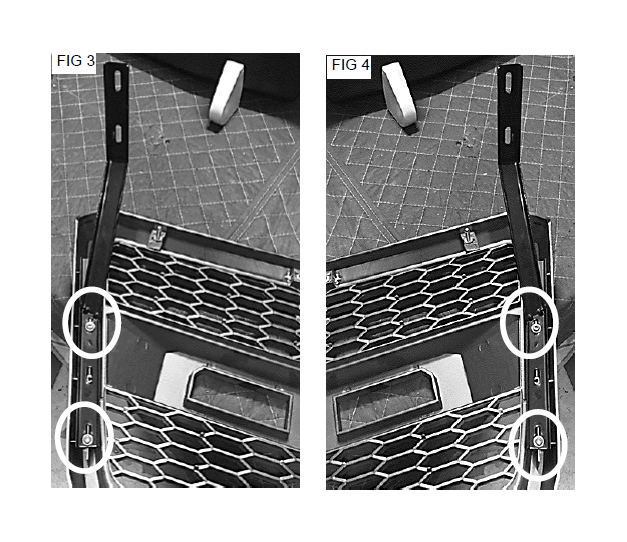
Step 2. Workbench Work
Locate the supplied mounting brackets and determine passenger and driver side.
Using provided sheet metal screws, attach mounting brackets to their respective sides. Fig 3 & Fig 4

Installation of New Grille
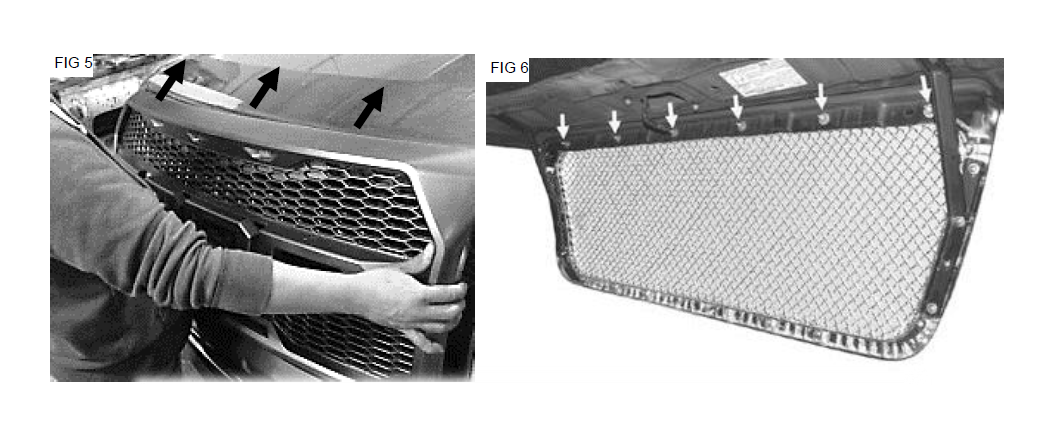
Step 1. Installation of New Grille
Carefully position grille onto hood and insert the threaded studs on the grille through the factory holes in the hood. Fig 5
Secure the grille using OEM hardware. Fig 6
This completes the installation process.