FREE 1 to 3-Day Delivery on Orders $149+ Details
How to Install Rough Country Hidden Winch Mounting Plate on your F-150
Installation Time
30 minutes
Tools Required
- 10mm wrench /socket
- 15mm wrench /socket
- 16mm wrench /socket
- 3/8” Wrench
- 3/4” Wrench
- Reciprocating Saw
- Body Sway
Kit Contents:
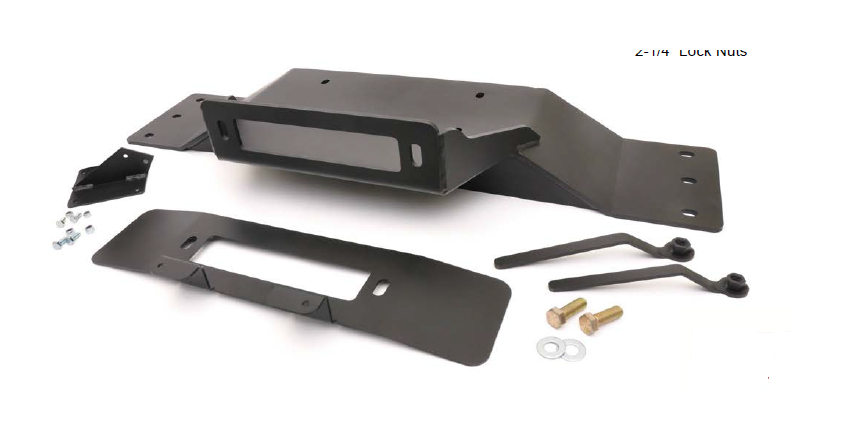
1010 Box Contains:
Winch Plate
Fairlead Bracket
Control Box Bracket
2-Flag Nuts
1010 Poly Bag:
2-1/2” x 1.5” Bolts
2-1/2” Flat Washers
2-3/8” X 1 1/4 Bolts
2-3/8” Lock Nuts
4-6mm x 16mm Bolts
2-1/4” x 3/4” Bolts 2-1/4” Lock Nuts
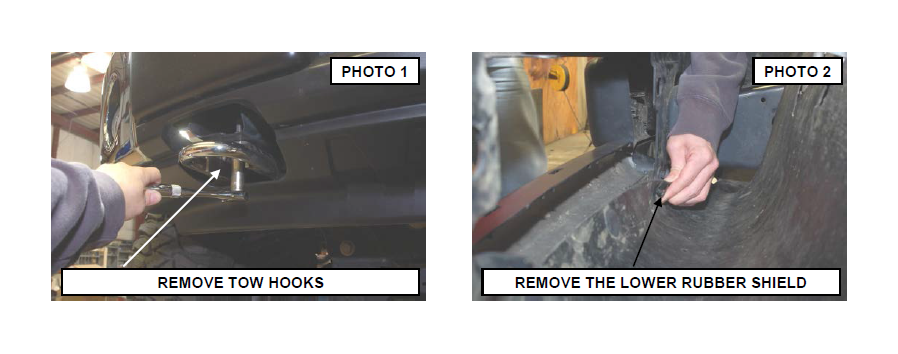
1. Remove the tow hooks using a 15mm socket. Retain the hardware for reuse. See Photo 1.
2. Remove the rubber lower shield by removing the push in retainers from inside the bumper. See Photo 2.
3. Place winch plate in place and hold in place with the tow hook bolts. See Photo 3.
4. Trim the plastic as needed to install the plate. See Photo 4.

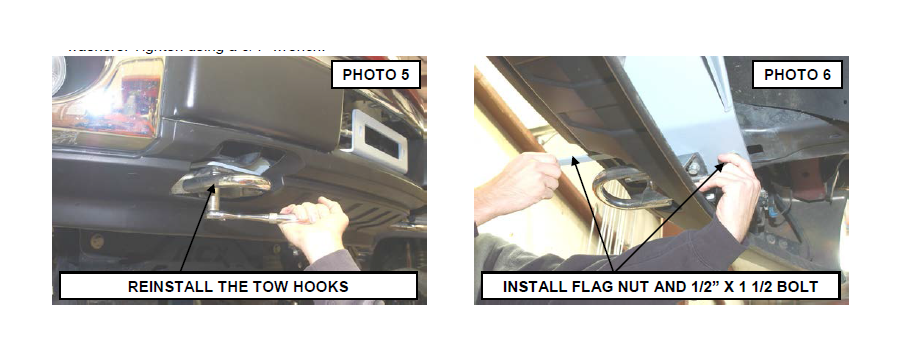
5. Reinstall the tow hooks with the factory hardware. See Photo 5.
6. Place the supplied flag nut in the frame as shown in Photo 6 and install the supplied 1/2” X 1 1/2” bolts and flat washers. Tighten using a 3/4” wrench.
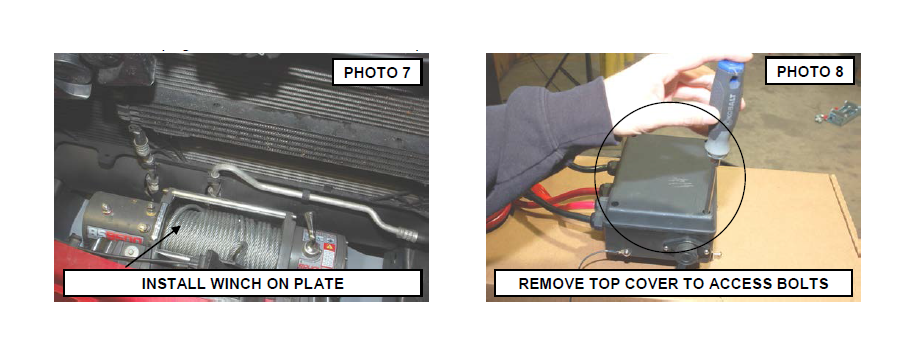
7. Install the winch in the winch plate with the hardware included with the winch. See Photo 7.
8. Remove the plugs from the box and remove the top of the box. See Photo 8.
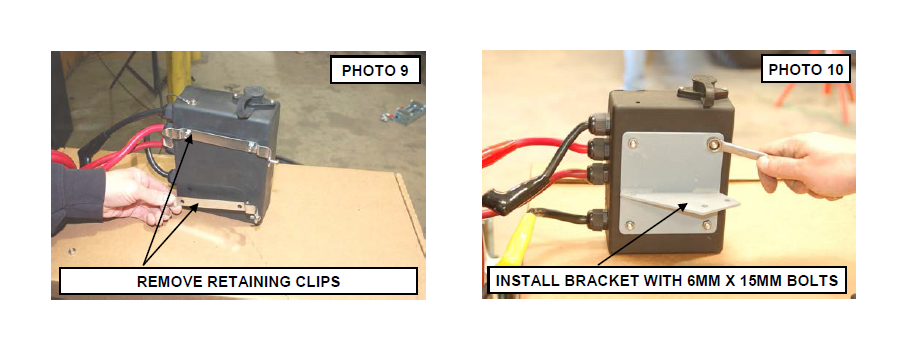
9. Remove the mounts from the box using a 3/8” wrench. Retain nuts for reuse. See Photo 9.
10. Install the supplied 6mm x 16mm bolts in the box and secure the bracket to the box with the 6mm nuts, from step 9, as shown. Tighten using a 10mm wrench. See Photo 10.
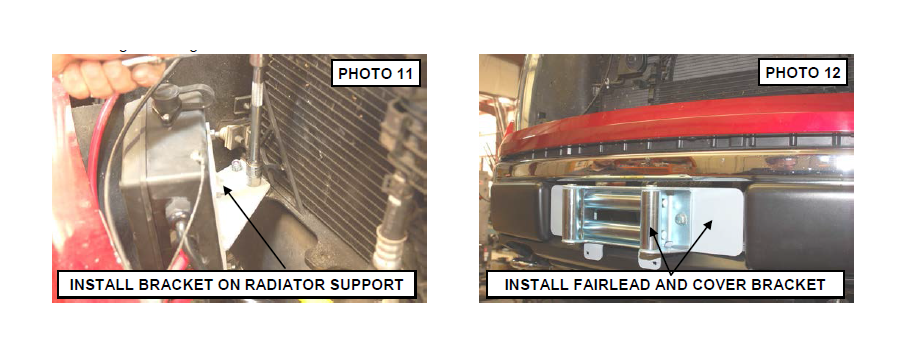
11. Install the assembly to the radiator support as shown with the supplied 1/4” x 3/4” bolts and lock nuts and tighten using a 11mm wrench. See Photo 11.
12. Install the roller fairlead and the fairlead bracket as shown in Photo 12 with the supplied 3/8” x 1 1/4” bolts and lock nuts. Tighten using a 9/16” socket / wrench.
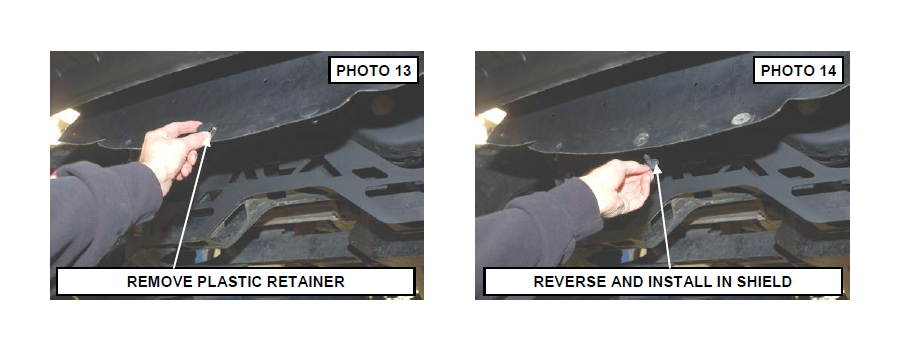
13. Remove the plastic retainers as shown in Photo 13.
14. Reverse the plastic retainers and reinstall in rubber as shown in Photo 14.
15. Reinstall the rubber shield.