 FREE 1 to 3-Day Delivery on Orders $149+ Details
How to Install BAK Industries BAKFlip MX4 Folding Tonneau Cover (15-19 F-150 w/ 6.5 ft. Bed) on your Ford F-150
Installation Notes, Pre-Installation notes (only when needed)
Installation Instructions:
1. Right out of the box you have almost everything you need for a successful installation. It comes well packed and protected.
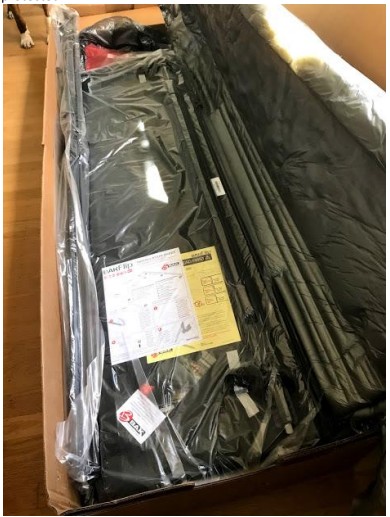
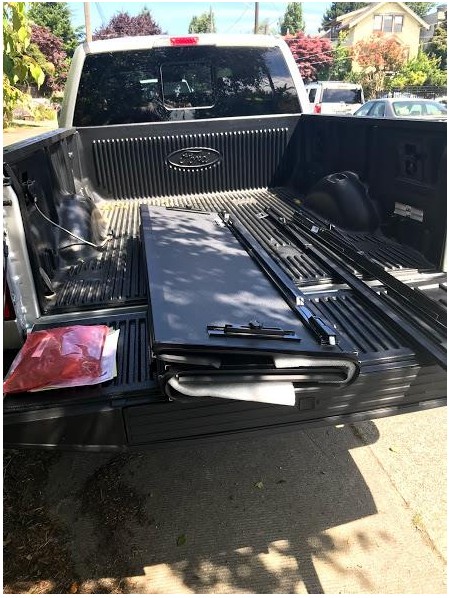
2. The first thing I did was lay everything out on the truck to make sure it was all there. My kit didn’t come with the shims but more on that later.
3. Next, I installed the rails with the metal ends at the top and towards the front of the truck. I did this by myself so it was difficult to provide a picture. The three metal brackets go on that hold the rail to the truck bed. I placed mine about 10 inches from the front, right in the middle, and about 6 inches from the back. Doing this alone, this was the hardest part for me as it is difficult to hold the rail in place with one hand and tighten the brackets with the other hand. Also, the key to this part is to push the rail as far forward as you can while tightening the first bracket. My rail overhung too far at first and had to be readjusted multiple times. With everything on in the right place, this is about how much overhang you should have at the end. The bolts are supposed to be tightened to 10 ft-lbs of torque with a 14mm wrench. I didn’t have a torque wrench so just got them as tight as I could without putting all my weight into it.
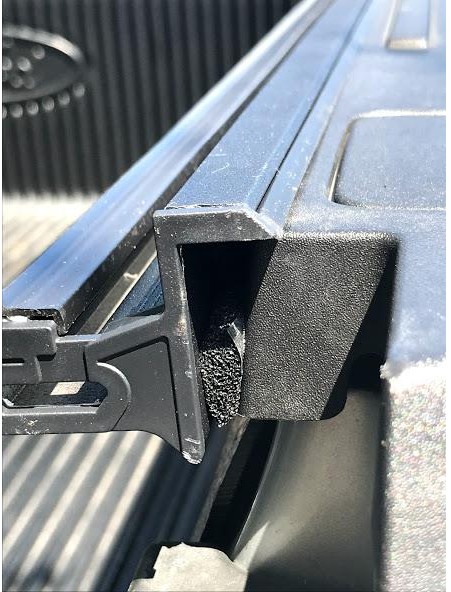
4. My truck rail had a tapered end but there were no shims provided. I also had a drop in bedliner so I didn’t need the weather stripping that was sent that would usually go on the front edge of the bed. So, I cut off a small piece and used it to buttress the tail end of the rail so things would sit evenly.
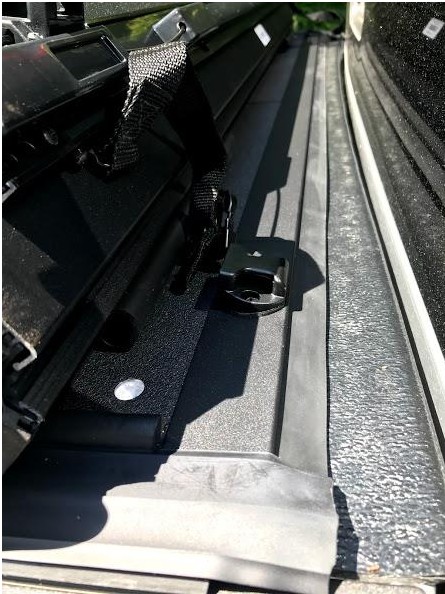
5. The next step is to put on the clips that will hold your cover in place when it is folded up
6. You then get the front lined up and ready to place. The locking system may engage but don’t worry.
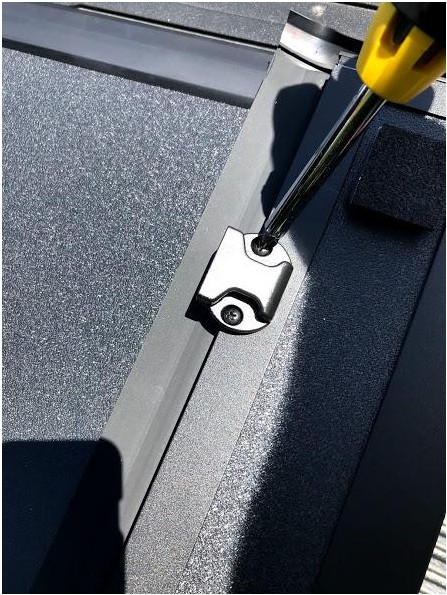
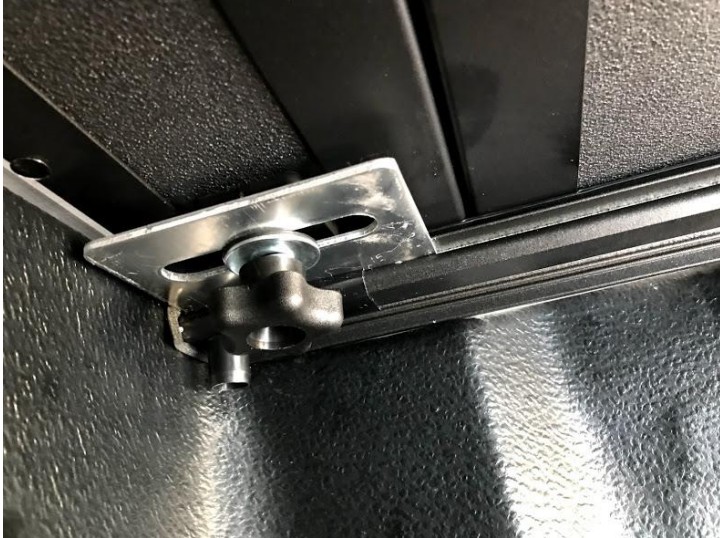
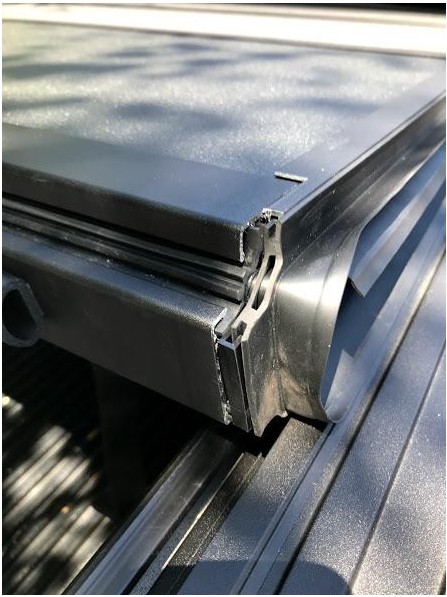
7. Once the front edge (the small end) is lined up as far forward as you need to go, you next need to insert the mechanism that secures the whole cover in place. The pictures show the empty hole, the flat side goes out, and the underside has the tightening mechanism. When you tighten this initially, get it just finger tight as you might need to adjust the placement.
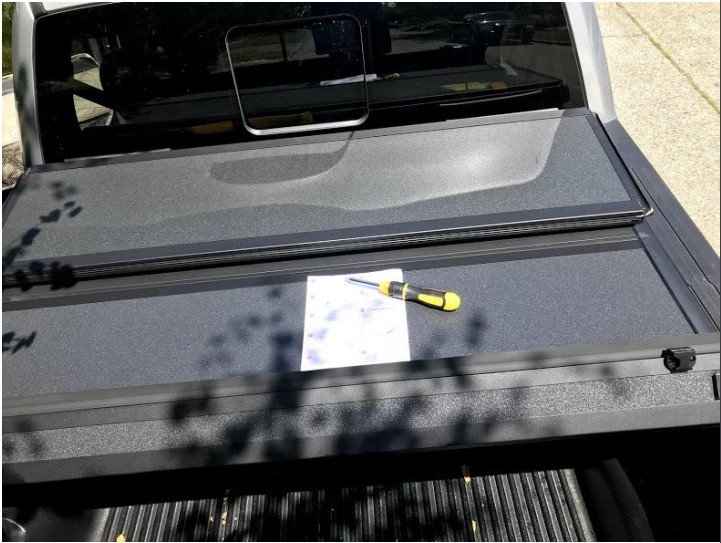
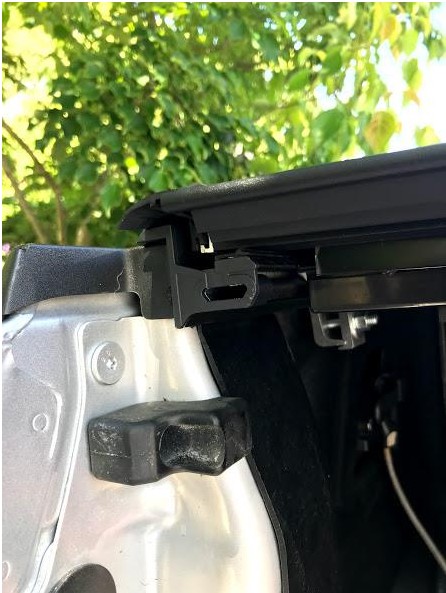
8. Once that is in a position you like you then fold the cover all of the way up and see where it hits your truck window in order to determine where the rubber bumpers should be placed.
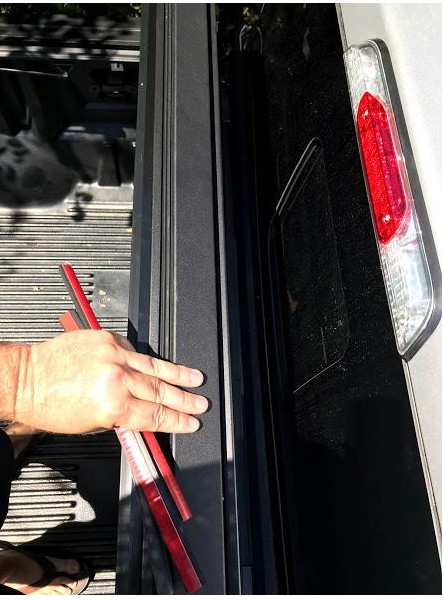
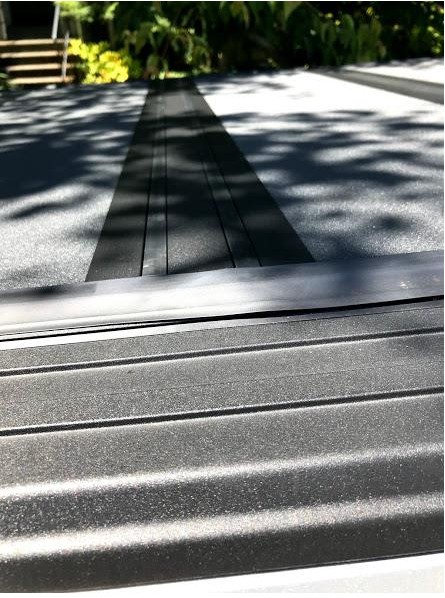
9. Once the bumpers are on, fold the cover all of the way down to flat and make sure there is enough clearance at the tailgate end. If not, push the whole cover forward slightly (and evenly). Once there is enough clearance, it says to fold the cover up to reach the tightening mechanism but mine kept moving so I just slide in the bed to the front and tightened things with the cover completely unfolded.

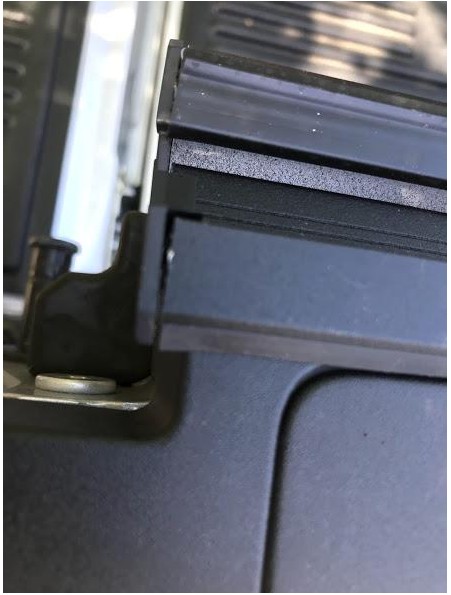
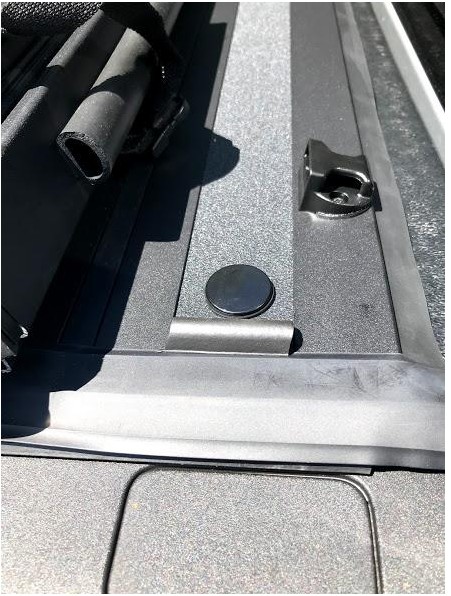
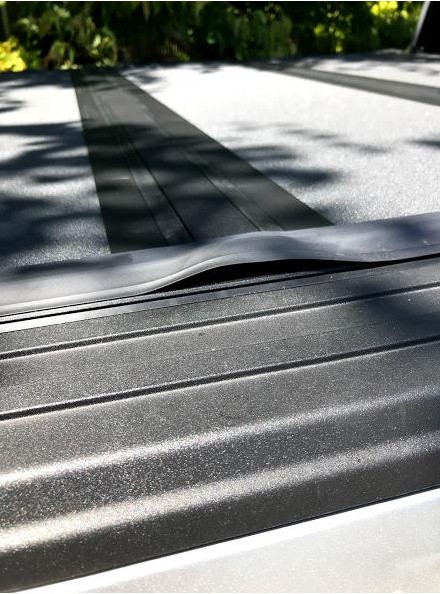
10. Once I had the clearance I needed I noticed that there was a bump in the side of the cover that would have allowed for water to get in. Either during shipping or installation, a small plastic piece had come out of it’s placement. A light tap and it was back in place and the speed bump was gone.
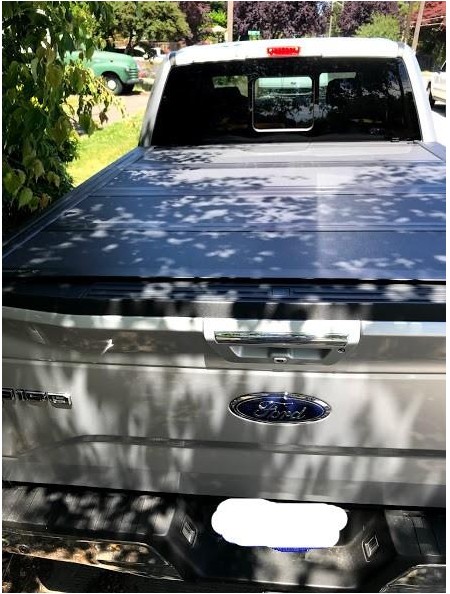
11. And that’s it! Not too bad. This was my second Bak Industries cover and I am still very satisfied. This one took me longer to install than the first one because the rails were a little longer than my old short bed Toyota so they were a little harder to control. If you have two people for that part only, it would be helpful but not required. The rest can be done easily with one person.
Installation Instructions Written by AmericanTrucks Customer D. Sander 06/30/2019

