 2019-2026
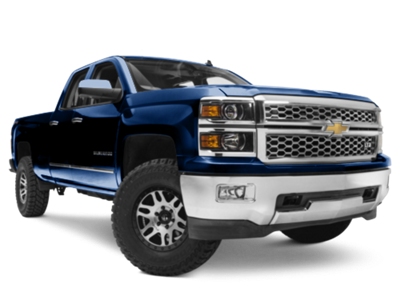 2014-2018
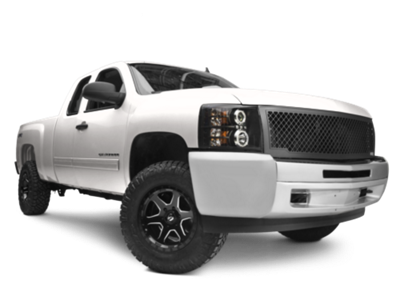 2007-2013
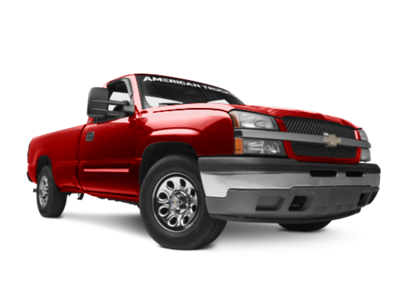 1999-2006


Installation Time
(approx) 1 Hour
Difficulty Level:
Simple installation for anyone.
Installation Guides
No guide available for this part yet.
 FREE 1 to 3-Day Delivery on Orders $149+ Details
$564.99 pair
CONFIRM THIS FITS YOUR VEHICLE!
Saved - View your saved items
We're sorry. We couldn't save this product at this time.
Features, Description, Reviews, Q&A, Specs & Installation
| Side Step Finish | Silver |
| Side Step Type | Fixed |
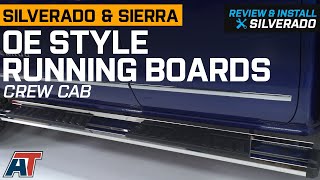
Reinforced OE Styling. Equip your Silverado 1500 with these silver OE Style Running Boards for safer stepping as you enter and exit your truck in stock height or in lifted set-ups. These step boards also serve as side shields against brushes and various trail debris that might cause dents and scratches to your side panels and doors. The straight configuration of the platforms with black rectangular step pads on the silver boards give a reinforced, classic OE styling that complements your Silverado’s tough exterior.
Premium Construction.These boards were constructed using premium stainless steel to ensure that these step boards are reliably durable and corrosion resistant. Each step board is equipped with 2 high-traction, black polyethylene footpads to give you and your passengers firm footings on all types of weather. The boards are covered in a protective silver finish to withstand harsh outdoor elements, while adding a striking accent on the sides of your Silverado.
Bolt-On Installation. These Running Boards mount onto your truck’s rocker panels using the durable brackets. The installation takes about an hour using basic hand tools with light mechanical skills required.
Application. These OE Style Running Boards with silver finish are intended for use on all 2007-2018 Silverado 1500 Extended or Double Cab models. They are not compatible with the 2007 Silverado 1500 Classic Model.
Shop All Truck Parts And Accessories
Shop All Truck Exterior Accessories
Shop All Truck Side Steps And Nerf Bars
CA Residents:  WARNING: Cancer and Reproductive Harm - www.P65Warnings.ca.gov
Installation Info
Installation Time
(approx) 1 Hour
Difficulty Level:
Simple installation for anyone.
Installation Guides
No guide available for this part yet.
What's in the Box
Tech Guides:
Not Compatible with the 2007 Silverado 1500 Classic Model.
