 FREE 1 to 3-Day Delivery on Orders $149+ Details
How to Install Airaid MXP Series Cold Air Intake w/ SynthaMax Dry Filter w/ Red (15-19 2.7L EcoBoost F-150) on your Ford F-150
Tools Required
- 3/32 & 4mm Allen
- Racket and 1⁄2 Socket
- Screwdriver to tighten clamps
- Flat Head Screwdriver or Trim Remover for plastic rivets

Shop Parts in this Guide
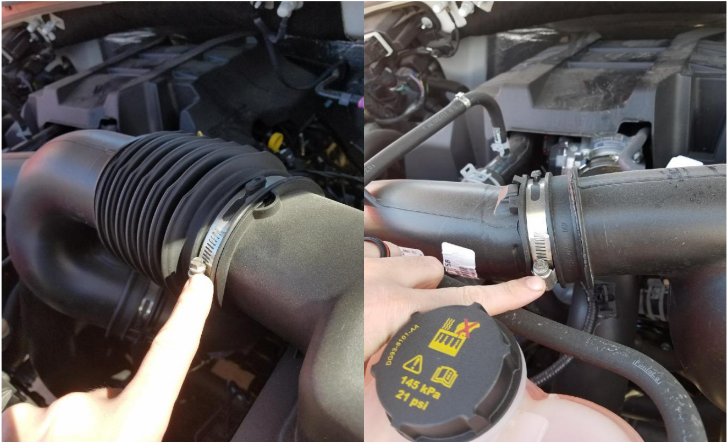
1. Loosen the Three clamps on the intake tube and gently remove it.
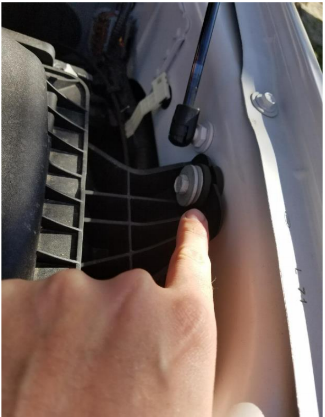
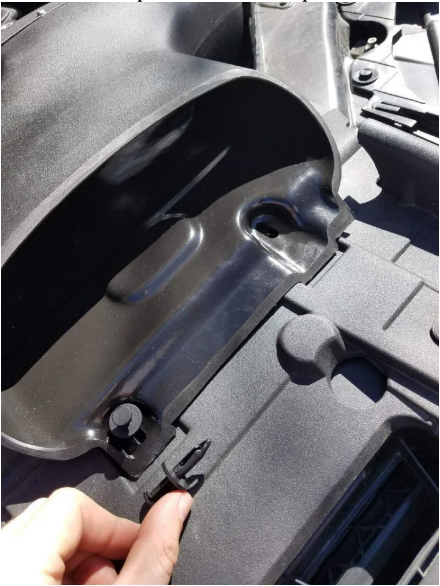
2. Remove the plastic rivets on the air inlet. With a flat head screw driver or trim removal tool gently pry up on center post to remove them.
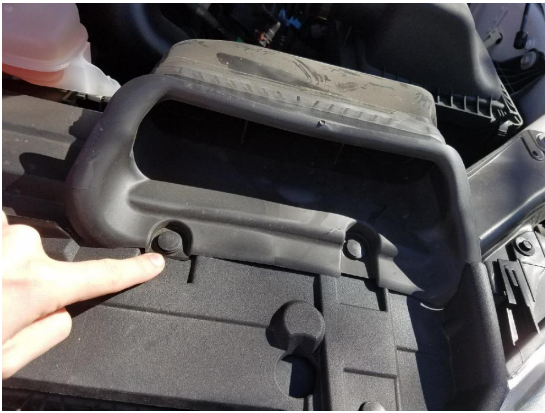
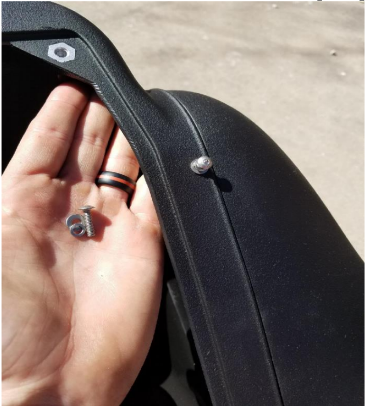
3. Remove the fender bolt on the right side of the air box assembly. Then carefully remove the entire air box from the vehicle.
4. Mount the filter adapter on the inside of the Airaid box using the provided 3 sets of 1⁄4-20 button head screws and washers.
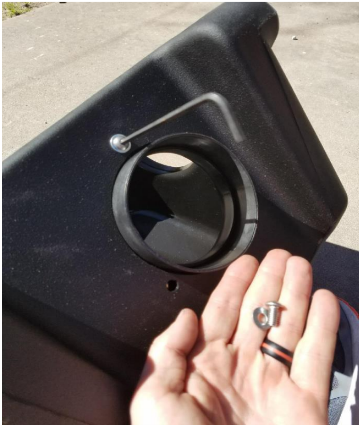
5. Insert the grommet and spacer into the side of the Airaid.
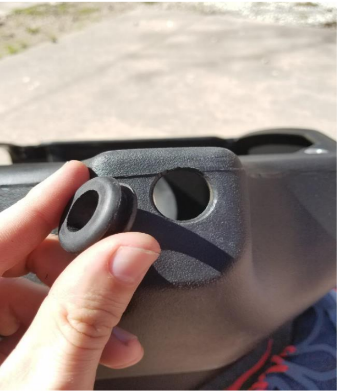
6. Slide the Airaid scoop into the side of the box.
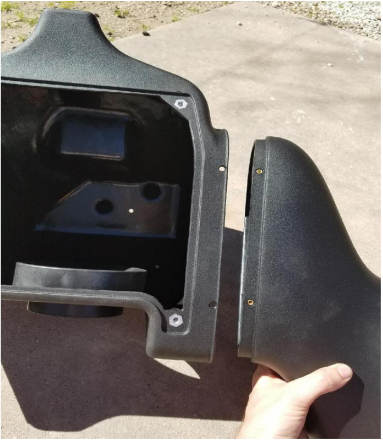
7. Once the scoop has been snapped into place use the provided two sets of 8-32 button head screws, lock washers, flat washers to secure the scoop in place.
8. Next gently place the Airaid intake into the inner fender area where old air intake was removed. Take care to make sure the box lines up with existing bolt holes.
9. Next carefully align the holes on the front inlet scoop and secure it with the provided Airaid plastic rivets.
11. Secure the box to the inner fender using the 8mm bolt previously removed from existing air box (refer to set #3).
12. Carefully remove the old Air Temp Sensors O ring and replace it with the provided Airaid O ring. Insert the sensor into the new Airaid intake tube using the provided 8-32 screw and #8 flat washer secure the sensor into the tube.
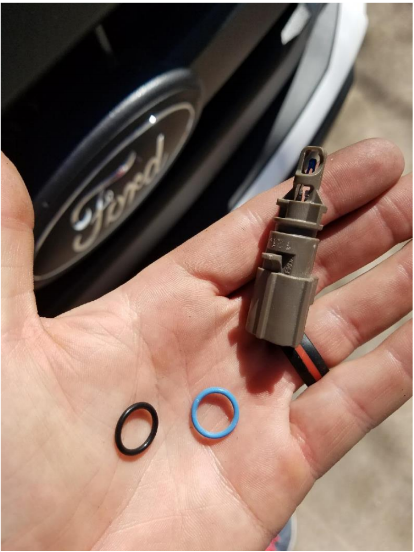
Take extra care not to damage the O ring during install
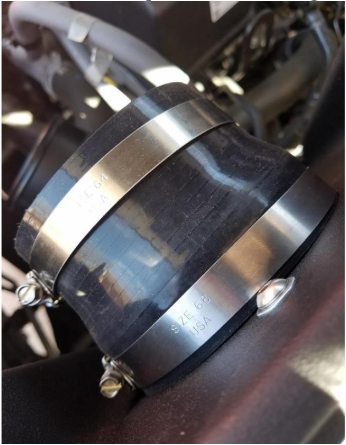
13. Slide the provided hump hose and clamps on the Airaid intake tube . There will be a small and a large #48 is the small and the #64 is the large.
14. Slide the #68 and #64 clamp coupler onto the filter adaptor. The #68 clamp will be touching closest to the air box.
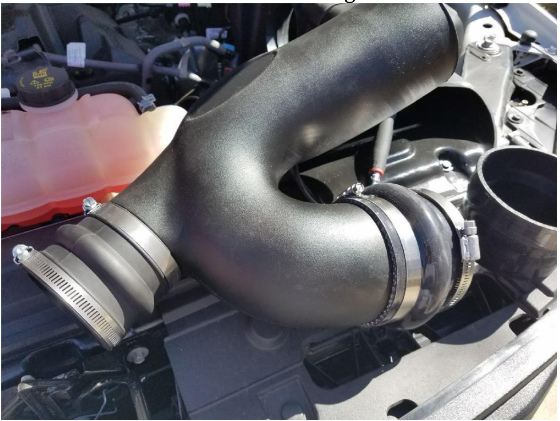
15. Connect the intake tube onto the factory turbo then into the air box coupler. You have to rotate and wiggle the tube until proper alignment is achieved. Once everything is aligned tighten all 6 hose clamps.
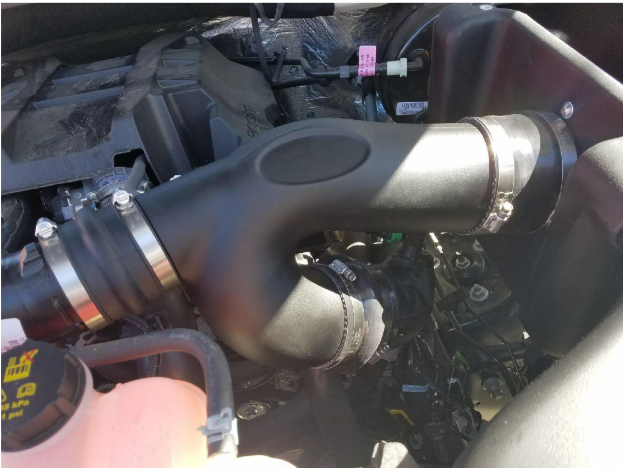
Take care not to overtighten
14. Install the provided air filter onto the filter adaptor inside the air box and tighten the hose clamp.
15. Remove the protective film from the top air box cover. Next mount the lid onto the air box using the provided button head screws and flat washers.
16. Reconnect the air temp sensor and wire harness onto the air box. Double check all clamps and connections. Make sure all tools have been removed from the engine compartment. Carefully reconnect and tighten the BLACK Negative battery cable.
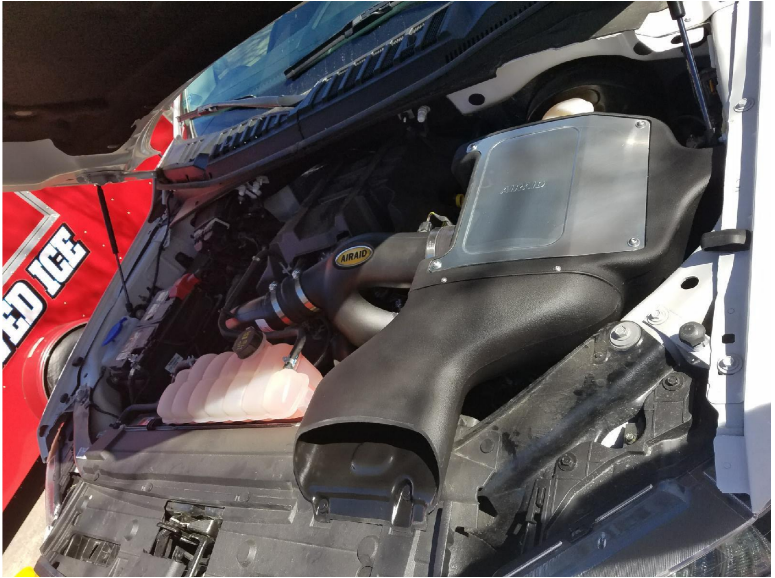
Enjoy your new AIRAID Intake!
Install Guide submitted by AmericanMuscle customer: Jeremy S. on 4/27/17

