 FREE 1 to 3-Day Delivery on Orders $149+ Details
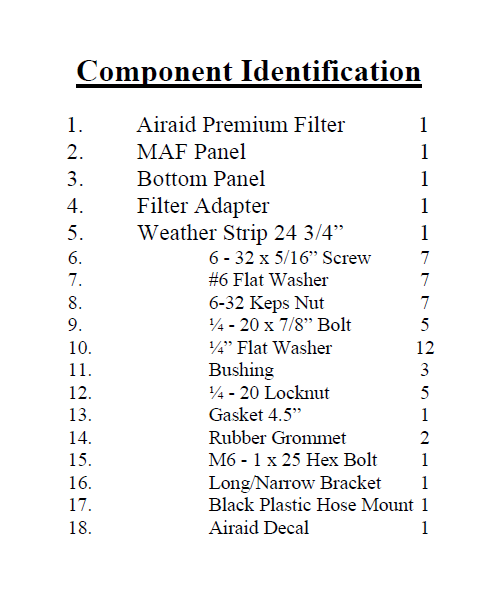
How to Install Airaid Cold Air Dam Intake - SynthaMax Dry Black Filter on your F-150
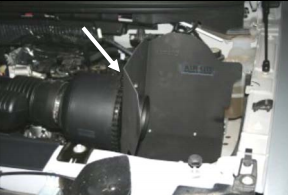
1. Disconnect the negative battery cable. Unclip the factory airbox from the factory Mass Air Flow (MAF) sensor housing.
2. Remove the factory air filter and airbox from the
vehicle. Pull straight up on the airbox, to release it
from the grommets, and then remove the airbox inlet
from the drivers side fender.
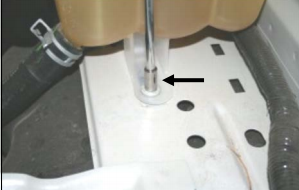
3. Using a 5/16” socket, ratchet and extension, remove
one bolt from the factory coolant reservoir mount.
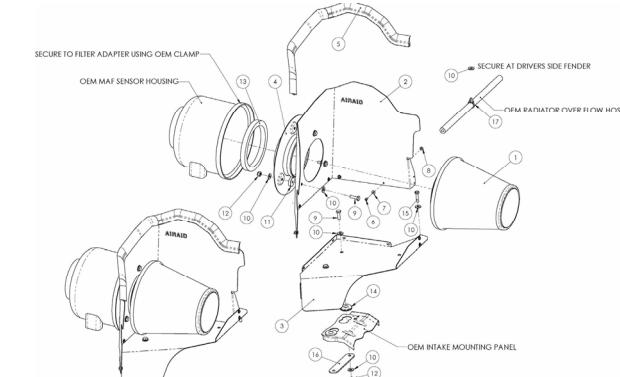
4. Assemble the Airaid Cool Air Dam (CAD) panels
(#2, #3) using seven 6-32 x 5/16” screws (#6), #6 flat
washers (#7), and 6-32 keps nuts (#8).Apply the
Airaid Foil Decal onto the Panel as shown.

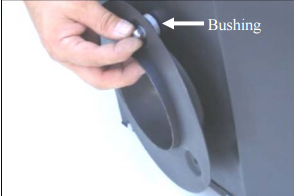
5. Insert three ¼-20 x 7/8” bolts (#9), and ¼” flat
washers (#10) through the CAD. Place one bushing
(#11) at each hole between the CAD and the filter
adapter (#4). Next, secure the assembly using three
¼” flat washers (#10), and ¼-20 nuts (#12).
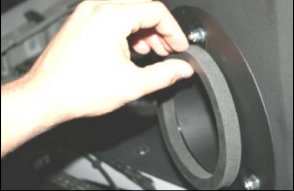
6. Install the supplied gasket (#13) onto the filter
adapter.
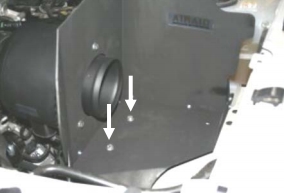
7. Remove the two factory grommets from the factory
airbox mounting plate.
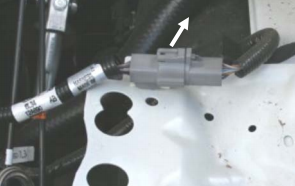
8. 4.2L Engine Only: Using a flat blade screwdr iver,
carefully pry the MAF sensor wiring harness connector
from the holes in the airbox mounting plate (do
not disconnect it). Move the harness towards the firewall
to allow room for the CAD to mount.
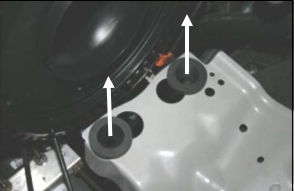
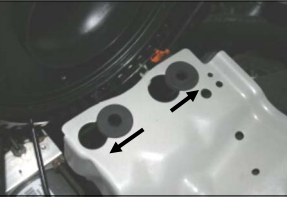
9. Slip two rubber grommets (#14) into the large
holes in the factory airbox mounting plate, and then
slide them sideways into the small holes as shown.
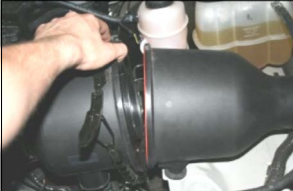
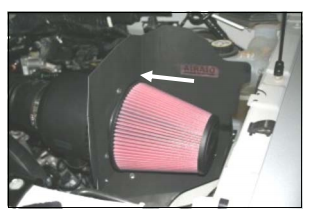
10. Install the CAD assembly into the vehicle. First,
align the filter adapter with the factory MAF sensor
housing, then, secure it with the factory clamp.
11. Align the hole in the CAD with the hole in the
factory coolant reservoir mount. Insert one M6-1x25
hex bolt (#15) and 1/4” flat washer (#10) through the
hole in the CAD, through the coolant reservoir
mount, and into the speed nut below it.
12. Insert two ¼-20 x 7/8” bolts (#9) and ¼” flat
washers (#10) through the holes in the CAD and thru
the grommets. On the underside of the factory airbox
mounting plate, align the long/narrow bracket (#16),
two ¼” flat washers (#10), and two ¼-20 nuts (#12)
with the ¼-20 x 7/8” bolts. Tighten the assembly
securely.
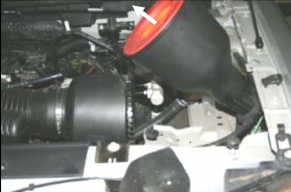
13. Mount the Airaid Premium Filter (#1) onto the
filter adapter and tighten the clamp.
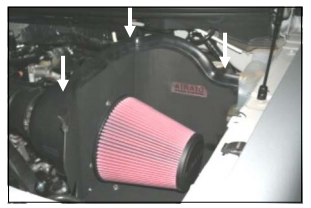
14. Install the weather strip (#5) onto the top edge of
the CAD as shown. (Hint: start at one end and work
your way around to the other.)
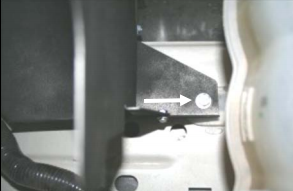
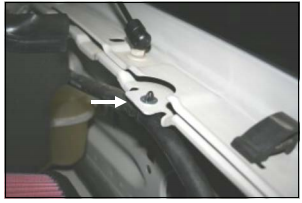
15. Slip the black plastic hose mount (#17) over the
radiator overflow hose. Next, place one ¼” flat washer
(#10) over the hole on the inner drivers side fender.
Slide the hose mount prongs thru the fender and
thru the washer.
16. Double check your work!
Make sure there is no foreign material in the intake path. Make sure all clamps, hoses, bolts, and screws are tight.
17. Reconnect the negative battery cable!

