 FREE 1 to 3-Day Delivery on Orders $149+ Details
How to Install AEM Brute Force Cold Air Intake w/ Coolant Reservoir on your F-150
1. Preparing Vehicle
a. Make sure vehicle is parked on level surface.
b.Set parking brake.
c. If engine has run in the past two hours, let it cool down.
d. Disconnect negative battery terminal.
e. Raise the front of the vehicle with a jack. Refer to your owner’s manual for proper jack and jack stand placement to properly support vehicle. Support your vehicle using properly rated jack stands before wheel removal or while work ing under the vehicle. NEVER WORK UNDER A VEHICLE WITHOUT USING JACK STANDS.
f. This intake system includes a replacement windshield washer system.
g. Do not discard stock components after removal of the factory system.
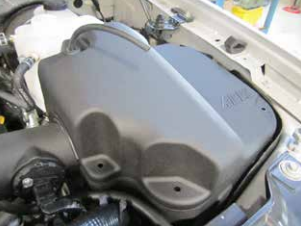
2. Removal of stock system
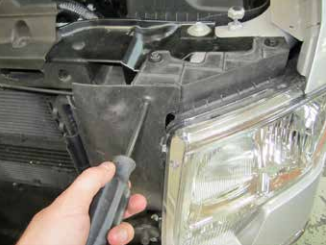
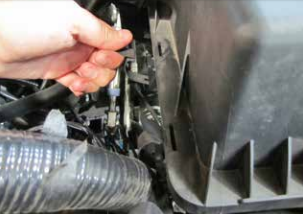
a. Remove the clip securing the shield to the headlight.
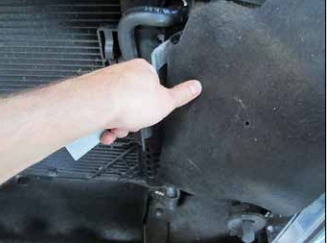
b. Remove two clips securing the shield to the radiator mount.
c. Remove the shield
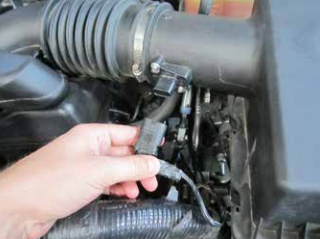
d. Unplug the MAF sensor.
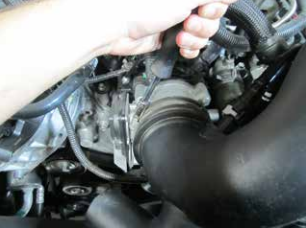
e. Loosen the clamp at the throttle body.
f. Disconnect the clips holding the air box together
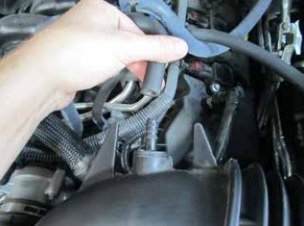
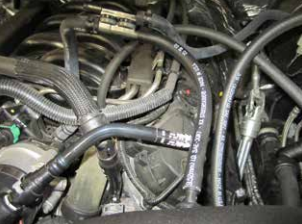
g. Unplug the brake booster hose.
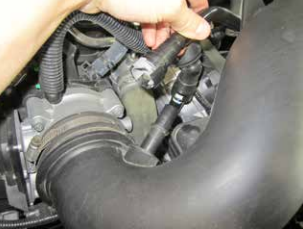
h. Unplug the crank case vent hose.
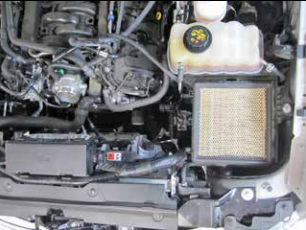
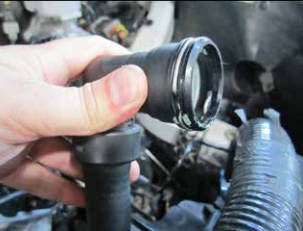
i. Remove the stock intake tube and air box lid.
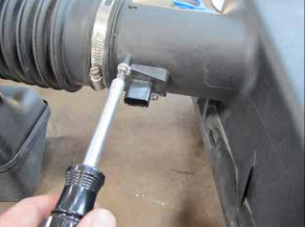
j. Remove the MAF sensor and set it aside for future use.
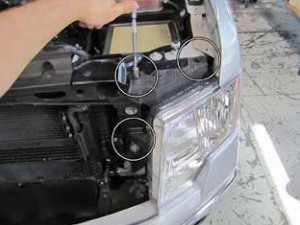
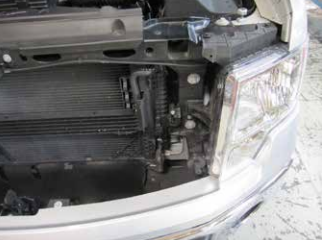
k. Remove the three bolts securing the left headlight
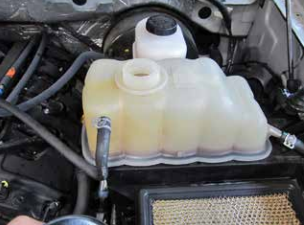
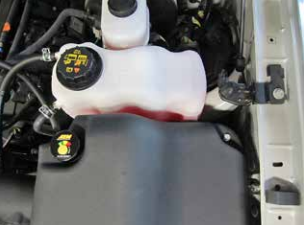
l. Remove the coolant cap.
m. Drain 1.5-2 gal of coolant from the drain at the lower right corner of the radiator. Use the supplied 3/8” hose to route the coolant into a clean container to be added back into the system. Remove the hose when done draining, and keep it to be used later.
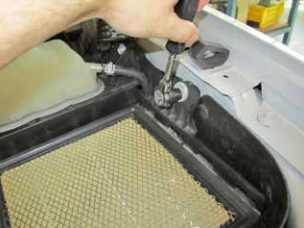
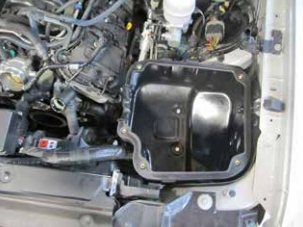
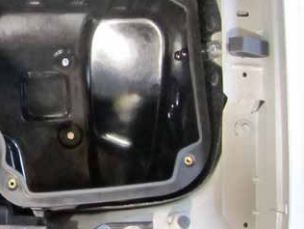
n. Remove the two bolts securing the stock lower air box.
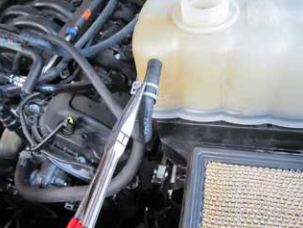
o. Remove one clamp from the coolant reservoir.
p. Remove one clamp from the radiator overflow.
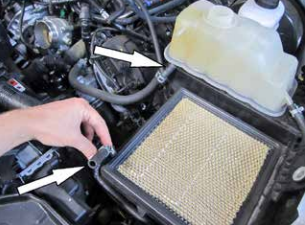
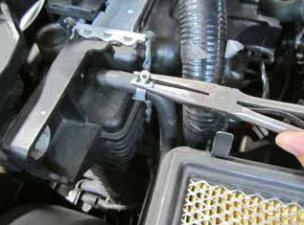
q. Remove one hose from the reservoir, and disconnect the other hose from the radiator.
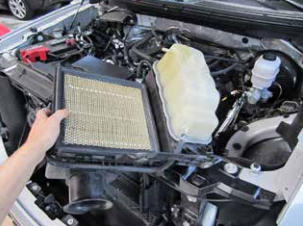
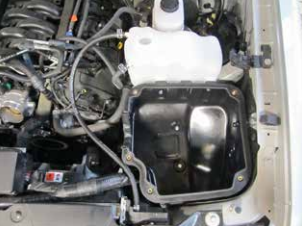
r. Lift the stock coolant reservoir and air box
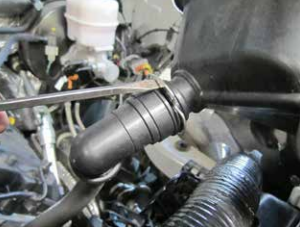
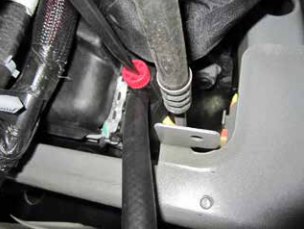
s. Remove the clip from the lower coolant hose fitting.
t. Disconnect the coolant hose and remove the stock coolant reservoir and lower air box.
u. Reinstall the clip on the coolant hose fitting.
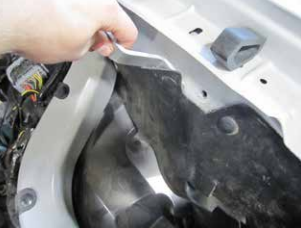
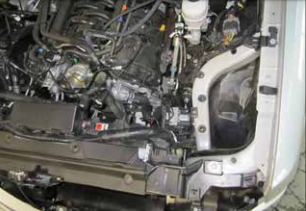
v. Remove six clips and remove the rubber inner fender liner.
3. Installation of AEM® Intake System a. When installing the intake system, do not completely tighten the hose clamps or mounting hardware until instructed to do so.
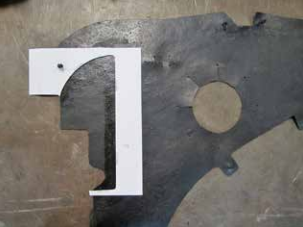
b. Cut out the provided template and line it up on the inner fender liner as shown.

c. Trim the inner fender liner as shown.
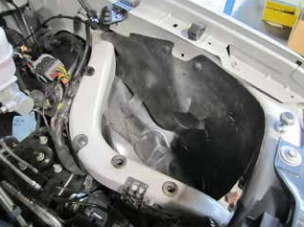
d. Reinstall the inner fender liner
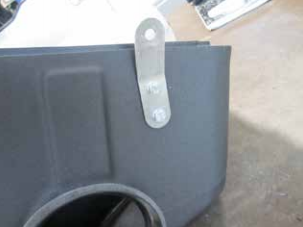
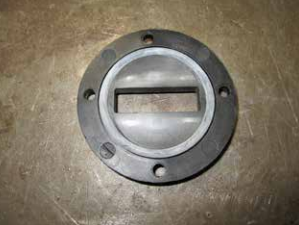
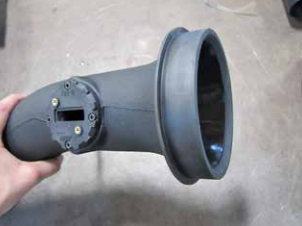
e. Install the bracket(32-3089) on the AEM lower air box(9-0417)
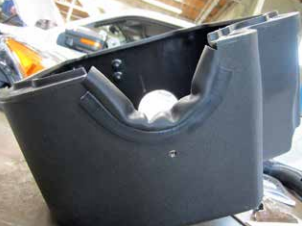
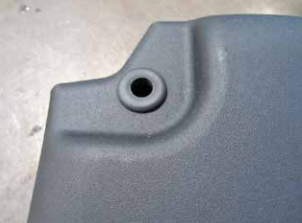
f. Install the provided bulb seal(8-4008) on the ushaped hole of the AEM lower air box(9-0417).
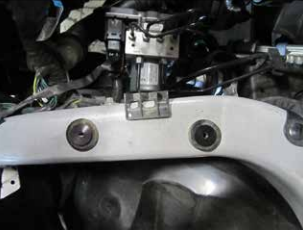
g. Install two barb mounts(8-186) into the stock rubber air box grommets as shown.
h. Install the AEM lower air box and secure it to the barb mounts with two M6 bolts(1-2065) and washers(1-3018) provided.

i. Make sure that the side inlet scoop is protruding through the inner fender liner as shown.
j. Secure the AEM lower air box bracket to the fender support with the provided M8 bolt(1-2034) and washer(1-3020).
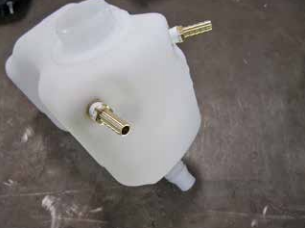
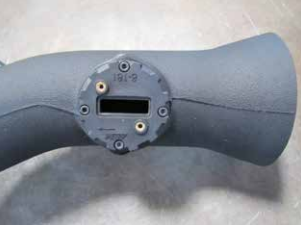
k. Install two brass barbs(8-172) into the AEM coolant reservoir(9-0414) using thread sealant to seal the threads.
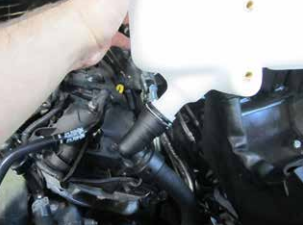
l. Connect the lower coolant hose by pressing it in place until it clicks in.
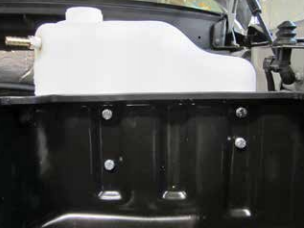
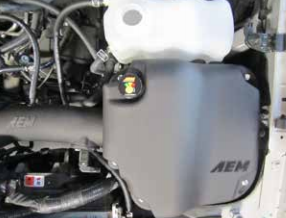
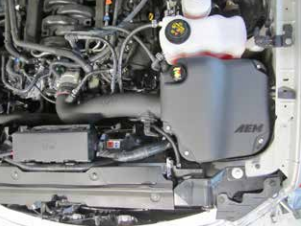
m. Install the AEM reservoir and secure it to the AEM lower air box using the four M6 bolts(1-2065) and washers(1-3018) provided.
n. Connect the OEM coolant hose to the barb on the front of the coolant reservoir and secure it with the OEM clamp. Install the supplied 3/8” hose (5-1028) between the radiator and the barbed fitting toward the back of the coolant reservoir and secure it with the OEM clamps.
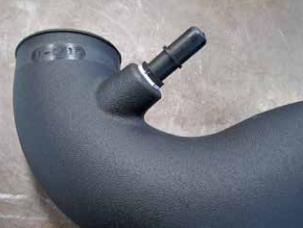
o. Install the supplied fitting(9-0415) into the AEM intake pipe, use thread sealant to seal the threads.
p. Install the supplied 3/8” grommet(784638), barb(8-125), and hose(5-1010)
q. Install the O-ring(8-182) into the AEM MAF pad(8-181) as shown.
r. Install the AEM MAF pad onto the pipe and secure it with four M4 bolts(1-2105).
s. Install the filter grommet(5-1068) by stretching it over the end of the pipe.
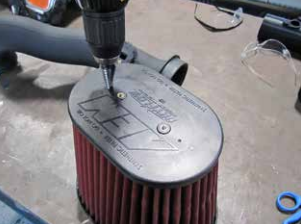
t. Drill a ¼” diameter hole in the filter cap at one of the dimple locations, be sure to remove any plastic shavings from the inside of the filter.
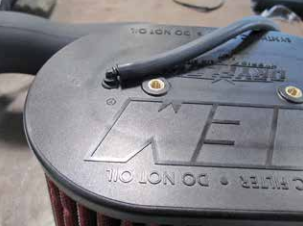
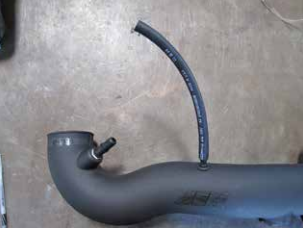
u. Install the supplied 1/8” grommet(784631), barb(8-152), and hose(5-3030).
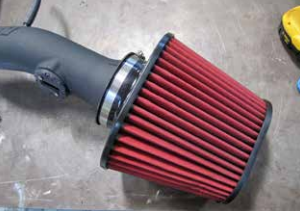
v. Install the filter and #80 clamp(103-BLO-8020N) onto the filter grommet as shown.
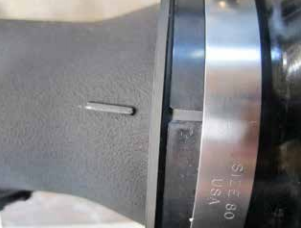
w. Line up the notch in the filter flange with the mark on the pipe and tighten the clamp.
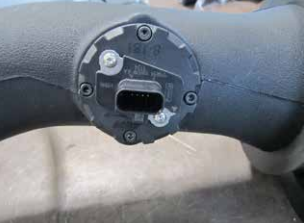
x. Install the OEM MAF sensor with the supplied M4 bolts(1-2051)
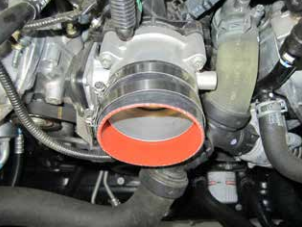
y. Install the coupler(5-351) and 3” clamps(9456) on the throttle body.
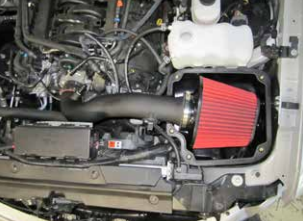
z. Install the pipe assembly as shown and tighten the clamps.
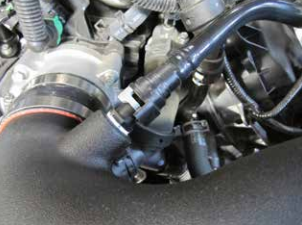
aa. Connect the crankcase vent
bb. Connect the brake booster hose.
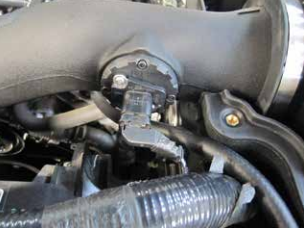
cc. Plug in the MAF
dd. Install the filter minder grommet(784642) in the AEM air box lid(9-0416).
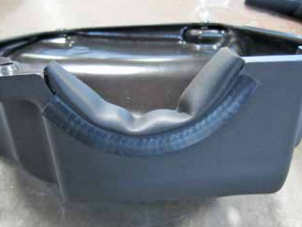
ee. Install the bulb seal(8-4006) around the Ushaped opening on the AEM upper air box.
ff. Feed the filter minder hose up through the grommet in the upper air box and place it on top of the lower air box.
gg. Plug the filter minder hose onto the filter minder(35-80321) and press it into the grommet on the upper air box. Secure the upper air box with the five supplied M6 bolts(1-1016).
hh. Refill the coolant drained in step 2m and check for leaks, then secure the cap.
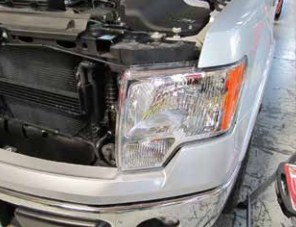
ii. Plug in the three connectors from the headlight assembly and reinstall the headlight. Secure it with the three bolts removed in step 2k.
jj. Make a final check for fitment and adjust as necessary. Once the vehicle has warmed up, check for any coolant leaks.
4. Service and Maintenance a. AEM Induction Systems requires cleaning the intake system’s air filter element every 100,000 miles. When used in dusty or off-road environments, our filters will require cleaning more often. We recommend that you visually inspect your filter once every 25,000 miles to determine if the screen is still visible. When the screen is no longer visible some place on the filter element, it is time to clean it. To clean, purchase our Synthetic air filter cleaner, part number 99-0624 and follow the easy instructions. b. Use window cleaner to clean your powder coated AEM® intake tube. NOTE: DO NOT USE aluminum polish on powder coated AEM® intake tubes.

