 FREE 1 to 3-Day Delivery on Orders $149+ Details
How to Install Addictive Desert Designs Lower Control Arms (10-14 Raptor) on your Ford F-150
Tools Required
- 13/16”
- ¾” wrench & socket
- 18mm
- 15/16”
- 15mm
- 16mm
- 16mm -12 point socket
- 9/16” wrench and socket
- 1” 3/16 wrench
- 1” 1/16
PREPARATION STEPS
1. Disconnect the negative terminal on the battery, with the vehicle on level ground and the emergency brake set.
2. You will need the following tools:
a. 13/16”
b. ¾” wrench & socket
c. 18mm
d. 15/16”
e. 15mm
f. 16mm
g. 16mm -12 point socket
h. 9/16” wrench and socket
i. 1” 3/16 wrench
j. 1” 1/16
3. Hardware Included:
a. Kit contents listed with each individual part.
INSTALLATION INSTRUCTIONS
1. Remove all the factory parts you are going to replace with the aftermarket A.D.D parts.
2. The first step in the installation process will be to install your upper A-Arm using a 13/16 & 18mm wrench. (use factory hardware)
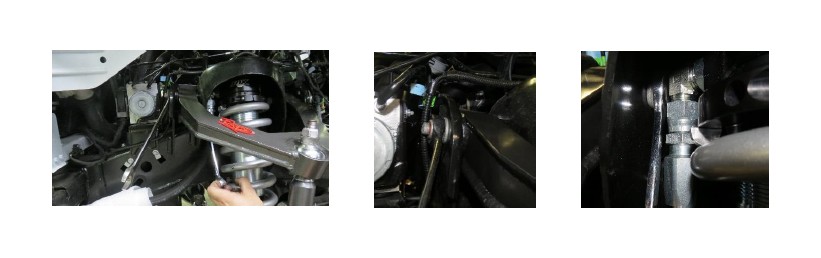
3. Bolt in factory or aftermarket coil over in upper shock mount. To tighten you will use a 16mm.
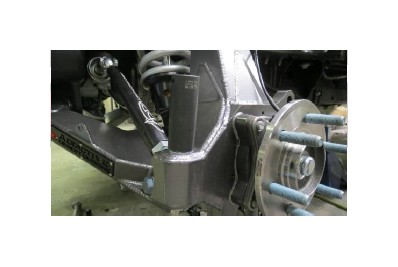
4. Mount spindle to lower A-arm using 16mm 12pt socket & 15/16 to tighten at lower uni-ball. Install lower arm and spindle to truck as an assembly while positioning CV axle into spindle. Install axle nut.
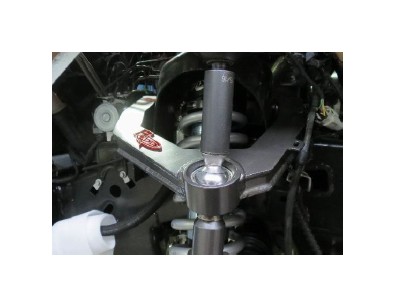
5. Next bolt the lower shock mount using 1”13/16 socket and wrench.

6. Next bolt the upper uni-ball using a 15/16 socket or wrench.
7. Now you will move on to the A-arm mount and frame using a 1” 1/16 socket and wrench.
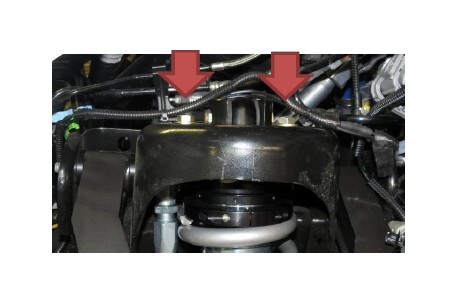
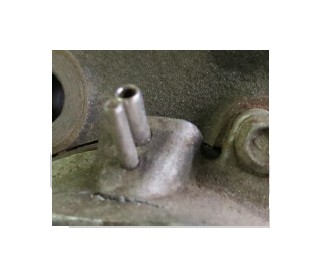
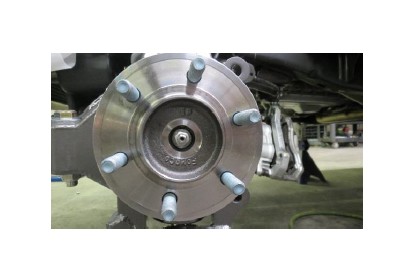
8. Make sure you attach your vacuum line back to the hub.
9. Install tie rod in the spindle using a 15/16.
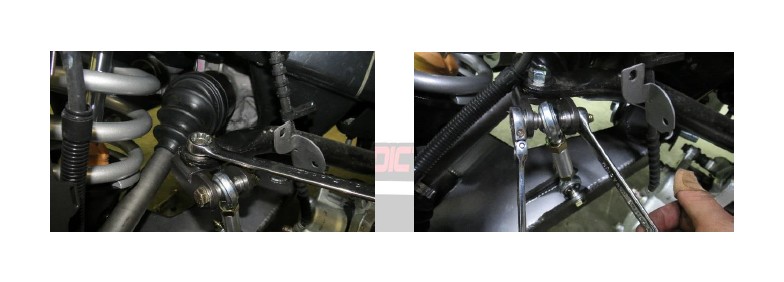
10. Bolt steering clevis to rack using supplied hardware and ¾ socket. Apply red Loctite to threads. Keep clevis straight up and down. Then bolt tie rod into clevis.
11. Tighten to the axel nut using a 15mm socket. Tighten to factory spec.
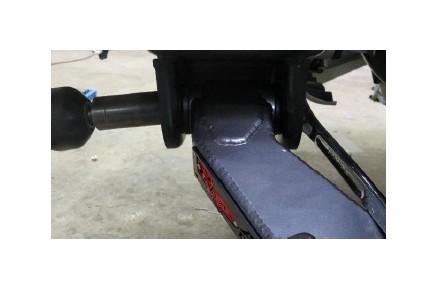
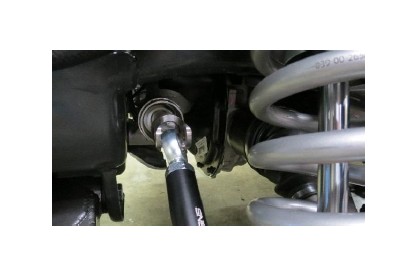
12. Bolt the sway bar adapter using a ¾ socket and wrench. Bolt in sway bar end link using 9/16 socket on both the adapter and lower A-arm. End link heims are tightened all the way into end link.
13. Step back and enjoy your new A.D.D. Front Suspension Package.
14. Check, and re-tighten if needed, all mounting bolts after 100 miles and periodically thereafter.

