 FREE 1 to 3-Day Delivery on Orders $149+ Details
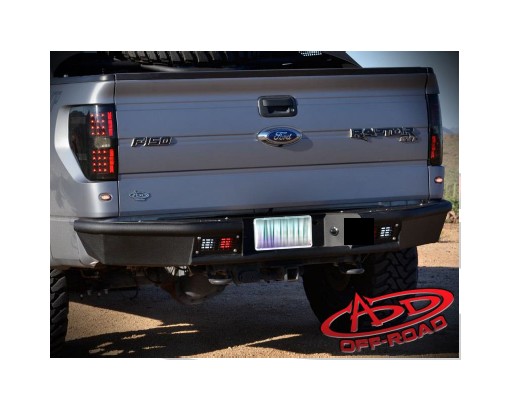
How to Install an Addictive Desert Designs Stealth Fighter Rear Bumper on your Ford F-150
Installation Time
1 hours
Tools Required
- 90' Drill
- 1/2" Drill Bit
- Ratchet
- 3/4" Socket
- 3/4" Wrench
- 10MM Socket
- 10MM Wrench
PREPARATION STEPS
1. Disconnect the negative terminal on the battery. With the vehicle on level ground and the emergency brake set.
2. You will need the following tools:
a. 90’ drill
b. ½” drill bit
c. Ratchet
d. ¾” Socket
e. ¾” Wrench
f. 10MM socket
g. 10mm Wrench
3. Hardware Included:
a. 4 – ½” x 1 ½” Bolts
b. 4 – ½” Nuts
c. 8 – ½” Flat washers
**2 – 10mm Bolts will be re-used in the installation
INSTALLATION INSTRUCTIONS
1. Remove factory Rear Bumper.
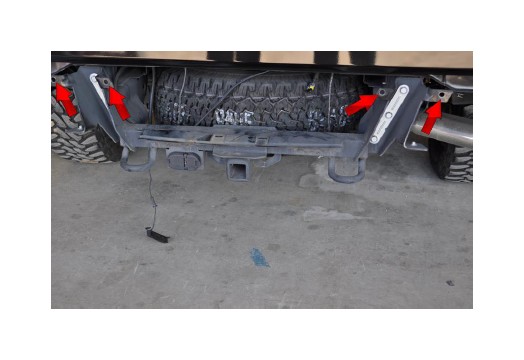
2. Drill the 4 mount holes out to ½”. The red arrows are the holes to be drilled. Lower mount holes will remain not be altered and reused.
***If you purchased lights that fit behind the bumper, now is a good time to install those into the bumper****
3. Fit the bumper back onto the truck and attach using the supplied ½” x 1 ½” Bolts (4 ea.), ½” Nuts (4 ea.) and ½” Flat Washers (8 ea.) and the two lower 10mm factory bolts. Leave finger tight until all of the bolts are installed, then tighten the ½” Bolts to 70 ft./lbs. and the 10mm Bolts to 25 ft./lbs.
4. Fit License plate light assembly, license plate, and back-up sensors (if equipped).
5. Step back and enjoy your new A.D.D. bumper.
6. Check, and re-tighten if needed, all mounting bolts after 100 miles and periodically thereafter.

