FREE 1 to 3-Day Delivery on Orders $149+ Details
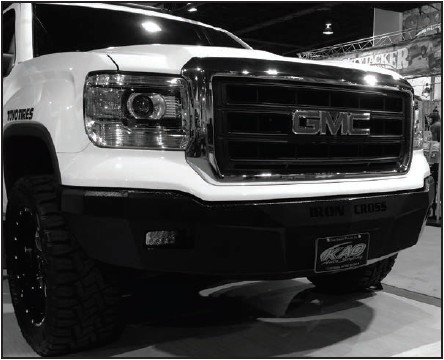
How to Install Iron Cross HD Base Front Bumper on your Sierra
Bumper Removal
1) Pull back factory fender flare to mid fender. This will allow access to the lower grill valance for removal.
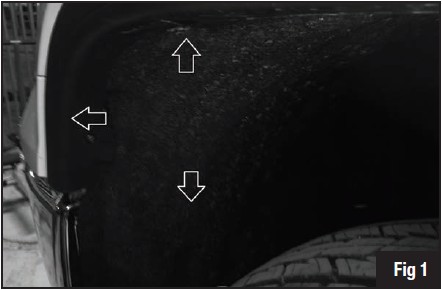
2) Remove (6) screws in the inner fender well. (3) are hidden in a small cut out in the inner fender that attach the lower grill valance to the fender. Fig 1
3) Pull valance firmly from inner fender area and beneath the headlights The valance will pop free and be hanging.
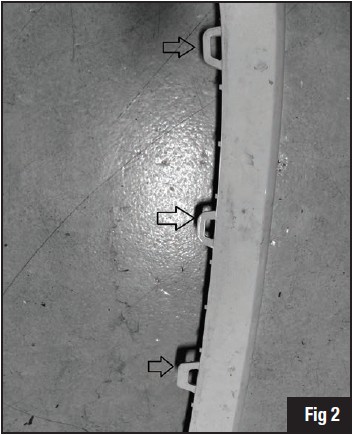
4) (5) slots hold the valance on to the lower part of the grill shell. Push up on the back side of the slot to free the valance. Fig 2
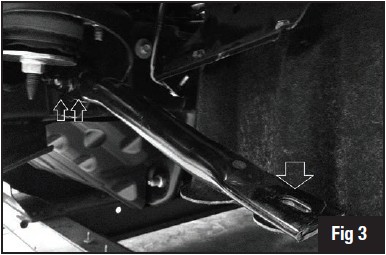
5) Remove the (2) bolts holding the outer bumper support to the frame and the (1) bolt holding it to the bumper. Fig 3
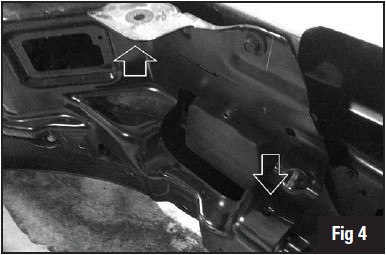
6) Remove the (2) bolts holding the bumper to the bumper brackets. (1) is above and (1) is below. Fig 4
7) Remove your factory bumper at this time.
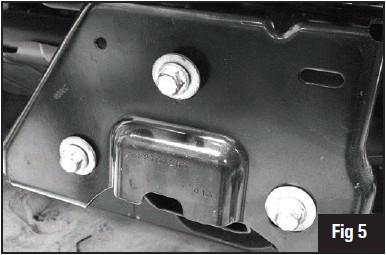
8) Unbolt the (3) bolts holding on your factory bumper bracket. Save these bolts to reinstall your Iron Cross Bumper Brackets. Fig 5
30 series bumper owners skip steps 9-11
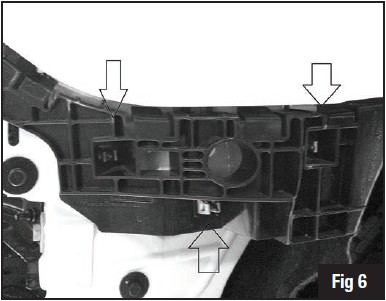
9) Remove the (3) bolts attaching the lower valance mount to the fender. Fig 6
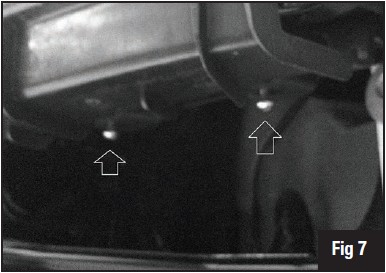
10) Remove the (2) torx screws that hold on the lower valance mount under the headlight. Fig 7
11) On 20 series bumpers, the black plastic on the bottom side of the grill shell and on the bottom of the grill can be trimmed at this time. It is used by the factory to hold the lower valance in place. Since this piece is no longer used, it gives a better look and fit to your bumper with it cut off. Do not do this on 30 series bumpers because the valance will be reinstalled.
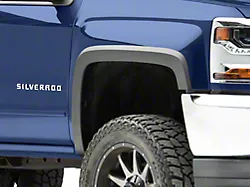
12) Trim the plastic fender flare flush with the end of the fender.
13) 30 series bumpers reinstall the lower grill valance.
14) Reinstall all the inner fender panel bolts.
Bumper Installation
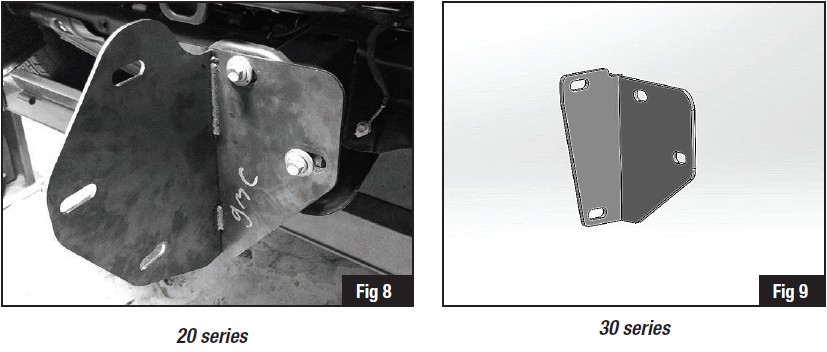
1) Use your factory bolts and install the Iron Cross bumper brackets as shown. Hand tighten and leave loose for final adjustment. You will want to have roughly 28” between the brackets to install the bumper. Fig 8 (20 series) Fig 9 (30 series)
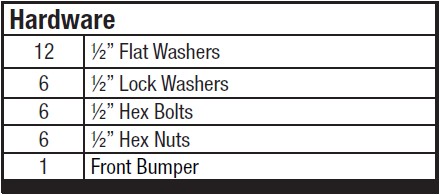
2) Install your Iron Cross bumper at this time. Use the supplied (6) ½” bolts and hardware to attach the bumper. Hand tighten at this time.
3) Align your bumper left and right and tighten the bracket bolts to the frame. Now align your bumper up and down and in and out. Make sure to leave ½” between your bumper and all factory sheet metal or plastic. Tighten all mounting hardware at this time.