How to Install Spectre Throttle Body Injection Spacer on your Ram
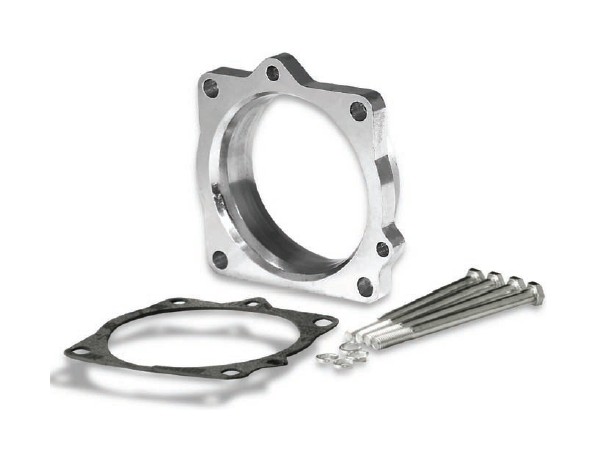
Parts List
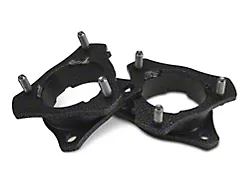
1 - Spectre Power Plate
4 - M6-1.0 x 70mm hex bolts
4 - M6 flat washers
2 - Gaskets
Step 1: Disconnect the negative battery cable.
Step 2: Loosen the hose clamp securing the air ducting to the plenum and disconnect the ducting. Disconnect the Inlet Air Temperature (IAT) sensor connector, which is in the plenum. Remove the two bolts securing the plenum to the intake manifold.
Step 3: Remove the plenum by carefully pulling it forward and upwards.
Step 4: Remove the 4 bolts securing the throttle body to the intake manifold and remove the throttle body. If necessary, remove the orange O-ring on the throttle body to access the bolts. Do not damage this O-ring as it will be reused during installation.
Step 5: Clean the mating surfaces on the throttle body and intake manifold. Leave the factory O-ring in place as it will be reused during installation.
Step 6: Using the supplied bolts, washers, and gasket, install the Spectre Power Plate. Make sure that the surface marked “11259” is facing the throttle body. Make sure that the factory O-ring is still in place and place the Power Plate onto the intake manifold, aligning the holes in the Power Plate to the locating pins on the intake manifold. Place the gasket between the throttle body and the Power Plate and secure using the supplied bolts and washers.
Step 7: Ensure that the throttle operates freely and that the blade doesn’t make contact with the Power Plate before fully tightening the bolts. Torque the bolts to factory specifications – Do Not Over-Tighten.
Step 8: Reinstall the orange O-ring onto the throttle body. Reinstall the plenum onto the throttle body. Note that it is a tight fit, so you will need to work it into place. Once in place, reinstall the bolts securing the plenum to the intake manifold (you will need to use some force to get the bolts started).
Step 9: Reconnect the IAT sensor wiring connector. Reconnect the air ducting to the plenum.
Step 10: Install the C.A.R.B. exemption label near the factory emissions label.
Step 11: Reconnect the negative battery cable.
Step 12: Start the engine and let the vehicle warm up. Shut the vehicle off and recheck your installation, making sure that all bolts and hose clamps are fully tightened.


