 FREE 1 to 3-Day Delivery on Orders $149+ Details
How to Install SLP 3 in. Cat-Back Exhaust System - Single Side Exit (14-18 6.2L Sierra 1500) on your GMC Sierra
Installation Time
2 hours
Tools Required
- 3/8" Drive Ratchet
- 3/8" Drive Extension 3"
- 13 mm and 15 mm Sockets
- Spray Lubricant (Soapy Water/Glass Cleaner)
- Reciprocating Saw (“Sawzall”) or Equivalent Cutting Tool
- Tape Measure
- Marker Pen
ORIGINAL EXHAUST SYSTEM REMOVAL
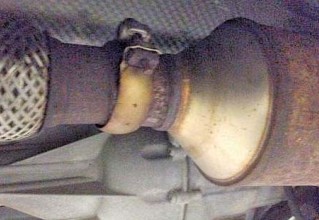
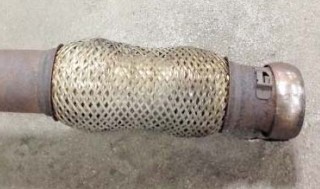
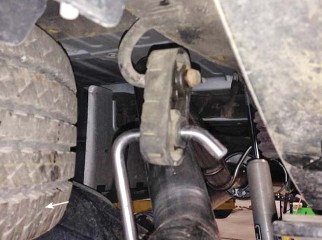
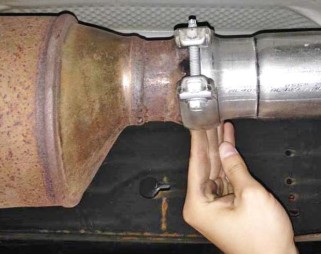
1. Disconnect the ball flange clamp on the factory exhaust that connects the exhaust system to the catalyst pipe.
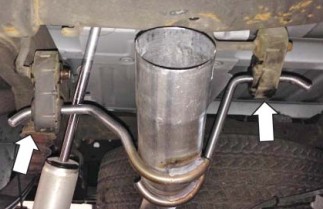
2. Remove the factory exhaust by disconnecting each exhaust hanger from the exhaust system.
NOTE: The system can be removed as one (1) piece by removing it rearward over the rear axle. However, it may be easier to cut the system into two (2) pieces by cutting behind the muffler.
WARNING!
Use extreme caution during installation. Torque all fasteners according to manufacturer’s torque values and tightening sequence. DO NOT use air impact tools to tighten fasteners on SLP Exhaust Systems. Use of such tools may result in bent flanges or gasket contact areas leading to exhaust leaks.
SLP EXHAUST SYSTEM INSTALLATION
1. Install the over-axle pipe (P/N: 5-48) by inserting it into the three (3) factory rubber hanger mounts
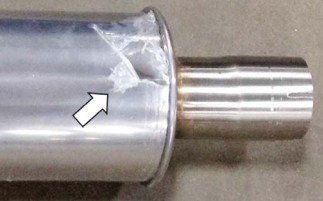
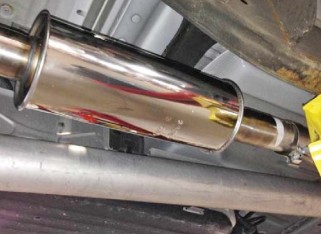
NOTE: Remove all of the protective plastic flm from the muffler (P/N: 1115-5230) before installing
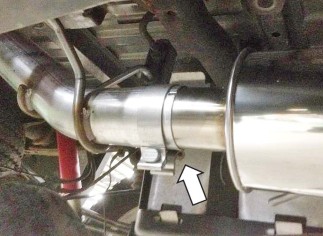
2. Place one (1) 3" clamp (P/N: 10-0439) onto the inlet side of the over-axle pipe. Install the muffler (P/N: 1115-5230) on the inlet side of the over-axle pipe until it completely bottoms out. Position the clamp on the joint and tighten to 30 Nm.
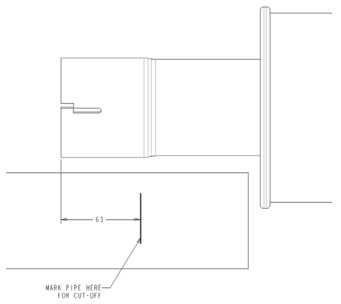
3. There are two (2) pipes provided in the kit to account for the four (4) different wheel base confgurations. Trimming of this inlet pipe will be required for each specifc vehicle. To mark the cut point on the inlet pipe, the muffler and over- axle pipe should be in position (rubber hangers are positioned vertically). Using the correct inlet pipe (P/N: 5-46, 119" and 133" WB, 4.3L/5.3L), (P/N: 5-47, 143.5" and 153.5" WB, 4.3L/5.3L), (P/N:
5-68, 119" and 133" WB, 6.2L) or (P/N: 5-69, 143.5" and 153.5" WB, 6.2L) for the vehicle wheel base, temporarily install the ball flare end of the inlet pipe against the catalyst flange and mark the inlet pipe, accounting for the 2-1/2" engagement
into the muffler inlet for a proper seal. Remove the inlet pipe and cut it with a suitable cutting tool.
4. Place one (1) 3" clamp (P/N: 10-0439) onto the end of the trimmed inlet pipe and insert it into the muffler inlet. Loosely connect the ball flange to the catalyst flange using the ball flange clamp provided (P/N: 93-0088, 4.3L/5.3L) or (P/N: 05958081075, 6.2L). Insert the hanger into the factory rubber hanger mount. On 119" and
133" wheel base confgurations, there will be an additional hanger located in front of the muffler. Use the correct hanger for use on the vehicle. Install the hanger clamp (P/N: 6-1, 119" WB) or (P/N: 6-2, 133" WB) on the pipe in position to support the exhaust. Position the clamps on the joint and tighten to 30 Nm.
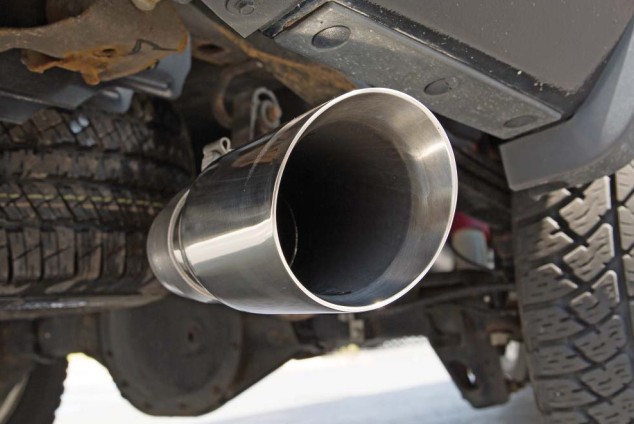
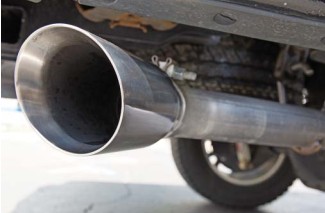
5. Install one (1) 3" clamp (P/N: 10-0439) over the outlet of the over-axle pipe and install the tip (P/N: 310305787) onto the outlet end of the overaxle pipe. Position and orient the tip to the desired location. Position the clamp on the joint and tighten to 30 Nm.
Before starting the vehicle, make sure to check all wires, hoses, brake lines, body parts, tires and any other components for safe clearance from the exhaust system.
Start the vehicle and check for any exhaust leaks. If any leaks are found, determine the cause (such as insuffcient pipe engagement, loose or incorrectly positioned clamp) and repair as necessary.
Congratulations!!! You have completed the installation of your SLP cat back exhaust kit. It is recommended that you save all parts removed from the vehicle during the installation of this kit.


