
Installation Time
(approx) 30 Minutes
Difficulty Level:
Simple installation for anyone.
Installation Guides
No guide available for this part yet.
 FREE 1 to 3-Day Delivery on Orders $149+ Details

$379.00 each
CONFIRM THIS FITS YOUR VEHICLE!
Saved - View your saved items
We're sorry. We couldn't save this product at this time.
or use


AFE Large Bore-HD 5-Inch DPF-Back Single Exhaust System with Polished Tip; Side Exit (19-26 6.7L RAM 2500 Crew Cab/Mega Cab w/ 6.4-Foot Box)
 1
1
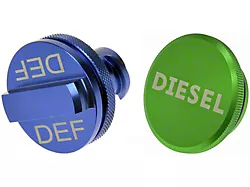
Capless Diesel Fuel Cap and DEF Cap (13-26 6.7L RAM 2500)
 90
90
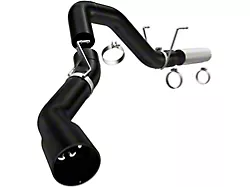
Magnaflow Black DPF Series Single Exhaust System; Side Exit (19-26 6.7L RAM 2500)
 15
15
Features, Description, Reviews, Q&A, Specs & Installation
| Brand | S&B |
| Cold Air Intake Type | Cold Air Intake |
| Tuning Requirements | No Tune Required |
| Cold Air Intake Tube Material | Plastic |
| Cold Air Intake Filter Type | Dry |
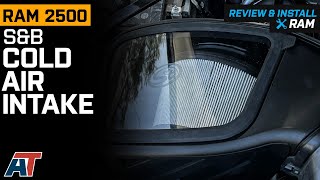
Performance Upgrade. The S&B Cold Air Intake with Dry Extendable Filter enhances airflow significantly compared to stock intake systems. It is designed to improve engine efficiency by reducing air restriction, allowing cooler, denser air to enter the engine. This results in improved combustion efficiency, better engine responsiveness, and a more aggressive engine sound, appealing to performance enthusiasts.
Construction and Appearance. Constructed using premium materials, including silicone couplers, lid seals, and box plugs, this intake system withstands temperatures up to 400°F without cracking or tearing. The components feature a durable finish, ensuring longevity and resistance to environmental factors, while the enclosed airbox protects the filter from dirt and heat intrusion.
Installation. Installation is straightforward and requires no drilling. The kit is designed to fit cleanly and can be installed by users with basic mechanical skills and common tools.
Application. Specifically engineered for the 2019 to 2024 Dodge Ram 2500 and Ram 3500 with the 6.7L Cummins diesel engine, ensuring precise fitment and optimal performance integration.
S&B 75-5132D
CA Residents:  WARNING: Cancer and Reproductive Harm - www.P65Warnings.ca.gov
Installation Info
Installation Time
(approx) 30 Minutes
Difficulty Level:
Simple installation for anyone.
Installation Guides
No guide available for this part yet.
What's in the Box